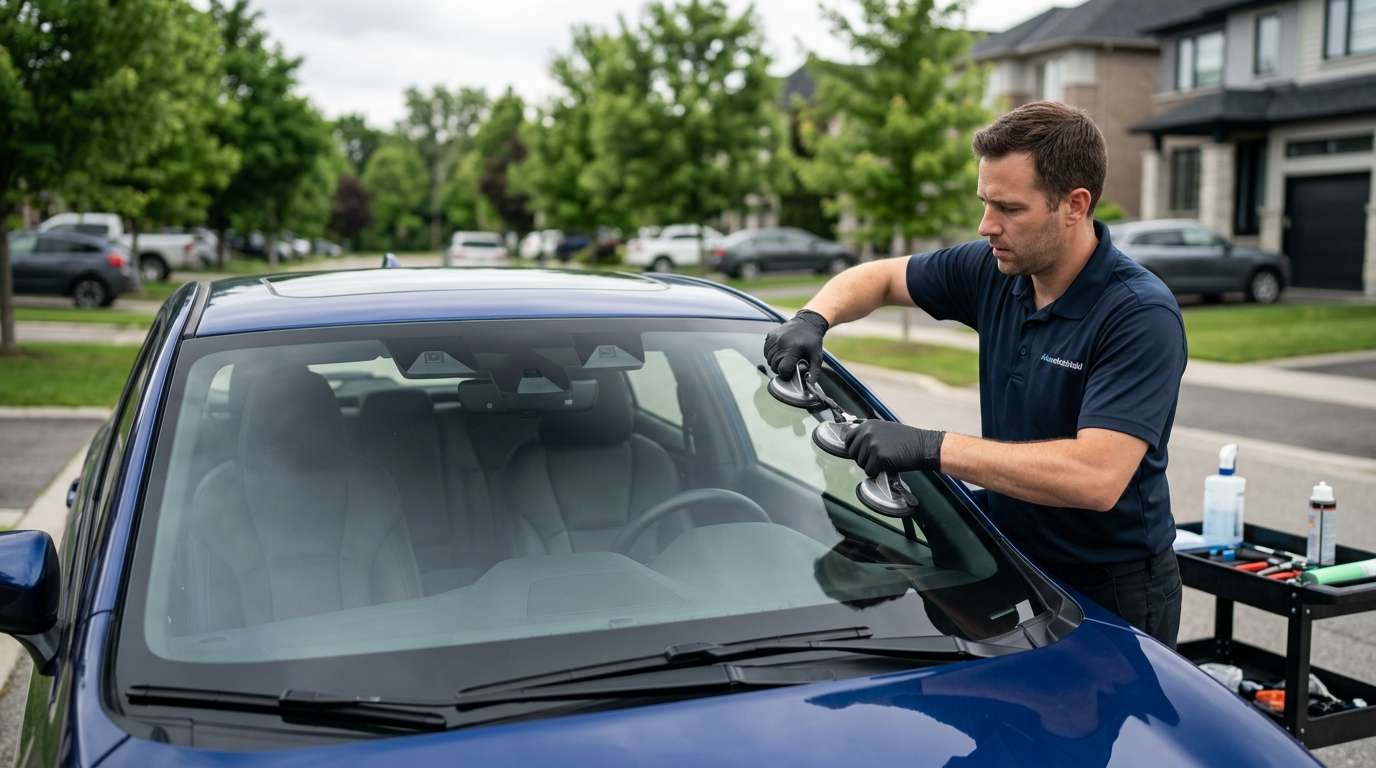
Matching Glass Options and Camera Apertures on the Impreza
Matching the replacement windshield on this hatchback comes down to checking whether your car has the front wiper de-icer grid embedded in the lower ceramic frit. Base trims roll off the line with clear acoustic laminate (corresponding to dealer part 65009FN042), whereas the Sport and RS editions use an electric heating element beneath the wiper blades (corresponding to OEM 65009FN032 or 65009FN020). In the NAGS catalog, these variations fall under the FW06136 series, such as FW06136 GTY AGA. Because the GU body shares this specific windscreen setup with the third-generation Crosstrek, cross-referencing these physical attributes before anything is mounted ensures you get the right pane.
Every variant in this production run carries the triple-lens EyeSight bracket bonded flush to the top black frit. Unlike older Subaru models that suspended a separate twin-camera housing below the headliner, this design houses two stereo cameras and a central wide-angle monocular camera directly against the glass. When I inspect a new FW06136 pane prior to fitting, I check the three bare viewports for any visual wave or thickness variation in the acoustic interlayer. If there is optical distortion over the center monocular window, the car's automated safety hardware will struggle to see through the glass.
| Trim Level | Wiper Park De-Icer | NAGS Family | Factory Part Cross-Reference |
|---|---|---|---|
| Base | No | FW06136 | 65009FN042 (replaces FN040, FN041) |
| Sport | Yes | FW06136 | 65009FN032 (replaces FN030, FN031) |
| RS | Yes | FW06136 | 65009FN020 / 65009FN032 |
Factory Mouldings, Dam Strips, and Alignment Pins
The windshield perimeter on the sixth-generation Impreza relies on exact frame spacers rather than floating clips. Subaru locks the sheet into place using two dedicated body pins—part 65035FL000 on the driver side and 65035FL010 on the passenger side. If a replacement piece sits even two millimeters high or low on these guides, the cowl below the wiper arms will fail to clip back into its channel, leading to wind noise along the fire wall.
I usually pull up about an hour after a service is booked to verify these hardware bits on site before touching the broken glass. The top reveal moulding (65078AJ000) and the lower reveal seal (65078FJ000) are engineered by the manufacturer as non-reusable parts; pulling them out deforms the rubber lip permanently. Along with these outer seals, fresh foam dam strips (65045FL000 for the top and sides, plus 65045FL010 for the base) must be applied to stop excessive acoustic resonance from penetrating the dashboard cavity.
Critical Post-Install Glass Checks
Once the replacement glass is seated on the body frame, several vehicle-specific zones demand a close look:
- Lower De-Icer Grid Continuity: On Sport and RS models, check that the heating lines on the lower black border align directly underneath the resting position of the wiper blades without fouling the bottom cowl trim.
- EyeSight Optical Apertures: Look through the exterior face of the top frit to verify that the black screen print does not encroach on any of the three clear camera apertures.
- Acoustic Edge Flushness: The acoustic laminate must sit completely parallel with the A-pillars. The side dam strips (65045FL000) must stay concealed behind the glass edge without bulging past the glass perimeter.
- Defroster Terminal Clearance: The electrical pigtail feeding the heated wiper park must sit free of pinch points against the lower frame locating blocks (65035FL010).





