Trim Lineup and Moonroof Hardware on the Impreza Hatchback
The power tilt-and-slide moonroof is not found across every Impreza on the road. Subaru left the roof completely solid on the base models, offering the glass panel as an option on the Impreza Sport and bundling it within package equipment on the 2.5-liter RS. The panel itself, cataloged under dealer part numbers 65430FL000 and 65430FL00A, is a dark solar-tinted tempered safety lid. Because Subaru integrates its EyeSight driver-assist hardware and rain-sensing equipment directly into the windshield rather than the roof, the sunroof lid remains entirely passive. It contains no embedded antennas, defrost grids, or wiring harnesses, focusing purely on keeping out weather and wind noise.
Securing the glass to the vehicle involves factory mounting brackets bonded directly to the lower edges of the glass panel. These brackets align with the mechanical sliding tracks of the main 65420FL000 frame assembly concealed beneath the roof skin. A pre-attached perimeter weatherstrip, designated under part 65476FL010, wraps the outer glass perimeter to seal against the steel roof opening. Below the glass, a manual sliding rigid sunshade glides along interior frame runners, while a spring-loaded pop-up air deflector lifts at the front edge when the glass recedes into the roof pocket.
Water Drainage and Alignment Nuances
Most overhead water concerns on these hatchbacks do not stem from glass failure, but from the drainage channels built around the track. Four separate corner troughs catch water that bypasses the perimeter seal, directing it through dedicated flexible hoses. The front lines, routing under part number 65477FL010, drop through the A-pillars, while rear lines marked 81625FL040 travel past the C-pillars. If road sediment or needle debris packs into the upper hose inlets, overflow seeps into the molded headliner near the overhead console where the 65450FL020 drive motor sits, eventually traveling into the footwells.
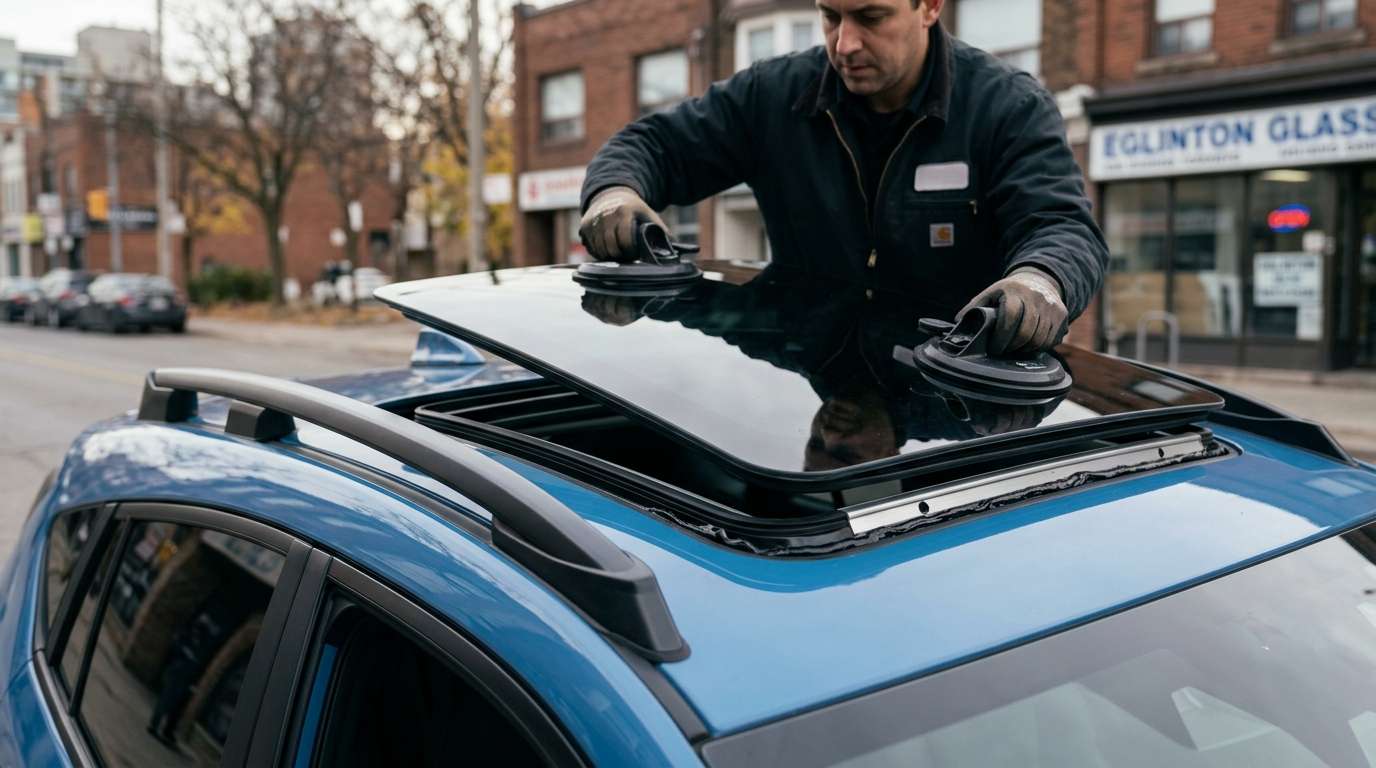
I operate entirely as a mobile service, travelling directly to your home or workplace across Toronto and the GTA to service these vehicles on-site. When a glass panel is shattered by airborne gravel, the entire repair can be completed without tearing down the interior passenger cabin. Access to the Torx fastening hardware is gained from the top by disengaging the plastic side rail covers. This allows me to lift out the damaged lid, clear out any broken tempered glass fragments lodged in the guide rails, and install the new panel without dropping the main headliner assembly or disturbing the snap-fit interior opening welting numbered 94470FL100ME.
Eliminating Cabin Taps and Track Rattles
A common complaint from drivers of this hatchback involves light ticking, metallic tapping, or creaking sounds originating directly overhead on uneven asphalt. This noise often develops when the carrier guide shoes settle or when the manual sunshade guide clips develop microscopic play against the modular aluminum frame tracks. Because the panel floats between the vehicle exterior and the sliding sunshade, even slight variations in bracket height cause vibration against the perimeter opening.
Whenever a replacement panel is mounted, setting the physical height profile correctly is mandatory to prevent air turbulence and track friction. The front leading edge of the glass needs to rest slightly flush to marginally below the steel roofline to divert highway wind over the gap, while the trailing rear edge must sit perfectly flush to avoid dragging across the sheet metal when the motor initiates the tilt function. Adjusting the bracket screws within their slotted guides eliminates hardware bind against the carrier mechanism, curing the persistent interior creaks that happen when the chassis flexes over rough road surfaces.





