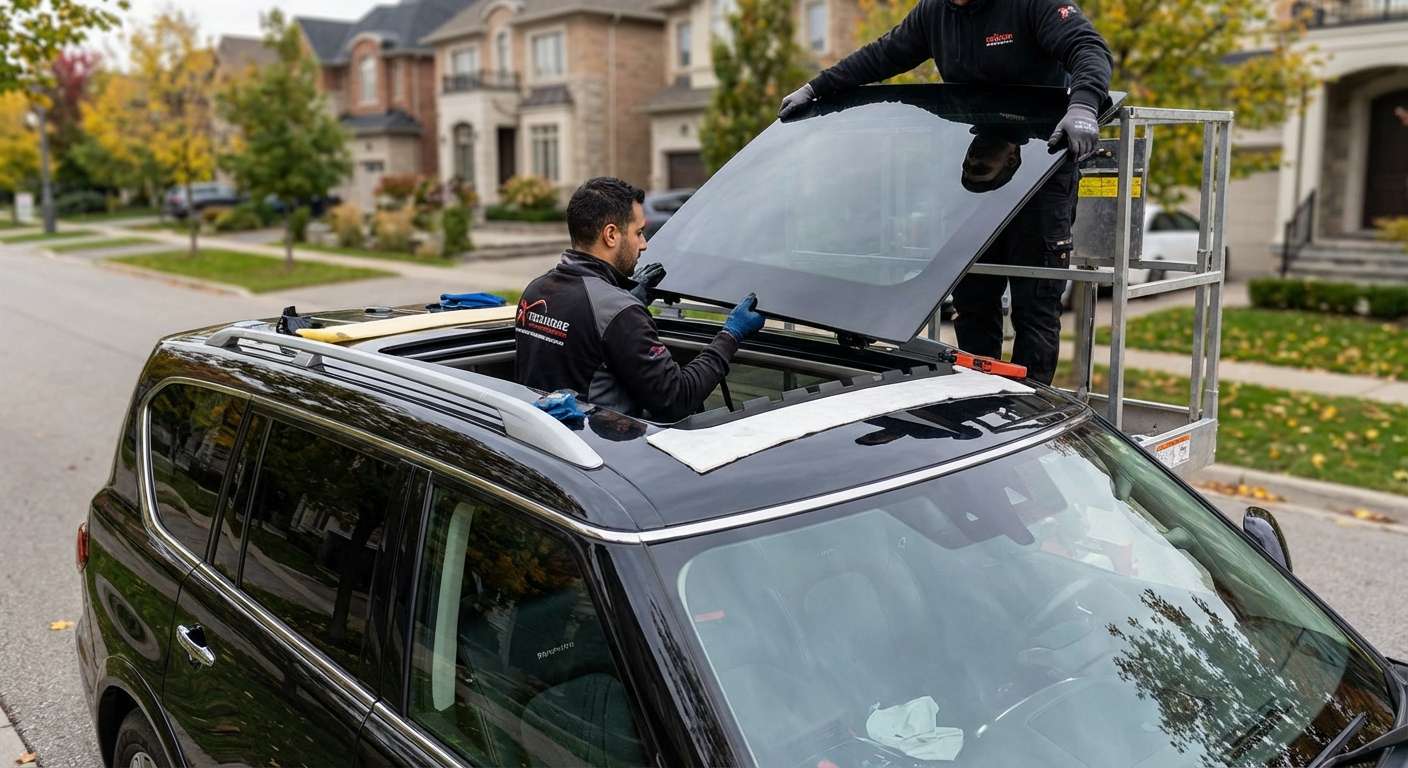
Inspecting Dual-Pane Panoramic Glass on the Redesigned QX80
The roof setup on the Pure, Luxe, Sensory, and Autograph trims uses a split two-piece glass design that demands close inspection before work begins. Up front sits a movable power tilt-and-slide unit corresponding to factory assembly 91210-7JA0A, while directly behind it lies a stationary rear pane under part reference 91604-7JA0A. Because the Z63 platform completely overhauled the roofline geometry from previous iterations, alignment between the two glass sections dictates whether the assembly seals quietly or generates wind noise at highway speeds.
Before installing either glass piece, I inspect the outer perimeter encapsulation molded along the edge of the front sliding unit. This edge seal sits directly above the internal catch channels that divert rain down through the pillar drain tubes. I check that the tint depth matches the factory dark privacy solar shading across both panes so the rear fixed glass and the front operational glass appear uniform from the outside. The roof panel carries no embedded wire grids, radio receivers, or forward cameras—those remain isolated on the tailgate, windshield, or the roof's trailing shark-fin antenna—so the glass itself must be verified purely for surface flatness, encapsulation bonding, and bracket alignment.
Mechanical Tolerances and Sunshade Tracking
Unlike standard single-panel moonroofs, this dual-pane layout uses an integrated power fabric roller sunshade that spans the underside of both sections inside a stamped steel frame. Dropping the interior headliner gives access to the track mounts, where I check that the drive cables and motor guides sit square before fitting the replacement glass.
If the front panel rests even a millimeter below the leading steel roof seam, the pop-up mesh wind deflector will catch during retraction, and the motor's built-in anti-pinch sensor may falsely trigger and reverse the glass. I back my work with a lifetime guarantee on the installation craftsmanship alongside a one-year warranty on the glass panel itself, which means getting the mechanical clearances around the overhead console trim, A-pillar caps, and track rails right the first time.
Post-Replacement Moonroof Inspection Checklist
Once the glass is set and bolted to its track hardware, I run through functional verifications inside and outside the vehicle to confirm proper operation.
- Panel Height Flushness: The leading edge of the front sliding glass should sit sub-flush by approximately 1 mm relative to the front steel roofline, while its trailing edge should rest flush or slightly above the fixed rear pane to prevent air buffeting.
- Encapsulation Contact: The perimeter weatherstrip around the front glass must press evenly against the body frame and the fixed rear panel without pinched rubber or gaps along the corners.
- Mesh Deflector Action: The spring-loaded front pop-up wind deflector must rise smoothly when the roof tilts or slides back and stow cleanly beneath the glass as it shuts.
- One-Touch Drive and Anti-Pinch: The front glass should open, tilt, and close completely on a single button press from the overhead console switch without hesitating or reversing midway.
- Power Fabric Sunshade: The roller sunshade must deploy and retract along its parallel tracks across both roof sections smoothly without bunching, catching, or dragging on the interior headliner border.





