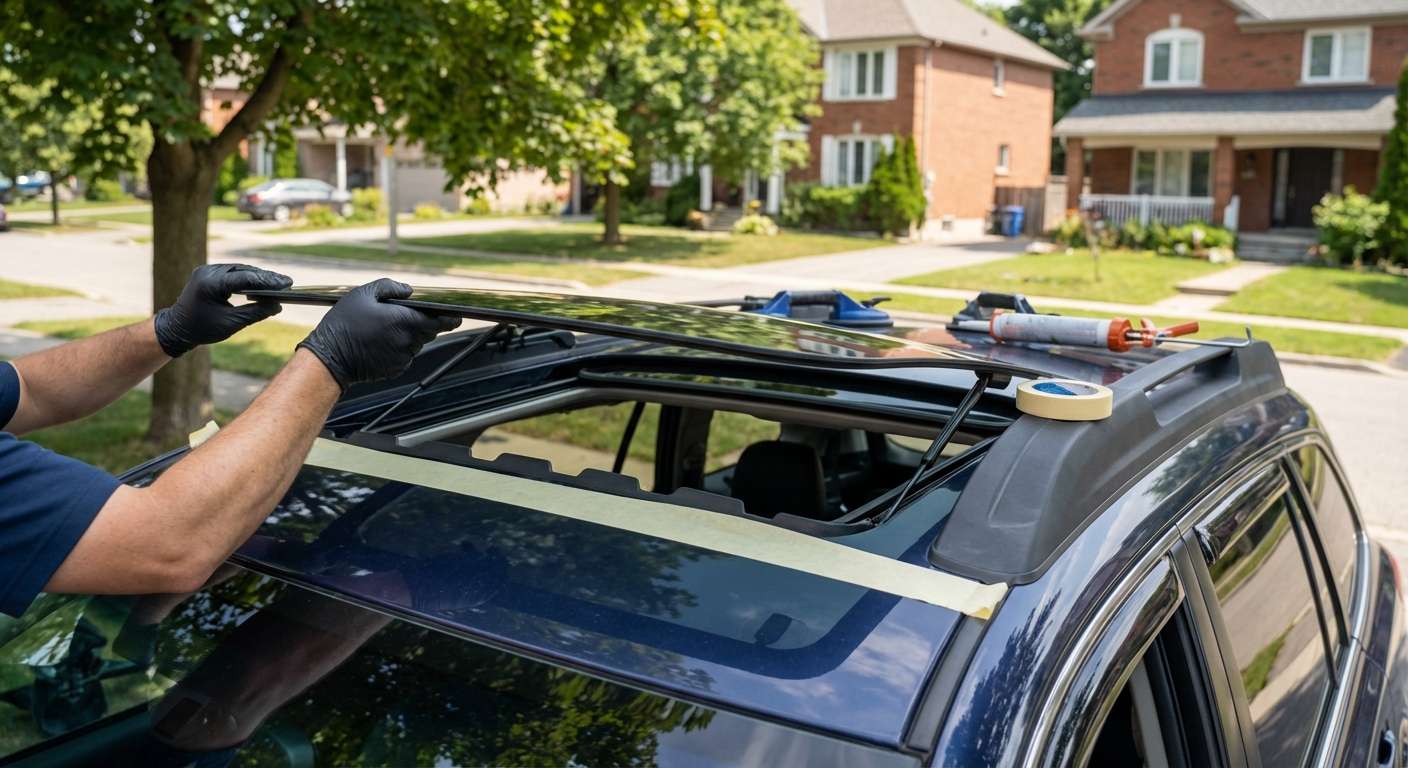
Identifying Wagon Dual-Pane Versus Outback Sedan Glass
Determining which replacement panel you need depends strictly on your body style and roof layout. If you drive an Outback wagon equipped with the expansive panoramic system—a package prominent on the 2.5i Limited, turbocharged 2.5 XT Limited, and 3.0R L.L. Bean editions—your vehicle uses a tandem two-piece setup. This configuration pairs a compact front tilting panel with an oversized rear sliding panel. If you drive the much rarer 2005–2007 Outback Sedan, the roof uses a conventional, single-pane unit under dealer reference 65430AG02A, which shares dimensions with the Legacy sedan of the same era rather than the wagon.
For wagon owners replacing shattered or cracked glass, you must pinpoint whether the damage sits on the forward vent pane (Subaru part 65430AG00B, superseding 65430AG00A) or the primary rear sliding pane (Subaru part 65430AG01B). Both pieces consist of dark-tinted tempered safety glass bounded by a wide perimeter ceramic frit band to conceal the mechanical brackets. Unlike the front windshield on these cars, the overhead glass contains no embedded wiper de-icers, radio antennas, or forward sensors, but both panels rely on factory-bonded encapsulated perimeter edge seals designed to mate against the exterior steel roof cutout.
Mechanical Operation and Rail Resistance
The engineering of the dual-pane wagon roof requires synchronized movement between both sections. During opening, the small forward pane tilts upward at its trailing edge, functioning directly as an aerodynamic wind deflector. Simultaneously, the large rear pane drops slightly and slides backward beneath the headliner into the vehicle's interior roof cavity. Both panels bolt through side brackets to sliding carriages driven by mechanical cables within the main cassette frame.
Over time, these long drive tracks collect debris or lose lubrication, producing excessive mechanical drag. The factory drive motor incorporates an integrated pinch-protection system; when it encounters binding along the cassette runners, the safety logic mistakes the resistance for an obstruction and forces the pane to reverse direction automatically. When sourcing replacement glass panels, I supply aftermarket glass from manufacturers such as Pilkington, PGW, FYG, or XYG, ensuring the tempered panel dimensions and molded edge profiles seat cleanly on the OEM bracket mounts without introducing unnecessary friction into the track mechanism.
Water Drainage Troughs and Interior Sunshade Fit
A properly functioning roof panel relies on the underlying drainage network hidden under your headliner. The roof cassette features water catch channels under the glass joints paired with four independent corner drain spouts. Flexible vinyl tubes route from these spouts down inside the A-pillars and C/D-pillars, exiting through one-way rubber body grommets beneath the car. When water pools on the passenger carpet or inside the spare tire well, it typically indicates that silt has blocked one of these four lines or an outlet hose has slipped free from the cassette nipple, rather than a failure of the tempered glass itself.
Directly beneath the glass runs a two-piece, manually operated sliding sunshade trimmed in headliner cloth. These shades move forward and backward across dedicated sub-rails on the main cassette. Due to wear on the guide clips, these panels can develop a distinct vibration over road imperfections, a condition Subaru documented under Technical Service Bulletin 12-100-07. Verifying that the shade moves smoothly without contacting the underside of the newly mounted glass panels is essential during any panel service.
Post-Replacement Inspection Checklist
- Verify that the encapsulated rubber edge molding on both the tilt and slide panels sits flush with the exterior roofline, avoiding wind noise or high spots.
- Ensure the front glass section tilts upward evenly on both sides when the switch is initially pressed, without mechanical popping or hesitation.
- Cycle the rear glass to full open and closed positions to confirm the motor does not falsely trigger pinch-protection auto-reversal along the slide path.
- Confirm the manual dual-section sliding sunshade glides smoothly forward and backward without binding against the lower glass brackets or rattling on its sub-rails.
- Check the perimeter frit masking alignment from the vehicle interior to make certain all mounting screws and bracket hardware remain hidden from view.
- Pour water directly into the cassette side troughs around the new panel perimeter to confirm steady drainage exits the lower wheel arches and rocker drains.





