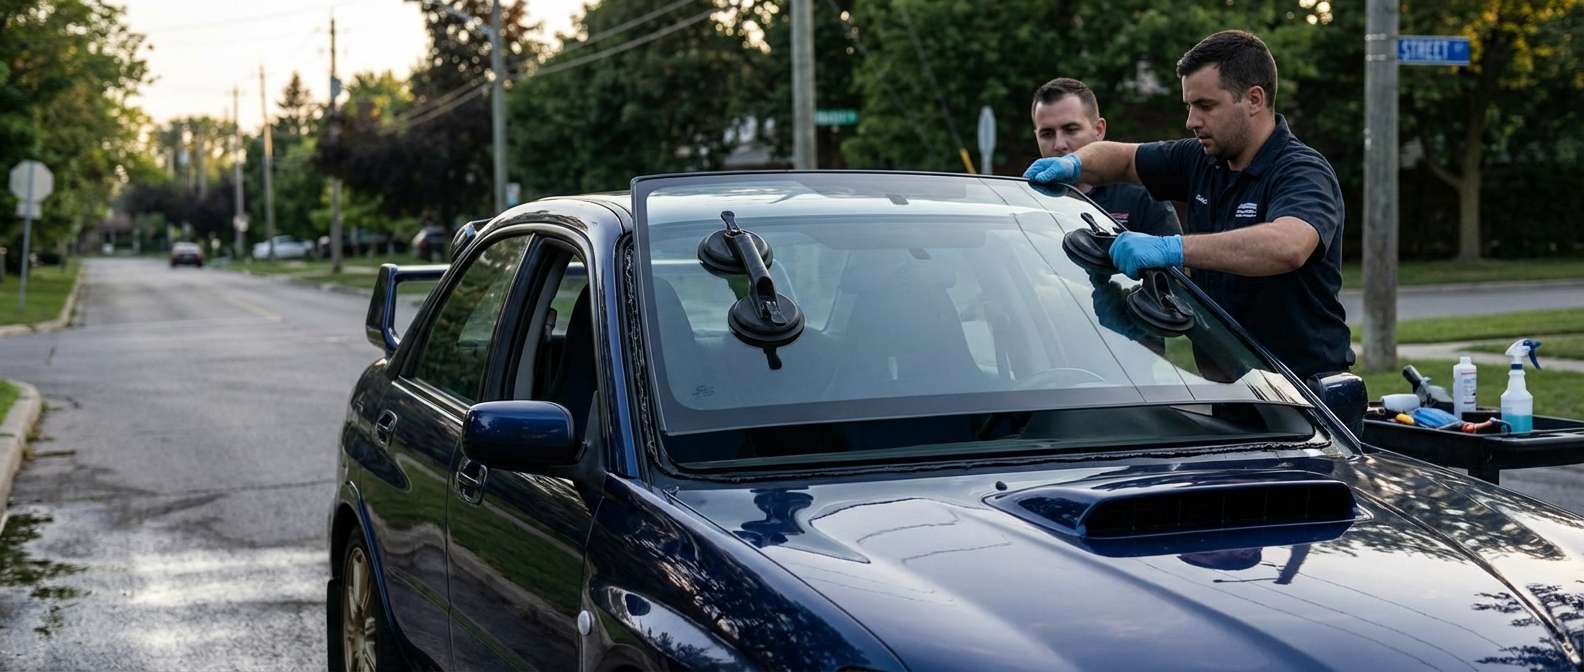
Sedan Versus Sport Wagon Glass and Heated Wiper Grids
Replacing the front glass on this era of Impreza requires matching two distinct body profiles across a mid-cycle update. Subaru used different glass curvature and roofline dimensions for the sedan and the five-door sport wagon. The 2002 to 2003 "bugeye" models take NAGS part number FW02245 for the sedan and FW02252 for the wagon. When Subaru updated the front-end styling for the 2004 through 2007 "blobeye" and "hawkeye" models, the glass numbers shifted to FW02424 for sedans and FW02425 for wagons. The 2005 to 2006 Saab 9-2X shares this exact front structure, taking the identical FW02425 wagon glass.
Beyond the body style, I always inspect the lower edge of the original glass for an embedded wiper de-icer grid. Cars equipped with the cold-weather package run heating elements along the black ceramic frit where the wiper blades rest. These units require a lower corner wiring pigtail that plugs directly into the sub-harness under the cowl. If your car left the factory with standard green-tint glass (GBN) and no defrost elements, installing a heated unit leaves a dangling connector; conversely, installing bare glass on a winter-package car disables your wiper defrost circuit entirely.
Exterior Trim Profiles and the Cowl Grille
The windshield perimeter utilizes a three-sided reveal moulding running up the A-pillars and across the roofline, such as the GGG 2245 profile. These mouldings feature built-in water channels designed to guide runoff up toward the roof rack tracks rather than pushing water into the frameless door seals. Standard flat universal mouldings should never be used here, as they allow highway air to peel the rubber away from the pillar and direct rainwater straight at the side glass.
I source strictly aftermarket glass from manufacturers like Pilkington, FYG, PGW, and XYG, verifying that the contour matches the factory pinchweld and accommodates the lower cowl pins. At the bottom edge, a two-piece plastic cowl grille overlaps the glass. This assembly is held by fragile plastic push retainers and side end caps. Transport Canada recall 2016471 highlighted the sensitivity of this area, where snow packed into the cowl could prevent the wiper arms from completing their cycle, overheating the wiper motor bottom cover. Brittle or broken cowl retainers also allow road debris to drop behind the firewall, clogging the drain ports and causing interior floorboard leaks.
Post-Installation Inspection Checklist
- Reveal moulding channels: Ensure the three-sided outer rubber trim sits flush against the A-pillars without wavy gaps, humps, or lifted corners along the roof line.
- Cowl panel fit: Check that the two-piece plastic cowl grille is snapped tight to the lower edge of the windshield with all push clips fully seated, leaving no loose play near the wiper splines.
- Wiper park position: Confirm both wiper blades sit squarely over the black frit band (or directly atop the orange de-icer grid lines if equipped) without striking the cowl plastic when parked.
- Heated grid functionality: If your vehicle has the de-icer harness plugged into the lower corner, turn on the heated wiper switch inside the cabin to verify that the bottom glass warms to the touch.
- Frameless window clearance: Cycle both front frameless side windows up and down against the upper weatherstrip to confirm that the glass edge operates smoothly alongside the front pillar seals.





