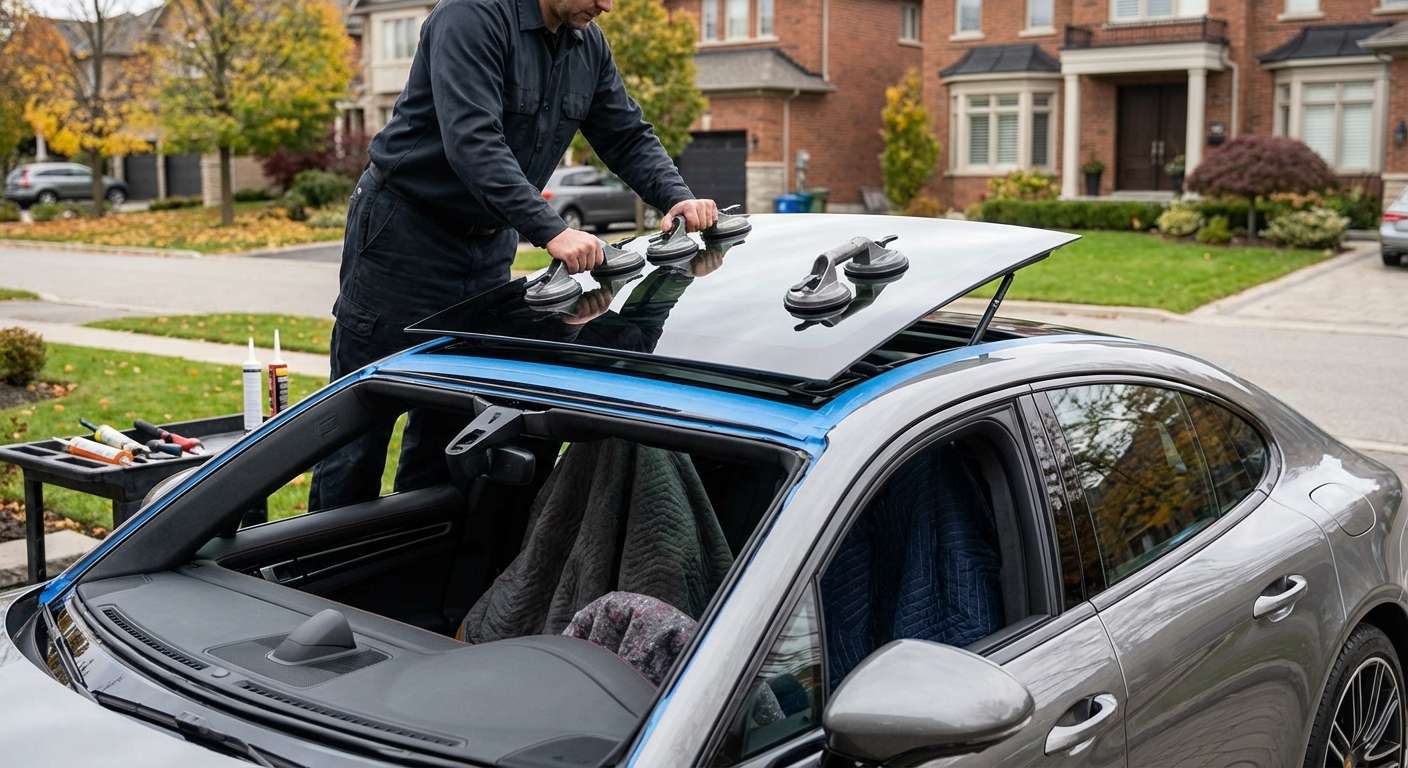
Replacing the Panoramic Roof Glass on Your Panamera
When heavy road debris or sudden impact shatters the movable front roof glass on your Panamera, dealing with the overhead mess inside a luxury interior requires immediate focus. This roof setup relies on a two-piece Panorama Roof System featuring an active sliding front glass section paired with a stationary rear panel. Up front, the opening panel operates via mechanical drive cables set deep inside aluminum side guide rails, flanked directly by painted aluminum and steel body side outer sections and the windshield header.
Because the panoramic assembly does not mount driver-assist optical brackets or rain-sensing arrays directly to the glass surface, the challenge instead centers on the perimeter encapsulation and surrounding components. The front panel incorporates an integrated aerodynamic rubber seal that meets flush with the aluminum roof frame. While I protect the glass panel itself against factory defects for a year, I back the labor and watertight installation for as long as you own the car, making sure the dual-roller sunblind mechanism tracks smoothly beneath the newly seated pane.
Panamera Roof Glass Configuration and Details
Replacing the sliding glass section requires working around specialized components built into the 976 roof structure, including the deployable front-edge air dam and twin electric motor drives.
| Component Feature | Panamera Roof Design |
|---|---|
| Glass Architecture | Front tilt/slide panel over a stationary rear panoramic section |
| Front Panel Porsche Part | 971-877-058-C (carryover assembly design) |
| Thermal Performance | Deep factory-tinted safety glass with high solar-absorption barriers |
| Deflector System | Spring-tensioned mesh wind deflector rising at leading edge |
| Factory Load Capability | Dedicated mounting points engineered for a 75 kg roof bar rating |
Managing Track Guides, Drainage, and Interior Components
Operating the roof panel relies on synchronized track hardware hidden above the headliner. When replacing shattered overhead glass, I clear every trace of broken tempered shards out of the aluminum cassette tracks before seating the replacement glass. Shards caught inside the side channels can bind the dual electric drive motors or puncture the rubber drainage troughs.
A successful replacement also demands attention to the drainage channels and noise prevention:
- Drainage Routing: Four large-diameter runoff lines sit at the corners of the cassette. The front pair routes down the inside of the A-pillars, while the rear lines travel past the C-pillars. I confirm these routes are entirely clear of dirt and broken glass so water funnels away cleanly instead of backing up into the overhead console.
- Tolerances and Wind Deflection: The front leading edge rests against a deployable mesh wind deflector. The replacement glass panel must sit precisely level within the aluminum and steel frame opening to prevent cabin buffeting when tilted or slid open.
- Cassette Noise Mitigation: Due to natural body flex over uneven roads, the perimeter seals on this model require a specialized application of Krytox lubricant along the contact borders to prevent creaks and squeaks between the body frame and the rubber seal.
- Sunshade Alignment: The twin-roller electric sunblind shares overhead controls within the roof module; tracking adjustments ensure the fabric extends and retracts without catching the lower lip of the glass assembly.





