The First-Generation Nissan Murano: Preserving a Crossover Icon
When the first-generation Nissan Murano (2003-2008) debuted, it completely revolutionized the mid-size crossover SUV market. With its aggressively sculpted exterior, distinctive front grille, and sweeping greenhouse design, it drove like a sports car but offered the utility of a family hauler. However, those sleek, sweeping rear lines feature a distinct, tightly integrated vent glass that is highly susceptible to break-ins, vandalism, or accidental damage from road debris. Because this small but crucial pane of glass is bonded directly to the vehicle's body, a shattered vent glass leaves your interior completely exposed to the elements, harsh road noise, and immediate security risks.
As a Master Technician at AlexWindshield, I have replaced countless vent and quarter glasses on the Z50 chassis of the Nissan Murano. Replacing this specific piece of auto glass is not a simple plug-and-play job; it requires a meticulous extraction, deep interior cleaning, and a precise urethane bonding process to ensure structural integrity and a watertight seal. If you are driving a 2003-2008 Nissan Murano with a shattered vent glass, you need specialized, professional intervention to restore your vehicle to its factory condition.
Premium Auto Glass Replacement Across the Greater Toronto Area (GTA)
Driving with broken auto glass is never an option, especially with the unpredictable weather and busy highways across Southern Ontario. At AlexWindshield, we understand that your time is valuable, which is why we bring our expert mobile auto glass services directly to your driveway, workplace, or preferred location.
We proudly serve the entire Greater Toronto Area (GTA), with specialized rapid-response routes dedicated to our clients in the northern municipalities. Whether you are commuting along the busy Highway 400 corridor in Vaughan, navigating the bustling streets of Richmond Hill, or parked at a corporate center in Markham, our fully equipped mobile service vans arrive ready to perform a flawless installation. We bring the auto glass shop to you, ensuring that residents of Vaughan, Richmond Hill, and Markham receive top-tier, efficient, and reliable service without ever having to leave their homes or disrupt their daily schedules.
Our Master Technician's A-to-Z Vent Glass Replacement Process
Replacing the vent glass on a 2003-2008 Nissan Murano requires patience, precision, and an in-depth understanding of automotive encapsulation. Below is the strict, step-by-step technical process I follow at AlexWindshield to ensure a perfect installation every single time.
Step 1: Comprehensive Vehicle Preparation and Interior Protection
Before any tools are utilized, preparation is paramount. When a vent glass shatters, thousands of tempered glass cubes explode inward. My first priority is protecting the interior of your Nissan Murano.
- Protective Coverings: I apply heavy-duty protective blankets over the rear passenger seats, floorboards, and the exterior paint directly below the vent glass window to prevent any accidental scratches.
- Damage Assessment: I carefully inspect the window frame and the surrounding metal pinch weld to ensure that the impact that broke the glass did not bend or warp the vehicle's frame.
- Masking: High-grade automotive masking tape is applied to the exterior edges of the window opening to safeguard the Murano's clear coat during the extraction process.
Step 2: Interior Trim and Door Panel Removal (The Deep Clean)
Because this is a side/vent glass replacement, managing the shattered glass is the most critical part of the initial phase. The 2003-2008 Murano utilizes interior plastic pillar trims and door panels that hide the lower structural bolts and urethane tracks of the vent glass.
- Trim Extraction: Using specialized, non-marring nylon pry tools, I carefully disengage the retaining clips of the interior C-pillar and D-pillar plastics. Since the plastics on a first-generation Murano can become brittle over time, this is done with absolute precision to prevent cracking.
- Panel Removal: If the vent glass is located on the rear door, the interior door panel is unbolted and removed, carefully disconnecting the window switch harnesses and peeling back the delicate moisture vapor barrier.
- Extreme Vacuuming: I utilize an industrial-grade shop vacuum fitted with micro-crevice attachments to aggressively vacuum all broken glass shards. I vacuum the seats, the floor mats, down inside the door cavity, and deep within the quarter panel recesses. Leaving even a single shard of glass behind can cause a highly irritating rattling sound while driving, so this step is executed flawlessly.
Step 3: Extracting the Broken Vent Glass and Old Urethane
With the interior cleared of hazardous glass shards and the frame exposed, the old bonding material must be removed.
- Cutting the Seal: I use a specialized cold knife and an auto glass wire-cutting system to slice through the original, hardened urethane bead that held the factory vent glass in place.
- Frame Clearing: The remaining chunks of encapsulated glass and molding are carefully pulled away from the vehicle body.
- Trimming the Bead: Using a razor-sharp technician's scraper, I trim the old urethane bead down to a uniform thickness of 1 to 2 millimeters. This creates a perfect, flat base for the new adhesive to bond to—a process known in the industry as a "full cut."
Step 4: Pinch Weld Preparation and Surface Cleaning
The structural integrity of your new vent glass relies entirely on how well the frame is cleaned and prepared.
- Decontamination: I use an ammonia-free, professional-grade auto glass foaming cleaner to scrub the pinch weld and the surrounding body panels, removing all dirt, road grime, and dust.
- Bare Metal Treatment: If the wire cutter exposed any bare metal on the pinch weld during the removal process, it is treated immediately to prevent future rust formation, which is a common issue on older vehicles like the Z50 Murano.
Step 5: Primer Application and Urethane Extrusion
This is where the chemical bonding process begins, ensuring your new vent glass will never leak or detach.
- Applying the Primer: I apply a specialized, fast-drying black glass primer to both the vehicle's pinch weld and the black ceramic frit band on the new, OEM-quality vent glass. Primer is absolutely mandatory because it blocks ultraviolet (UV) rays from deteriorating the urethane adhesive over time and drastically increases the chemical adhesion between the glass and the vehicle.
- Urethane Application: Once the primer has flashed (dried), I load a tube of high-modulus, advanced-cure automotive urethane into a high-ratio caulking gun. I extrude a flawless "V-bead" (a triangular-shaped line of adhesive) directly onto the pinch weld. The V-bead ensures that when the glass is pressed into place, the adhesive spreads evenly without leaving any air gaps.
Step 6: Precision Installation of the New Nissan Murano Vent Glass
Handling the new glass requires a steady hand and precise alignment.
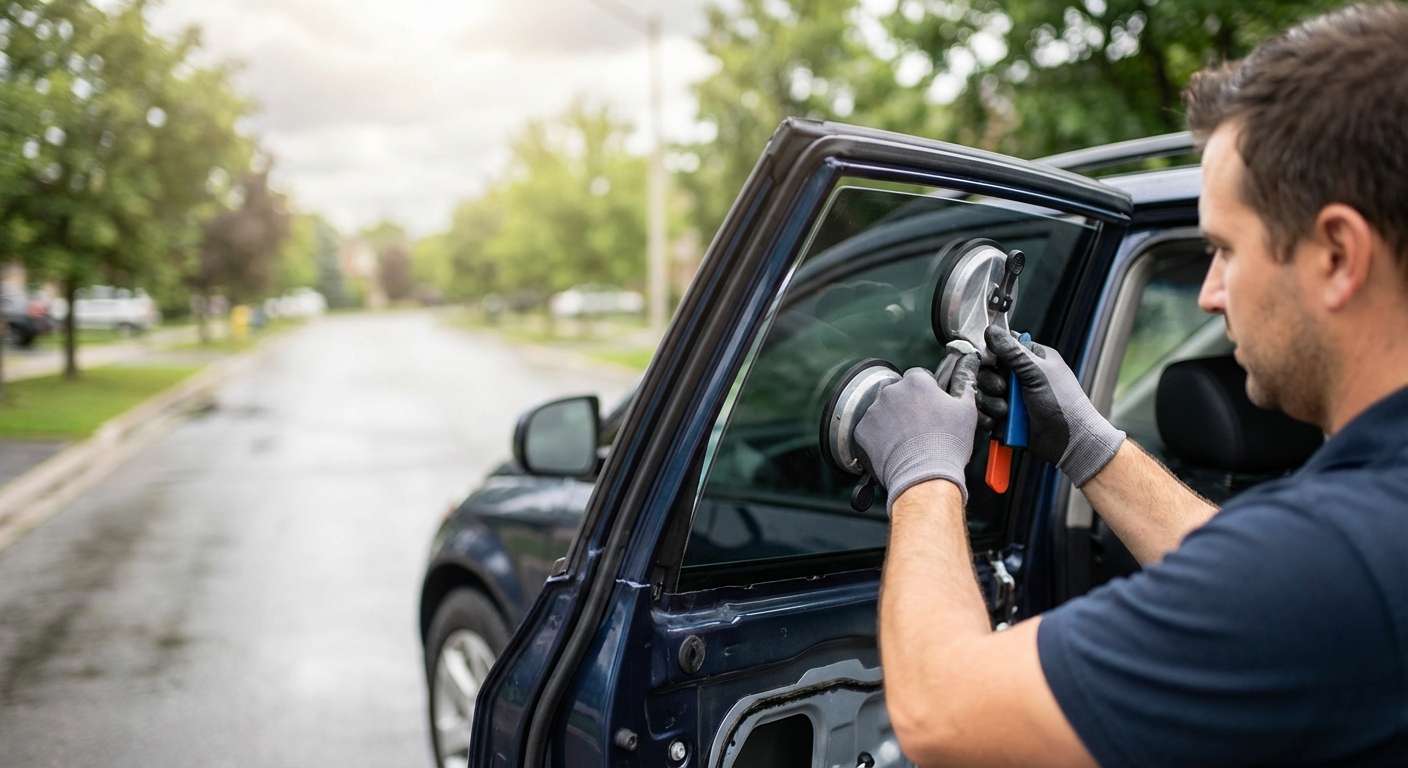
- Setting the Glass: Utilizing heavy-duty suction cups, I carefully lift the new vent glass and align it perfectly with the 2003-2008 Murano's specific body lines.
- Pressing and Sealing: The glass is gently but firmly pressed into the freshly laid V-bead of urethane. I ensure the depth is completely flush with the exterior body panels, matching the factory aesthetic perfectly.
- Retention: Retention tape is applied to hold the vent glass firmly in place, ensuring it does not shift or slide while the urethane adhesive begins its chemical curing process.
Step 7: Final Cleanup, Reassembly, and Curing Time
The technical installation is complete, but the job is not done until the vehicle is fully restored.
- Reassembly: I meticulously reinstall the interior vapor barrier, the C and D pillar plastic trims, and the interior door panels, ensuring every single retaining clip snaps back into its proper place tightly.
- Secondary Vacuuming and Glass Cleaning: A final sweep of the vacuum guarantees the interior is spotless. I then use streak-free auto glass cleaner on both the interior and exterior of the newly installed vent glass, leaving it crystal clear.
- Safe Drive Away Time (SDAT): I will brief you on the Safe Drive Away Time. Thanks to the premium, fast-curing urethane we use at AlexWindshield, your Nissan Murano will be structurally safe and ready to drive in as little as 30 to 60 minutes, depending on the ambient temperature and humidity in the GTA.
Why Choose AlexWindshield for Your Murano's Auto Glass Needs?
When you trust AlexWindshield with your 2003-2008 Nissan Murano, you are not just getting a piece of glass replaced; you are investing in the safety, security, and longevity of your vehicle. Our commitment to utilizing Master Technician standards means every corner is meticulously cleaned, every bead of urethane is perfectly laid, and every customer is treated with the utmost respect.
Unmatched Mobile Service in Vaughan, Richmond Hill, and Markham
We know that dealing with a broken window is incredibly stressful. That is why our premier mobile auto glass service covers the entire GTA. Whether you are at home in Vaughan, at the office in Richmond Hill, or running errands in Markham, we arrive fully equipped to handle the vent glass replacement on the spot. We save you the hassle of driving a compromised, drafty vehicle to a traditional brick-and-mortar shop.
The AlexWindshield Lifetime Warranty
We stand firmly behind the quality of our materials and the precision of our craftsmanship. Every vent glass replacement performed by AlexWindshield comes with an industry-leading Lifetime Warranty. This comprehensive guarantee covers any potential air leaks, water leaks, or manufacturer defects in the glass for as long as you own your Nissan Murano. You can drive away with total peace of mind, knowing the job was done perfectly the first time.
Do not let a broken vent glass compromise your Nissan Murano's security or your driving experience. Contact AlexWindshield today—the Greater Toronto Area's most trusted experts for premium, mobile auto glass replacement.





