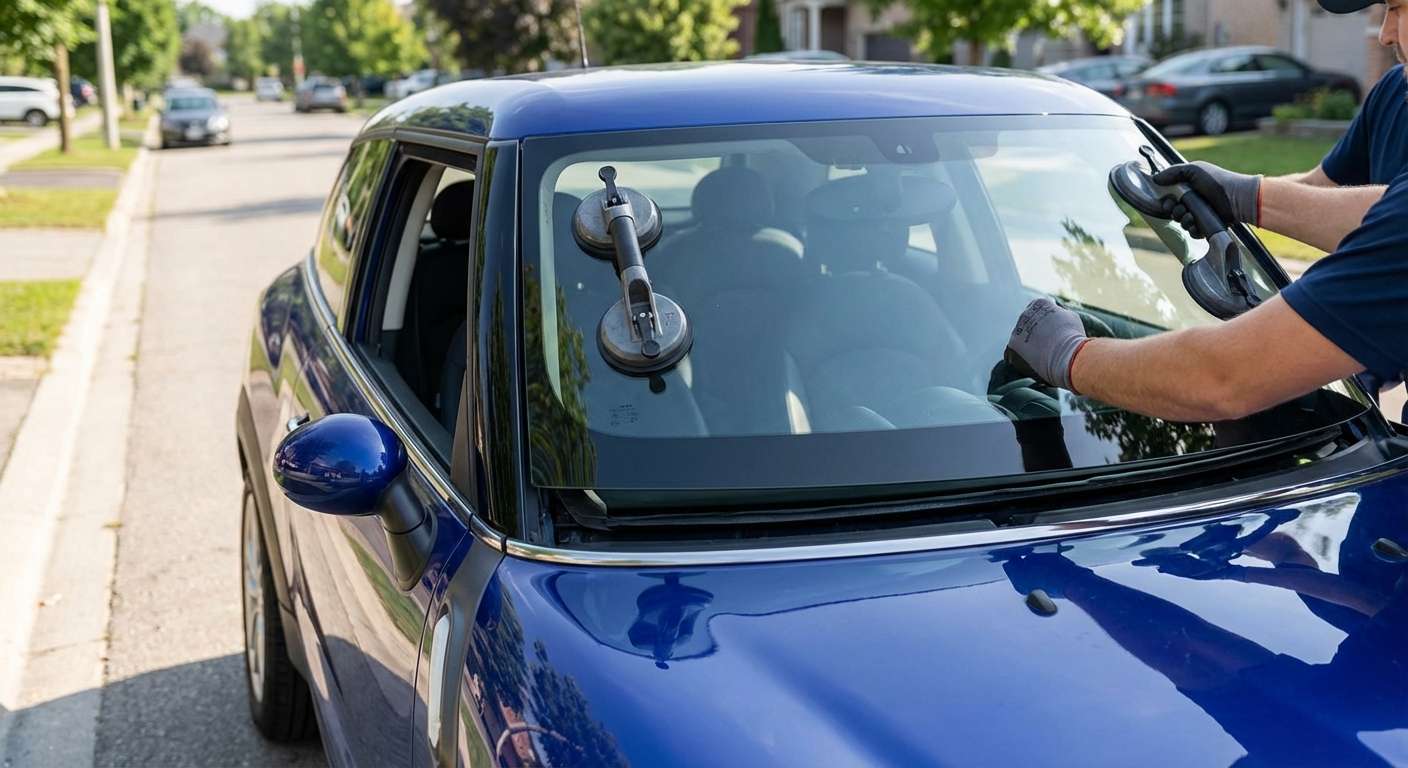
Why Paceman Windshields Suffer Direct-Impact Stone Damage
Every rock that strikes the front of your crossover coupe hits with far more energy than it would on a swept-back sedan. Because the glass sits at a remarkably steep, upright angle, road debris cannot glance off the surface smoothly; it collides head-on, turning small pea-gravel into deep bullseyes, star breaks, and rapid stress fractures that creep horizontally across the driver's line of sight. Combined with the firm sports suspension that sends sharp road vibrations directly into the steel pinchweld aperture, a minor chip near the outer black ceramic frit edge almost always blooms into a full crack after a single cold night or a rough stretch of road.
The windshield assembly on your Paceman (R61) shares its core dimensions and geometry directly with the R60 Countryman, but you have to match the glass precisely to your car's factory build options. The glass catalogue identifies these variations under base NAGS numbers FW03376, FW03488, and FW03564. These part numbers separate standard green solar-tinted glass from variants equipped with acoustic interlayer dampening, an integrated rain and light sensor bracket, or the embedded electric defroster grid across the wiper park zone. I can usually pull up to your driveway roughly an hour after you confirm the booking, bringing the exact variant your car requires along with fresh factory-style hardware.
The Risk of Highway Trim Separation and Sensor Issues
Replacing the front glass on this model involves dealing with the high-gloss black exterior A-pillar trim panels that frame each side of the windshield. These decorative covers rely on fragile, single-use snap-in retaining clips. During glass service, these clips routinely fracture or weaken as the pillar covers are levered off. When an inexperienced glass technician cuts corners and reuses the old cracked plastic fasteners, wind catches the glossy covers at speed, leading to severe rattling or the pillar cover flying off entirely on the highway. Fresh retaining clips are mandatory every single time those pillars are disturbed.
Electronics behind the glass require just as much precision. While this vehicle has no front-facing ADAS cameras to worry about, the rain and light sensor module (OEM 61359224853 / 61359124112) is bonded directly behind the rearview mirror inside the upper third-visor dot frit matrix. If replacement glass uses an off-spec optical bracket, or if the transparent optical gel pack between the sensor face and the inner glass contains trapped air bubbles, your automatic wipers will behave erratically, sweeping wildly in a light mist or failing to trigger when water sheets over the glass.
Post-Installation Inspection Checklist
Before driving away after your new windshield is fitted, walk around your vehicle and verify these specific points:
- A-Pillar trim tightness: Press firmly down the length of both high-gloss black exterior A-pillar covers to ensure all internal snap clips engaged securely without loose play or raised edges.
- Upper reveal moulding: Check that the rubber seal along the top of the windshield sits completely flat against the leading edge of the painted roof panel without bunching or dips.
- Two-piece cowl seating: Inspect the plastic scuttle panels at the bottom of the glass to confirm the wiper arm pivots align properly and the panels snap flush against the lower glass border.
- Rain sensor clarity: Look through the windshield from outside, directly at the mirror mount base, to confirm the optical gel pad is crystal clear and free of micro-bubbles or dry gaps.
- Heated grid functionality: If your Paceman features the heated front windshield, turn on the defroster button to verify current flows across the embedded wire grid without cold dead zones.





