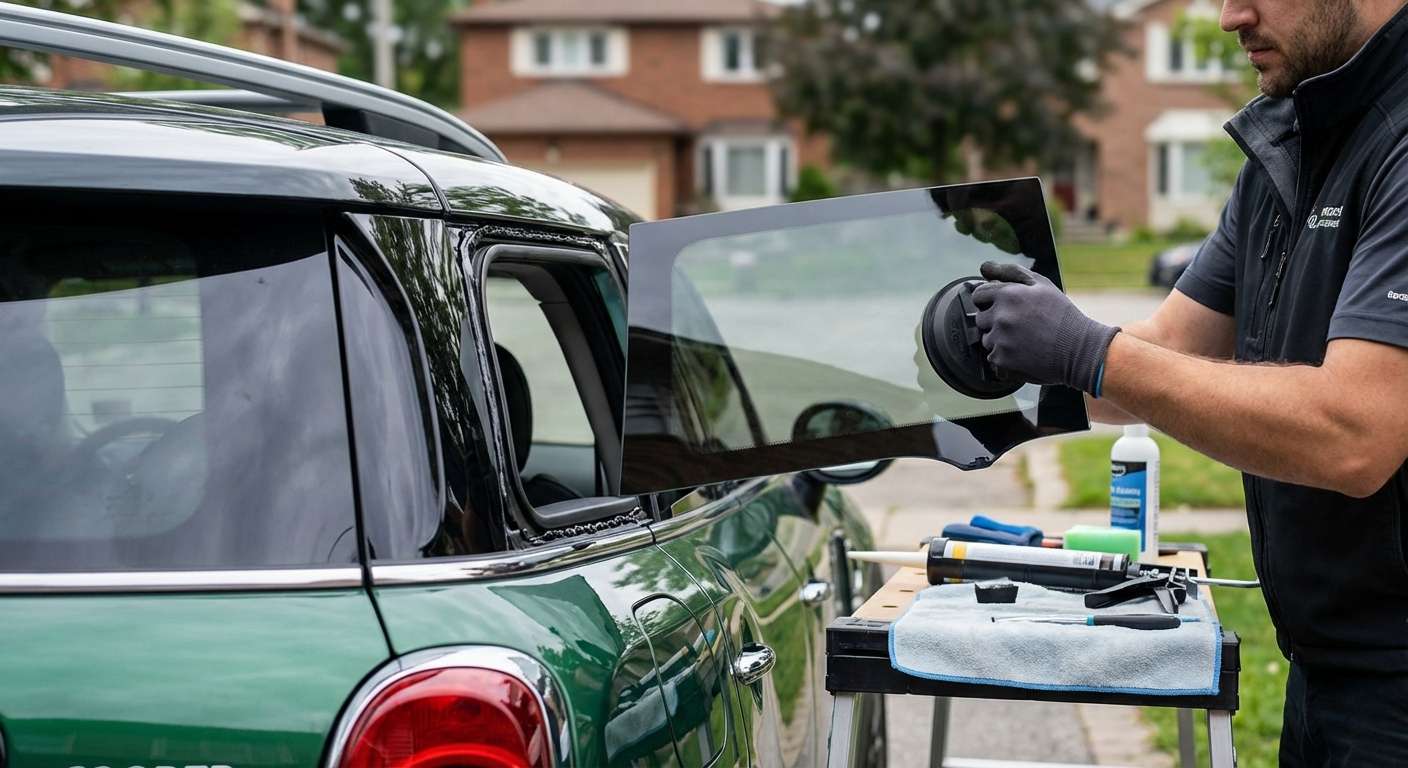
Rear Quarter Window Options on the F60 Countryman
The fixed side glass positioned between the rear passenger door and the tailgate shut line does double duty on this crossover, locking into the vehicle's structural frame while matching your exact exterior trim package. When replacing broken glass on a Base, Cooper S, Cooper SE Hybrid, or John Cooper Works model, the primary visual detail I confirm first is the factory tint level. MINI built these panes in two distinct optical variants: standard green solar-control glass and the much darker sun-protection privacy glass (factory option code S420A). In the aftermarket catalog, these correspond to the DQ12570 (left driver side) and DQ12571 (right passenger side) part families.
Because the pane is bonded directly over the pinchweld alongside the rear luggage compartment, the tempered safety glass incorporates a wide ceramic black frit band around the entire perimeter. This fired-on enamel protects the hidden urethane bond line from sun degradation and neatly masks the interior C-pillar and D-pillar plastic mouldings from outside view. Unlike the moving side windows in the doors, there are no mechanical regulators, channels, or motor assemblies here, but the pane must align precisely with the exterior D-pillar trim applique so air flows smoothly over the back corners without whipping up cabin turbulence.
Handling the Lower Beltline Weatherstrip and Surround Mouldings
The bottom edge of this quarter pane rests directly above a model-specific beltline weatherstrip moulding that runs horizontally to the edge of the rear quarter panel. MINI supplied these exterior strips in either bright chrome or the high-gloss Piano Black finish found on cars with extended shadow-line packages. The rubber wiper lip built into that lower weatherstrip takes severe abuse from weather over the years; it often dries out, cracks, and lifts away from the glass surface, allowing dirt to pack into the lower channel.
Whenever I work around these rear pillars, I take extra care with the fragile plastic mounting rails and clips that secure the beltline trim beneath the glass edge, as distorted clips will cause the trim to bow outward and create cabin whistling at highway speeds. I back every replacement with a full year of product coverage on the glass alongside my own lifetime guarantee on the workmanship, ensuring the installation stays tight, quiet, and completely leak-free for as long as you own the crossover.
Post-Installation Inspection Checklist
Once your new quarter glass is fitted, walk around the rear pillar area and verify these model-specific fitment points:
- Tint consistency: Look across from the rear door drop-glass to the new quarter window to verify the tint matches—whether standard clear-green solar tint or the dark S420A privacy glass.
- Lower beltline trim flushness: Check that the chrome or Piano Black trim strip beneath the glass is seated dead flat against the sheet metal, with no bowed ends or snapped retaining clips.
- Rubber wiper seal contact: Ensure the rubber lip running along that lower beltline moulding presses smoothly against the glass face across its entire length without folding inward.
- D-pillar panel gap: Verify the vertical margin between the trailing edge of the quarter glass, the black exterior D-pillar applique, and the tailgate shut line is uniform from top to bottom.
- Interior panel clearance: Look inside the cargo area to confirm the interior D-pillar and C-pillar quarter linings sit flush around the glass borders without pinching or popping out of their plastic retainers.





