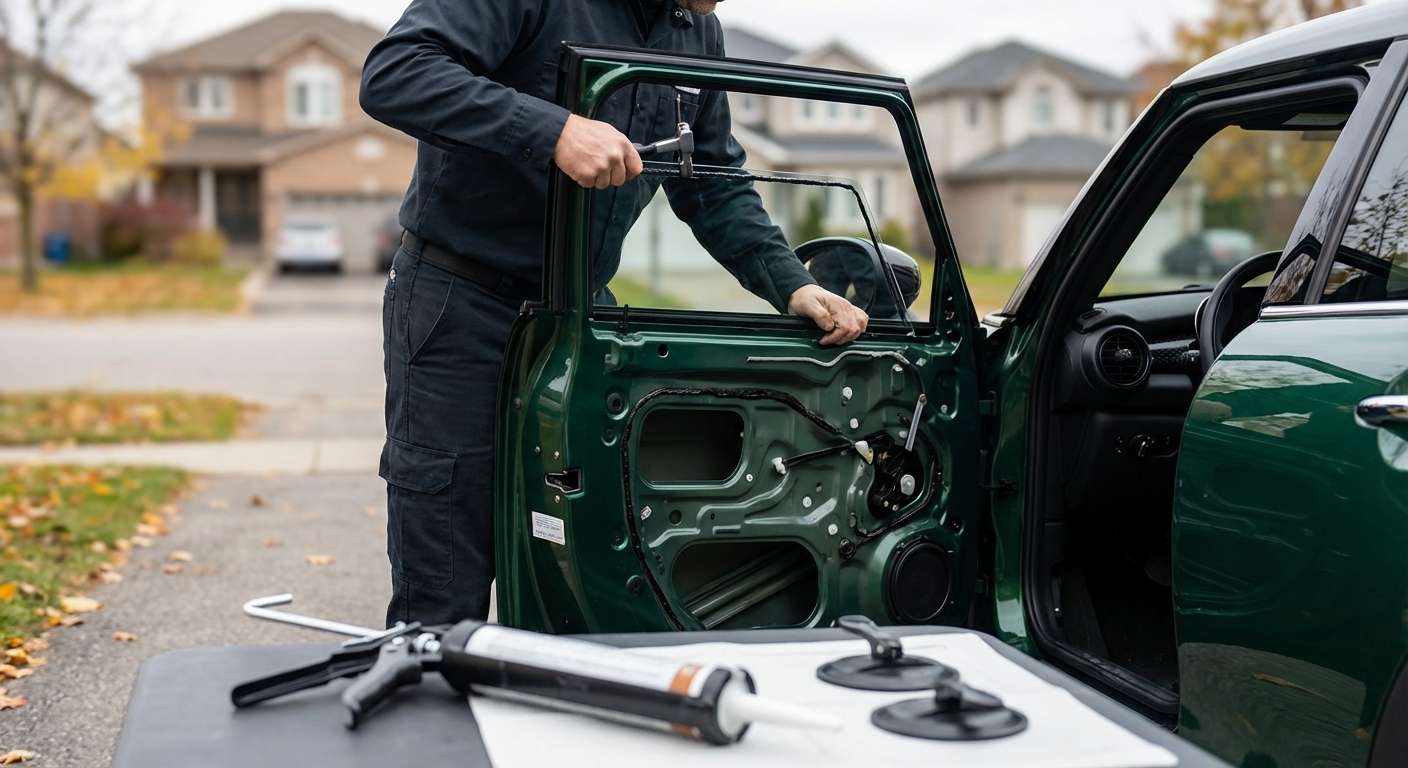
Side Glazing Layout on the Three-Door Hatchback
If you are looking for a traditional door vent window on your three-door hatchback, you will quickly notice it does not have one. The front doors carry a frameless single-pane drop window without an upright division channel or front corner triangular glass. What most owners refer to as the vent glass is the fixed rear quarter panel positioned directly behind the B-pillar.
Because the body shell transitions directly into the wrap-around greenhouse styling, this side panel sits completely rigid and never tilts, hinges, or slides open. The glass itself is pressed from curved, single-pane tempered safety glass rather than a multi-layer acoustic laminate. Heat-insulating green solar tint comes standard on base configurations, whereas models equipped with option packages like the Favoured Style or Iconic trim arrive with deep-tinted rear sun protection glass.
Unlike the windshield, which houses the forward-facing driver-assist bracketry, or the rear hatch glass carrying the grid traces, this quarter glass panel has no embedded defroster wires, rain sensors, or forward camera cutouts. Its main duty is structural rigidity and supporting the smooth transition into the blacked-out upper cabin.
Floating Roof Pillars and Surrounding Trim Alignment
MINI preserved its distinctive floating roof design on both the combustion F66 and the electric J01. To create that seamless band of glass, the perimeter of the rear quarter window is finished with polyurethane encapsulation that aligns flush against the high-gloss black A, B, and C-pillar garnish trims. Maintaining the exact mounting height is critical here; if the glass sits even a millimeter too proud or too deep against the body flange, it interrupts the visual roof plane and causes noticeable wind buffeting at highway speeds.
Working inside the cabin requires carefully releasing the interior C-pillar garnish trim, the headliner boundary, and the parcel shelf alignment guides without stressing the surrounding clips. When I mount aftermarket replacement glass on your car, you receive a full year of coverage on the glass panel itself alongside my lifetime guarantee covering the workmanship and seal integrity. Taking the extra time to protect the external piano-black trim caps ensures the exterior trim shows zero scuffs once the new piece is set.
Post-Replacement Inspection Points
After your new side panel is in place, walk around the rear corner and check the interior cabin to confirm the finish matches the factory build:
- Inspect the exterior gloss black C-pillar garnish trim to confirm it sits completely flush with the edge of the new glass encapsulation without uneven gaps.
- Verify that the rear interior C-pillar trim panels and upper parcel shelf guides are seated tight in their factory clips without creaks or loose edges.
- Check that the headliner fabric along the upper edge of the rear glass is straight, undamaged, and resting cleanly in its trim track.
- Confirm the factory tint shade matches across both sides of the vehicle, particularly if your car has dark sun protection glass rather than the standard solar green tone.
- Take a short drive on the highway to confirm cabin silence with no wind whistles or air leaks originating from behind the front seat belt mounting area.





