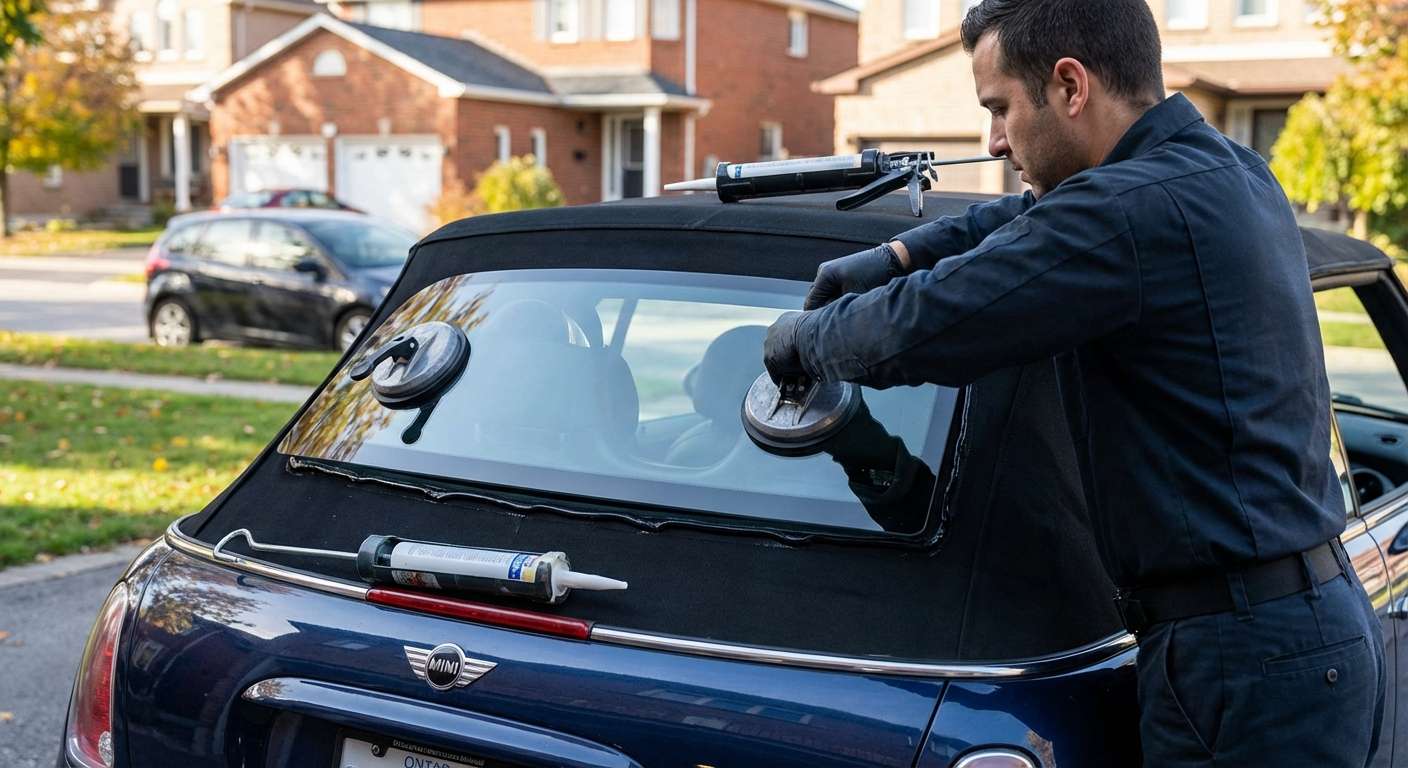
The Bonded Fabric Window Dilemma on First-Gen Drop-Tops
When the rear window separates on this convertible, it usually drops straight down into the boot luggage compartment because the glass is not retained by a traditional rubber pinchweld or metal frame. MINI designed this rear window as an integrated unit within the folding canvas, bonded to a polymer edge bezel that fuses straight to the fabric. Because the factory never cataloged a standalone replacement pane, dealers only offer complete convertible top skin assemblies—such as part numbers 54347135290, 54347135291, or 54347135292 depending on the canvas color—which leaves owners facing complete roof replacements for what should be a straightforward piece of broken or detached glass.
Replacing or rebonding the rear glass requires working directly with aftermarket glass units tailored to fit the original fabric aperture, avoiding the need to dismantle the motorized frame. While there is no rear wiper motor, washer jet, or third brake light mounted to this pane—the center high-mount stop lamp is housed separately in the chrome handle above the bottom-hinged drop-down tailgate—the window relies entirely on the structural integrity of its perimeter seal against the roof bows. For every back glass I install, I back my workmanship for the lifetime of your vehicle, paired with a full one-year defect warranty on the replacement panel itself.
Pre-Installation Checks on the Replacement Glass
Before installing a replacement back window into the soft top, I inspect several physical parameters specific to this vehicle's tight-folding mechanism:
- Defroster Grid Terminals: Look closely at the soldered electrical spade terminals on the lateral edges of the heating grid. The folding action of the C-pillar frame bow subjects these leads to repeated tension, so the solder joints must be firmly anchored to prevent the defroster harness from snapping off under load.
- Perimeter Encapsulation: Inspect the molded polyurethane rim encircling the tempered glass. The inner lip must be smooth, uniform, and free of molding flash so the bonding agent can establish an airtight seal against the canvas edge.
- Glass Curvature and Dimensions: The glass must match the exact curve of the roof's lower tension bow. Any deviation in curvature causes fabric puckering at the upper corners or uneven tension across the tailgate opening.
| Component | Factory Design | Inspection Focus |
|---|---|---|
| Edge Framing | Bonded polymer bezel (no exterior metal trim) | Adhesion flange integrity and uniform channel depth |
| Heating Element | Horizontal wire grid with dual side spade tabs | Continuity across traces and secure solder joints |
| Clearance Zone | Suspended above drop-down tailgate lid | Adequate clearance when boot opens downward |
Post-Installation Functional and Clearance Verifications
Once the glass is set into the roof fabric, verify the installation through the mechanical motion of the folding roof and boot access:
First, test the defroster circuit using a multimeter across the spade connectors before tucking the wiring back into the fabric sleeves. Resistance should read consistently across the entire horizontal grid; if a trace is broken, the glass will not clear mist evenly across the rear viewing area.
Next, lower the bottom-hinged tailgate. The bottom edge of the newly set window must maintain complete clearance from the tailgate top trim without making contact or scuffing when the boot drops flat. Finally, verify the fabric tension while cycling the roof past the "sunroof stage" and into the full open position. The glass must fold smoothly between the main top bows and the rear quarter windows without pulling excessively on the side harness leads or binding against the parcel shelf.





