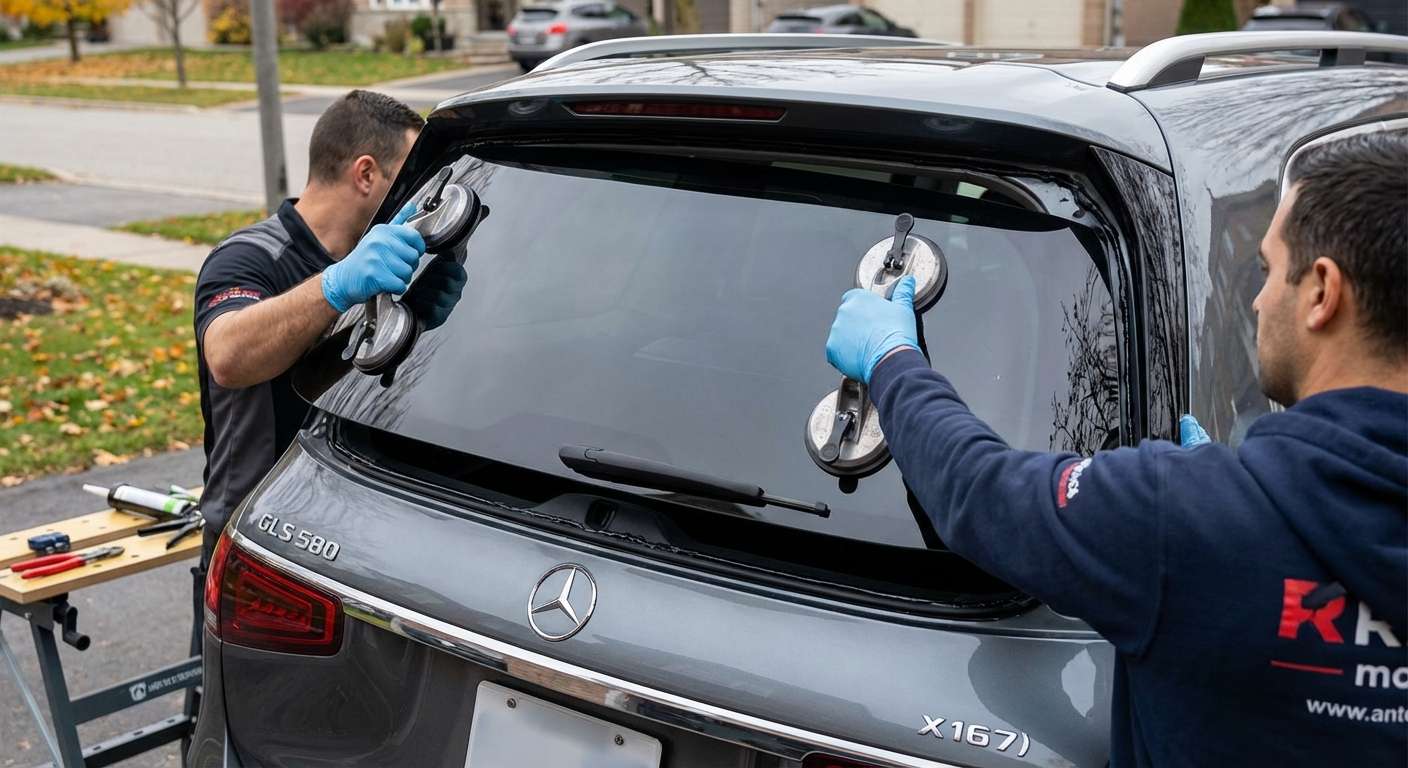
Identifying the Tailgate Window on Your GLS
Determining the correct replacement pane for your full-size Mercedes SUV comes down to the electronic grid lines running through the factory privacy glass. While the windshield handles forward driver-assist cameras, the fixed liftgate window houses essential antenna grids rather than optics. The Mercedes-Benz factory dealer part number for this rear glass is 167-740-20-00 (also cataloged as A1677402000). Across the glass industry, this exact stationary piece is referenced under NAGS hardware code FB30590.
To confirm your glass details, look closely at the upper and lateral interior surface of the pane. Every variant comes standard with dark solar-absorbing privacy tint and an embedded heating grid for defrosting. However, you will also notice delicate, baked-on conductive lines alongside the main defroster bars. These interior traces connect directly to soldered busbar spade terminals that power your AM/FM reception, digital audio broadcasting (DAB), and telematics networks. Your backup and 360-degree cameras are integrated lower on the tailgate near the latch handle, so you do not need to look for camera brackets on this back window.
Liftgate Spoilers, Appliques, and Wiper Geometry
The back glass on this model sits recessed beneath an aerodynamic upper liftgate spoiler that shields the high-mounted center stop lamp (CHMSL) and the integrated washer fluid jet. Running down the sides of the rear window are high-gloss piano black vertical side spoilers, which Mercedes-Benz addressed in safety recall campaigns on early production runs due to clips detaching under aerodynamic load. When replacing this stationary glass, these gloss appliques and the wiper drive mechanism require precise attention.
A precision pass-through hole is engineered directly into the lower center of the tempered glass to house the rear wiper pivot shaft and its rubber water-sealing grommet. Because I operate entirely as a mobile service visiting your driveway or office parking spot across Toronto and the surrounding GTA, I spend substantial time stripping the interior tailgate trim to vacuum out shattered tempered glass cubes from inside the power liftgate shell. If these granular pieces drop into the bottom cavity, they quickly foul the motorized hatch latch and jam the wiper motor linkages.
Post-Installation Inspection Checklist
Once your new aftermarket back glass is bonded and cured, walk around the rear liftgate to ensure all attached components and electrical circuits operate as intended:
- Wiper Shaft Alignment: Verify the wiper arm sits parallel to the bottom defroster line at rest, and confirm the rubber grommet seals tightly around the glass hole without pinching.
- Reverse Wiper Activation: Turn on your front windshield wipers and shift the vehicle into reverse; the rear wiper should automatically execute continuous sweep cycles across the wet glass.
- Spoiler and Trim Gap: Inspect the gloss black vertical side appliques alongside the glass edges to ensure they sit flush against the sheet metal without loose edges or whistling gaps.
- Radio and Data Reception: Test AM, FM, and digital radio channels along with your onboard Mercedes me connect features to ensure the glass antenna terminals were reconnected securely without lifting the internal busbars.
- Thermal Defroster Grid: Switch on the rear defogger on a cold morning to verify all horizontal heating lines clear frost evenly from top to bottom.
- Tailgate Interior Cavity: Cycle the motorized hatch up and down, listening carefully for any stray glass fragments rattling inside the lower metal tailgate frame.





