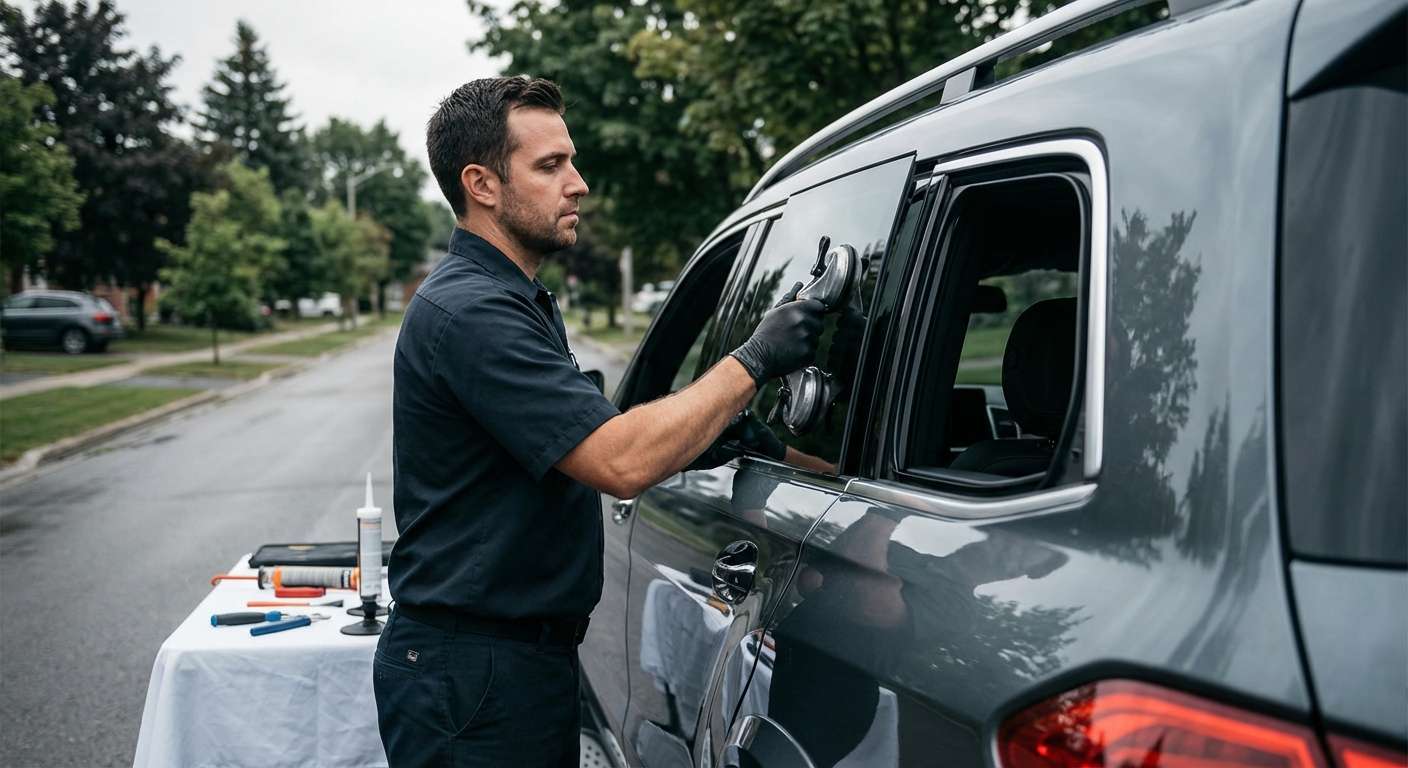
Mercedes-Benz GLS-Class (X166) 2017-2019 Vent Glass Replacement
The Mercedes-Benz GLS-Class (X166), spanning the 2017 to 2019 model years, is rightfully hailed as the "S-Class of SUVs." From its whisper-quiet, acoustically insulated cabin to its commanding, aerodynamic presence on the road, every millimeter of this vehicle is engineered for unparalleled luxury. However, when a stray piece of road debris, a sudden impact, or a break-in attempt shatters your vent glass, that carefully crafted automotive sanctuary is instantly compromised. Wind noise, moisture intrusion, and severe security vulnerabilities suddenly plague your premium ride. A shattered vent glass on an X166 is not just a cosmetic annoyance; it is a disruption to the vehicle's structural integrity and climate-controlled ecosystem. You need a master technician who understands the intricate engineering of German luxury vehicles.
Why Specialized Care is Mandatory for Your GLS-Class Vent Glass
The vent glass on the 2017-2019 Mercedes-Benz GLS-Class—whether located on the rear doors or the rear quarter panel—features a sophisticated, encapsulated design. Unlike older vehicles where glass simply bolted in, the X166 utilizes precision urethane bonding and specialized molding to ensure a watertight, factory-sealed fit that contributes to the vehicle's legendary noise reduction. Using sub-standard materials or improper installation techniques can lead to whistling at highway speeds, rust formation within the window frame, or even electronic malfunctions due to water leaks.
Because the vent glass is highly susceptible to shattering into thousands of tempered glass fragments, the replacement process requires rigorous attention to detail. Leaving even a handful of microscopic glass shards within the door cavity will result in an infuriating rattling noise every time you drive over a bump or close the door. This is why standard, rushed auto glass services fall short for a luxury SUV of this caliber.
AlexWindshield: Premium Mobile Auto Glass Services Across the GTA
As a luxury vehicle owner, your time is incredibly valuable. At AlexWindshield, we eliminate the hassle of waiting in a traditional repair shop by bringing our master-level auto glass replacement directly to your driveway or workplace. We proudly serve the entire Greater Toronto Area (GTA), with specialized mobile dispatch units frequently operating in Vaughan, Richmond Hill, and Markham.
Our mobile workstations are fully equipped with dealership-level tools, high-performance adhesives, and premium replacement glass specifically manufactured to match the exact tint, thickness, and acoustic properties of your original Mercedes-Benz X166 vent glass. Whether you are parked at a corporate office in Markham or your residence in Vaughan, our master technicians deliver flawless execution on-site.
The Complete Step-by-Step Vent Glass Replacement Process
As a Master Technician at AlexWindshield, I adhere to a strict, non-negotiable protocol for replacing the vent glass on your Mercedes-Benz GLS-Class. Below is our comprehensive A to Z process to ensure your vehicle is restored to absolute factory perfection.
Step 1: Comprehensive Vehicle Inspection and Interior Protection
Before any tools touch your vehicle, we conduct a thorough pre-installation inspection. We assess the damage, test the surrounding electronic components (such as the main power window regulators and door locks), and inspect the paintwork. Because we are working with a luxury interior, we immediately lay down heavy-duty protective drop cloths over your premium leather seats, center console, and floor mats. We also apply automotive-grade masking tape around the exterior window frame to protect your clear coat from any accidental tool contact during the extraction phase.
Step 2: Door Panel Removal and Deep Glass Vacuuming
Since vent glass on the X166 rear doors is integrated alongside the main roll-up window, accessing the mounting points requires meticulous disassembly. We carefully unclip and remove the interior door trim panel, utilizing specialized non-marring pry tools to ensure no plastic clips or wood veneer trims are damaged. We carefully disconnect the ambient lighting harnesses, speaker wires, and window switch modules. Once the door cavity is exposed, we use high-powered industrial vacuums to extract every single shard of broken tempered glass from the vehicle's interior, the door pockets, and the deep recesses of the inner door shell. This critical step ensures your Mercedes remains free of any post-installation rattling.
Step 3: Precise Removal of the Damaged Vent Glass
With the interior stripped and protected, we focus on the damaged vent glass frame. We carefully remove the weatherstripping and unbolt the division bar that separates the main window from the vent glass. For bonded vent glass sections, we employ advanced wire-cutting systems or a precision cold knife to slice through the original factory urethane. This is a delicate procedure; the blade must cut smoothly without scratching the underlying metal pinch weld, as any deep scratches to the bare metal can lead to catastrophic rust issues down the line.
Step 4: Surface Preparation and Cleaning
Once the old glass frame is completely extracted, we prepare the bonding surface. The old urethane bead must be meticulously trimmed down to a thin, uniform layer of approximately 1 to 2 millimeters. This remaining bead acts as an excellent base for the new adhesive to bond to. We then use a specialized, alcohol-based glass cleaner to thoroughly wipe down the pinch weld, removing all dirt, dust, residual moisture, and road grime. A pristine surface is absolutely vital for chemical adhesion.
Step 5: Advanced Primer Application
To ensure a permanent, leak-proof seal, we apply an advanced black glass primer. This primer is applied to any areas of the pinch weld where the bare metal may have been exposed during the trimming process, acting as a powerful rust inhibitor. We also apply a specific glass primer to the frit band (the black painted edge) of the new premium vent glass. This chemical primer acts as a bonding agent, activating the surface so that the urethane adhesive can achieve maximum structural grip.
Step 6: High-Quality Urethane Adhesive Application
With the surfaces primed and flashed off (dried), we load our electric caulking gun with an industry-leading, high-modulus, non-conductive urethane adhesive. We lay down a perfect, mathematically precise triangular bead of urethane along the vehicle's pinch weld. The triangular shape is crucial, as it compresses perfectly when the glass is applied, ensuring there are no air gaps or weak points that could cause wind whistling or water leaks in your GLS-Class.
Step 7: Installation of the New Premium Vent Glass
Handling the new glass with specialized suction cups to avoid transferring oils from our hands onto the bonding surface, we carefully align the vent glass with the vehicle's frame. In a single, fluid motion, we set the glass into the fresh urethane bead. We apply gentle, even pressure around the perimeter to seat the glass securely. We then reinstall the division bar and bolt it back to factory torque specifications to hold the entire assembly perfectly rigid while the adhesive begins its curing process.
Step 8: Reassembly and Final Quality Assurance
While the urethane cures, we begin the meticulous reassembly of your Mercedes-Benz. The interior door panel is reinstalled, ensuring all wiring harnesses are securely reconnected and every clip snaps back into its precise factory location. We run a full diagnostic check on the power windows and door locks to guarantee flawless operation. Finally, we clean the new vent glass to a streak-free shine and wipe down the interior door panel, leaving your X166 looking exactly as it did on the showroom floor.
Post-Installation Care for Your Mercedes-Benz GLS-Class
To ensure the longevity and safety of your newly installed vent glass, we provide specific post-care instructions. The high-quality urethane we use at AlexWindshield boasts a rapid Safe Drive-Away Time (SDAT), but the chemical curing process continues for several days.
- Avoid High-Pressure Car Washes: Do not take your vehicle through an automatic or high-pressure car wash for at least 48 hours to prevent water from forcing its way through the curing urethane.
- Keep Windows Slightly Open: When closing the heavy doors of your GLS-Class, a massive spike in cabin air pressure occurs. For the first 24 hours, leave a window cracked about an inch to allow this pressure to escape, preventing it from pushing against the newly sealed vent glass.
- Leave Retention Tape Intact: If we apply specialized retention tape to hold the exterior moldings in place, please leave it on for the first 24 hours.
Book Your X166 Vent Glass Replacement with AlexWindshield
Your 2017-2019 Mercedes-Benz GLS-Class deserves the highest tier of automotive care. Do not trust your luxury SUV to amateur technicians or accept inferior glass products. At AlexWindshield, we pride ourselves on being the foremost experts in mobile auto glass replacement throughout the Greater Toronto Area.
Whether you need a quick dispatch to your home in Vaughan, an emergency replacement at your office in Richmond Hill, or a scheduled appointment in Markham, our master technicians are ready to restore your vehicle's safety, security, and silence. Best of all, every single installation we perform is backed by our comprehensive Lifetime Warranty against leaks, wind noise, and manufacturer defects.
Contact AlexWindshield today to schedule your Mercedes-Benz vent glass replacement and experience the ultimate standard in mobile auto glass perfection.





