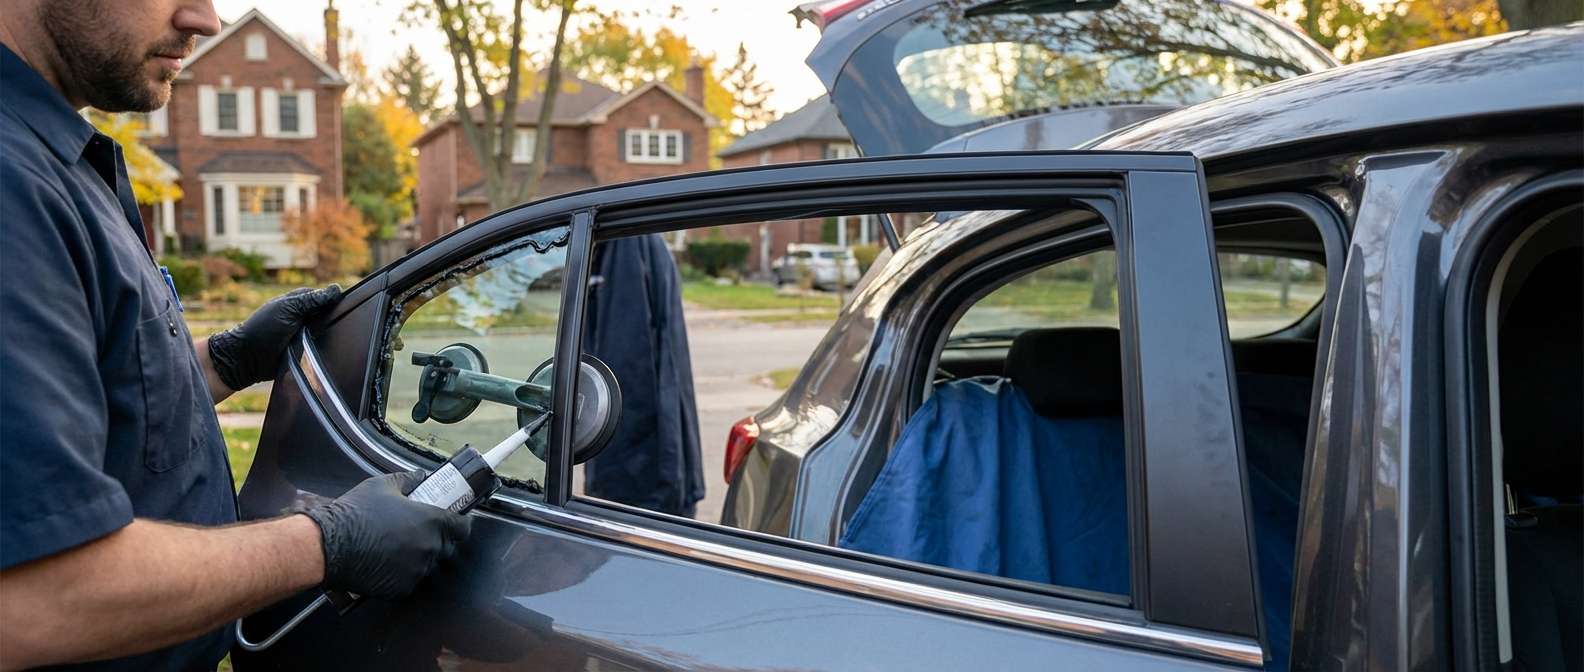
Why the Small Rear Door Glass on the Mazda3 Is a Common Break-In Target
If you walked out to your car and found the small triangular rear door window smashed, you are dealing with the most frequent break-in point on this vehicle. Thieves target the stationary rear door vent window because it sits directly beside the interior lock switch. Because this glass is tempered safety glass rather than laminated, it shatters into thousands of blunt fragments when struck, giving someone quick access to reach inside the cabin.
Those fragments drop straight down into the door shell. On this car, the bottom cavity of the door houses the window regulator tracks and audio speakers. If the broken tempered glass is not completely cleaned out from the inner door bottom, loose shards will rattle around over bumps or physically wedge inside the track of the main roll-down window, scoring the tint or jamming the motor. Cleaning out the inner door skin completely is an essential part of putting this right.
Sedan vs. Hatchback and Japan vs. Mexico Build Details
Replacing the stationary rear door glass on the BM and BN series (spanning the 2014 through 2018 model years) requires checking your VIN before ordering parts. Mazda produced these cars in two main locations: Hofu, Japan (VINs starting with JM1) and Salamanca, Mexico (VINs starting with 3MZ). While both use fully framed rear doors where the vent glass sits inside the door structure rather than glued to the exterior pillar, weatherstripping and division channels can have subtle variations between assembly plants.
Body style also dictates how the glass secures inside the door. The 4-door sedan and the 5-door hatchback share the same general layout, but the hatchback utilizes a distinct rear door glass guide assembly that incorporates an upper retaining pin. Unlike fixed quarter glass on an SUV, this glass does not carry embedded antenna lines, defroster grids, or acoustic interlayers, but factory tint shades vary between the standard light solar green and the darker privacy glass found on upper trims like the Grand Touring.
Every aftermarket vent pane I install comes with a one-year warranty on the glass itself, backed by my lifetime guarantee covering the workmanship and seal integrity. Getting the vertical division bar (the steel glass run separating the roll-down window from the stationary vent) aligned down to the millimeter is critical. If the division bar is misaligned or the rubber run channel is pinched, you will immediately hear a sharp wind whistle at highway speeds or notice water weeping into the door panel seam.
Post-Replacement Inspection Checklist
After the rear door vent window has been replaced and the door put back together, inspect these vehicle-specific areas to ensure everything operates the way it did before the glass was broken:
- Main Window Travel: Roll the main rear door glass all the way down and back up. The front edge of the division bar guides this glass; the pane must glide smoothly without binding, dragging, or triggering the motor's anti-pinch stop.
- Division Bar Seating: Check the vertical black division bar between the two panes. It should sit completely flush with the upper door sash and lower beltline with no visible gaps in the rubber weatherstrip.
- Rattles Inside the Door: Tap gently along the lower plastic interior door trim panel and listen for stray tempered glass pellets sliding along the lower metal door bottom.
- Vapor Barrier Seal: Ensure the lower edge of the interior door card is dry and properly clipped, confirming the inner service hole moisture barrier was correctly reseated.
- Wind Noise at Speed: Drive the vehicle at 80 km/h or higher to verify there is no air hissing or rushing sound coming from the rear corner of the window frame.





