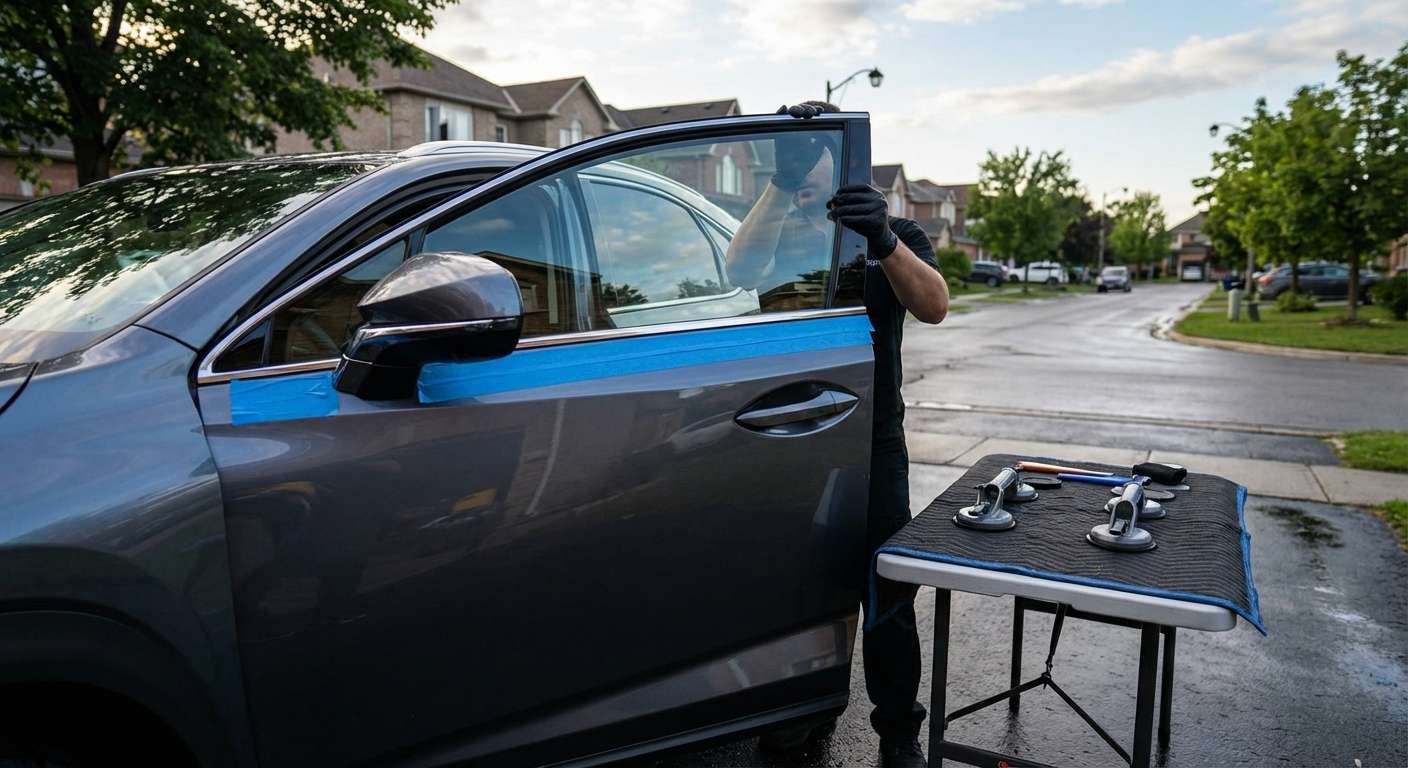
Lexus NX Door Glass Characteristics and Trim Differences
Replacing the movable side windows on the NX 200t, NX 300, or NX 300h requires paying close attention to factory acoustic layering and weather package variations. The front door glass uses a green solar-absorbing tint, with higher Luxury and F Sport packages frequently utilizing acoustic-laminated front panes to suppress roadway harshness. When ordering replacement glass, whether your crossover has the heavy weather package matters. Standard front left door glass corresponds to factory part 68102-78010 (and 68101-78010 on the right), while models built with the cold area package utilize part 68102-78040 (LH) and 68101-78040 (RH). The rear roll-up glass shifts from solar green to factory privacy glass under reference numbers 68104-78010/78020 on the left and 68103-78010/78020 on the right.
Unlike the windshield and rear liftgate on this crossover, the door glass is completely free of rain sensors, heating grids, antennas, and driver-assist cameras. The panels rely on pre-bonded lower brackets that drop into a dual-bolt, cable-driven regulator mechanism within the stamped steel framed door. I guarantee my installation workmanship for as long as you own the vehicle, alongside a one-year warranty on the replacement glass itself against manufacturing defects. Getting the fit right ensures you do not experience the common NX complaint of window buzzing or loose rattling when the panel is lowered an inch or two over rough pavement.
Framed Run Channels and Rear Division Bar Alignment
The doors on this model are full-framed rather than frameless, relying on a continuous molded rubber run channel that seats into the upper steel door frame. On the rear doors, the roll-up window travels directly alongside a vertical metal division bar channel that separates the movable glass from the fixed rear quarter vent assembly. If that division bar or the surrounding outer belt molding is misaligned even slightly, the glass binds inside the channel or catches on the weatherstrip.
A known trouble spot on this platform involves buffeting and highway air leakage localized near the exterior mirror sail panel and the upper forward corner of the window frame. Correctly seating the glass into the regulator clamps eliminates excess drag on the motor and keeps the panel tracking true into the upper header seal, preventing unwanted wind whistle at highway speeds.
Post-Replacement Inspection Checklist
After your new door glass is seated and reconnected, verify these model-specific items before hitting the road:
- Confirm the one-touch auto-up and auto-down functions work seamlessly from both the driver master console and the individual door switch.
- Test the anti-pinch safety mechanism; if the window reverses prematurely or fails to close automatically, perform the limit switch reset by holding the button in the fully closed position for several seconds.
- Check that the glass slides smoothly behind the rear door division bar without pulling the rubber seal inward or stuttering halfway up.
- Inspect the exterior belt molding along the bottom of the window frame to make sure it sits flat against the new glass surface to prevent water runoff into the inner door cavity.
- Listen for air rush or whistling along the front side mirror triangle trim while driving at highway speeds.
- Verify that the green solar tint on front replacements or the dark privacy tone on rear replacements matches the rest of your original factory glass.





