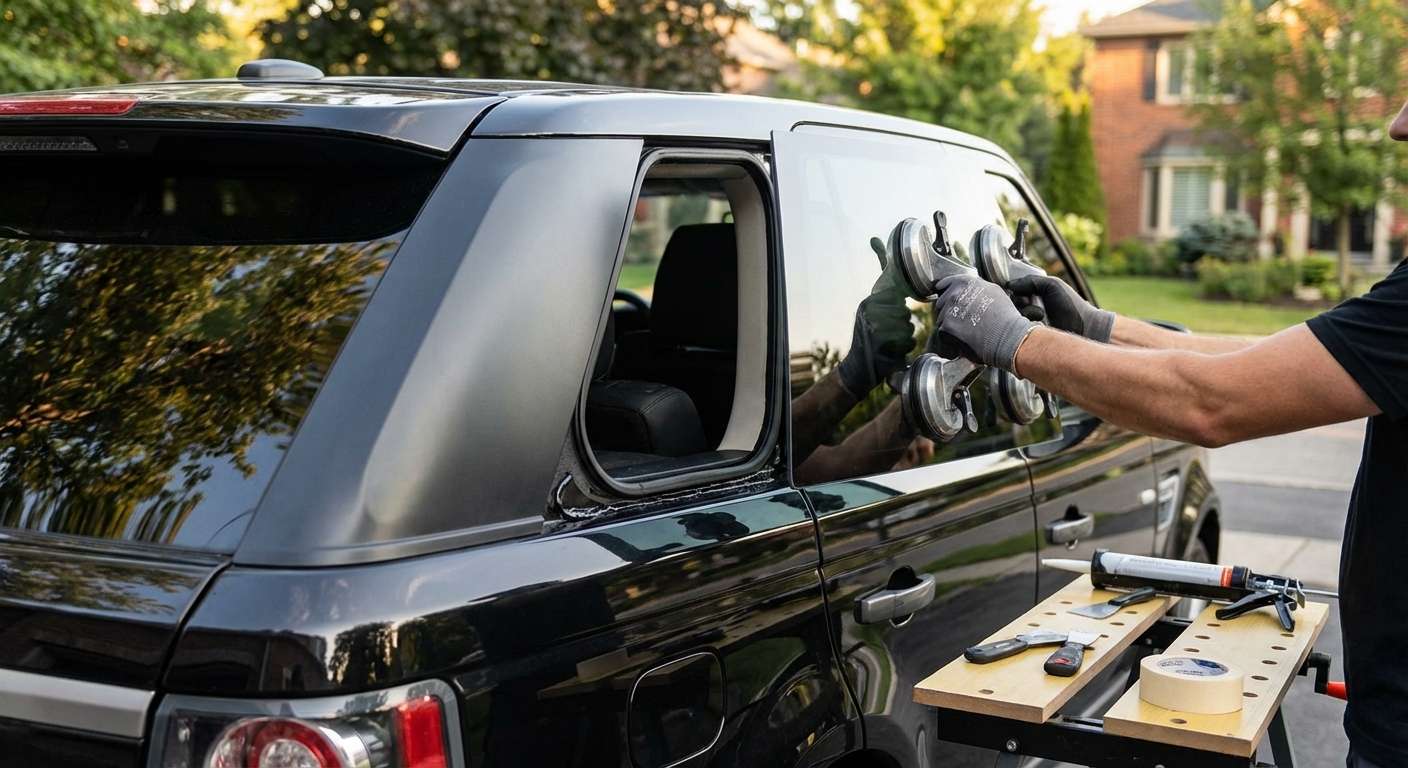
Replacing the L320 Rear Cargo Side Glass and Preserving Antenna Diversity
Replacing the stationary rear quarter glass on this truck requires accounting for more than just an exterior glass bond. Unlike the smaller, separate rear door vent glasses (cataloged as LR044523 and LR044524) that sit inside the moving passenger door frames, this body glass sits flush between the C-pillar and the rear hatch. The glass assembly incorporates a crucial embedded radio antenna grid designed for AM/FM diversity and auxiliary reception. The antenna grid pigtails route behind the interior pillar trim to connect straight into dedicated antenna amplifiers, meaning careless detachment will leave your audio system searching for static.
Factory variants originally ranged from standard Optikool green solar tint (dealer reference CPB500762 for right-hand and CPB500772 for left-hand) to deep factory privacy tint (CPB500782 right-hand and CPB500792 left-hand). When I replace broken quarter panels on this vehicle, I work strictly with aftermarket units sourced from manufacturers such as Pilkington, PGW, FYG, or XYG, ensuring the internal antenna lines and perimeter black ceramic frit band match factory visibility and line coverage.
D-Pillar Trim Clips, Water Ingress, and Aperture Flanges
Directly aft of this side glass sits the exterior vertical D-pillar finisher (part DDG000165PNP on the right, DDG000175PNP on the left). The finisher runs along the trailing edge of the window frame and shares space with the rear hatch aperture. Land Rover secured these satin black mouldings using plastic retaining clips (DYQ500060) that push into body inserts (DYA000040). These mouldings are notorious for sun degradation, and the plastic clips snap easily if handled roughly, leading to loose mouldings or highway rattles.
The cargo corners are also a primary site for mystery water leaks. Owners frequently discover water pooling in the rear electronics wells and blame the urethane seal of the quarter window, but the real culprits are usually cracked D-pillar clip grommets, aging tailgate surrounds, or disconnected rear sunroof drain tubes that route inches past the glass flange. When replacing the quarter glass, separating the interior upper C-pillar trim, upper D-pillar garnish, and lower luggage side panels allows me to inspect the body aperture directly, confirm the integrity of the wiring to the antenna module, and ensure the surrounding cavity is completely dry.
Post-Replacement Inspection Checklist
Once your new rear quarter glass is set, inspect the rear cabin and adjacent trim components carefully to ensure full functionality:
- Radio Reception: Switch across AM and FM bands to verify the embedded glass diversity antenna is operational and the internal amplifier harness was cleanly reconnected.
- D-Pillar Finisher Fitment: Check that the exterior vertical moulding alongside the trailing edge sits tight and completely flush against the vehicle body without broken clips or loose play.
- Perimeter Frit Coverage: Look through the exterior edge to ensure the dark ceramic frit band completely hides the body pinchweld and bonding line with no visible internal voids.
- Interior Trim Alignment: Confirm the interior C-pillar and D-pillar plastic mouldings have snapped fully back into their tracks around the window perimeter without pinching the cargo side liners.
- Dry Cargo Floor: Verify that the bottom edge of the glass aperture and surrounding trim wells remain dry after wet weather, confirming no water is tracking through adjacent pillar grommets or roof seams.





