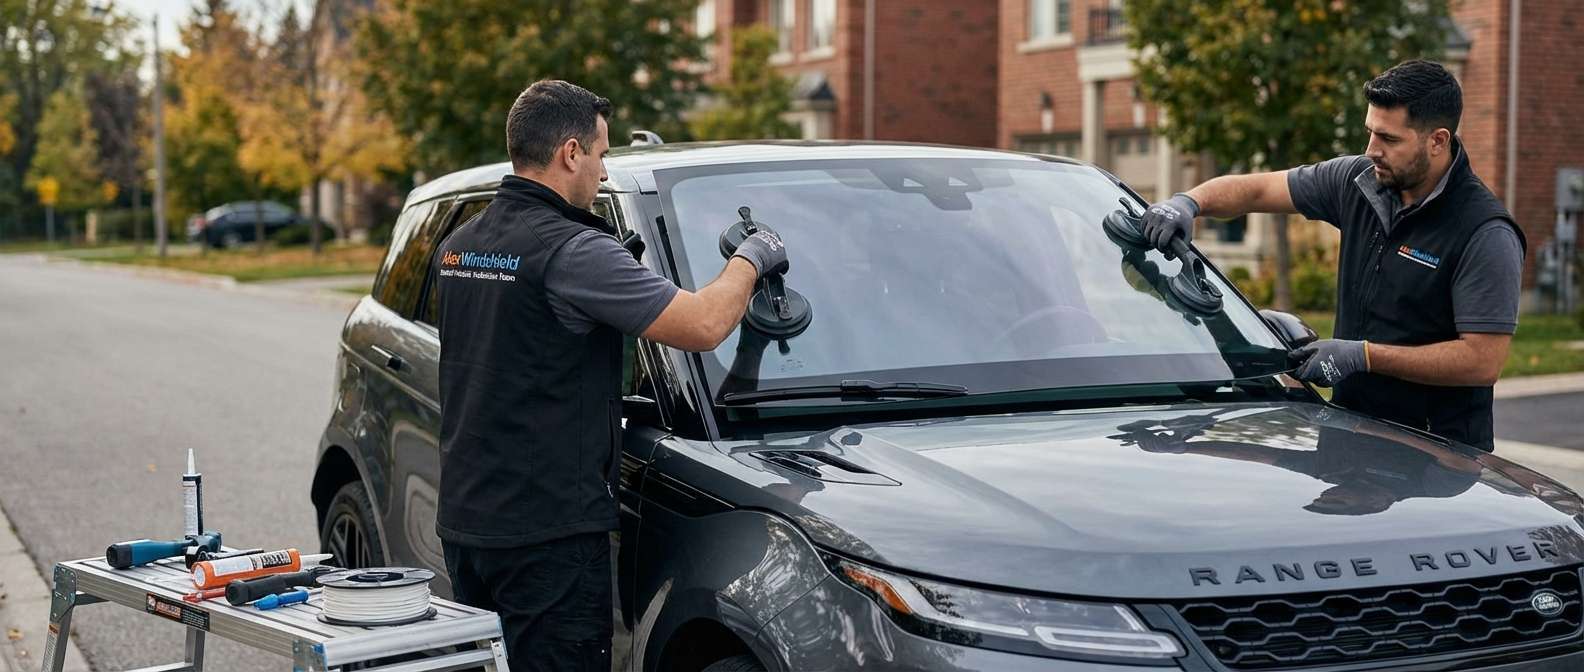
Matching the Correct Windshield Features on the L551 Range Rover Evoque
Replacing the front glass on this vehicle requires pinpointing your exact optical and electrical equipment before sourcing a replacement. Land Rover built three core variations for this production run, and putting in the wrong one will disable features or ruin visual clarity.
If your Evoque features the Head-Up Display projected onto the glass, the replacement panel requires a specialized wedge-shaped acoustic PVB interlayer. Installing glass meant for a non-HUD vehicle will cause heavy doubling and ghosting of your projected speed and navigation readouts. Additionally, many Evoques utilize full-surface micro-wire heating grids embedded throughout the viewing area alongside an infrared solar-attenuation layer. These variants correspond to dealer references such as LR186621 (heated, solar reflective, with HUD) and LR184682 (heated, solar reflective, without HUD), superseding older factory references like LR140189, LR159765, and LR181739. If your vehicle lacks solar treatment and HUD, the heated standard acoustic glass aligns with part reference LR186618.
When I inspect the replacement glass prior to placing it in your vehicle, I verify that the dual-purpose rain, humidity, and ambient light sensor bracket correctly matches your rearview mirror assembly, and that the black ceramic frit band neatly exposes the driver-side lower chassis VIN window. Because my operation is entirely mobile, I carry out the complete swap at your home or workplace anywhere across Toronto and the GTA, eliminating the hassle of dropping the vehicle off.
Critical Trim Interfaces and Moisture Risks
The perimeter around this windshield requires precise handling to prevent subsequent cabin leaks. Factory service campaigns like JLR Service Action N221 highlighted how susceptible this model is to water entry along the upper roof seam when bonding voids exist. Left unaddressed, moisture tracks down the interior A-pillars and pools in the front floor pans, eventually dripping directly onto sensitive junction boxes and electronic control modules tucked beneath the dashboard.
The physical surroundings of this windshield feature delicate trim components:
- A-Pillar Finishers: The gloss black side mouldings run the height of the glass and rely on single-use retention clips that snap easily during removal. If deformed clips are reused, the pillar trim lifts at highway speeds, creating wind buffeting.
- Two-Piece Cowl Scuttle Panel: The base of the glass slots into an integrated plastic retention bead beneath the wiper arms. This must be cleared of road debris and seated firmly so runoff directs into the drain channels instead of into the cabin fresh-air intake.
- Dual Corner Power Ribbons: For vehicles equipped with the heated windscreen grid, two low-profile electrical bus ribbons sit under the scuttle in the lower corners. These must be clean, dry, and securely clipped back into the vehicle harness to prevent partial grid failure.
- Panoramic Roof Header: On models with the full fixed glass roof, the upper reveal moulding has tight clearances. The vertical height of the replacement windshield must align flush with the fixed roof edge to avoid wind whistle.
Post-Replacement Inspection Checklist for Owners
Once your new windshield is fitted, check these vehicle-specific points before driving normally:
- Verify that the gloss black exterior A-pillar mouldings sit completely flat against the body panels with no loose edges or popped clips.
- Inspect the base scuttle cowl to confirm it is snapped evenly into the lower windshield retention channel across its entire width.
- Turn on the front defroster switch to ensure the micro-wire heating elements warm the full viewing area uniformly without cold stripes on either side.
- Confirm that your Head-Up Display (if equipped) appears sharp and readable without blurred secondary ghost images.
- Check the driver-side lower ceramic frit cut-out to ensure the chassis VIN plate is completely visible and centered.
- Check your cabin footwells and A-pillar fabric after the first heavy rainfall or wash to confirm there is no dampness from upper-edge leaks.





