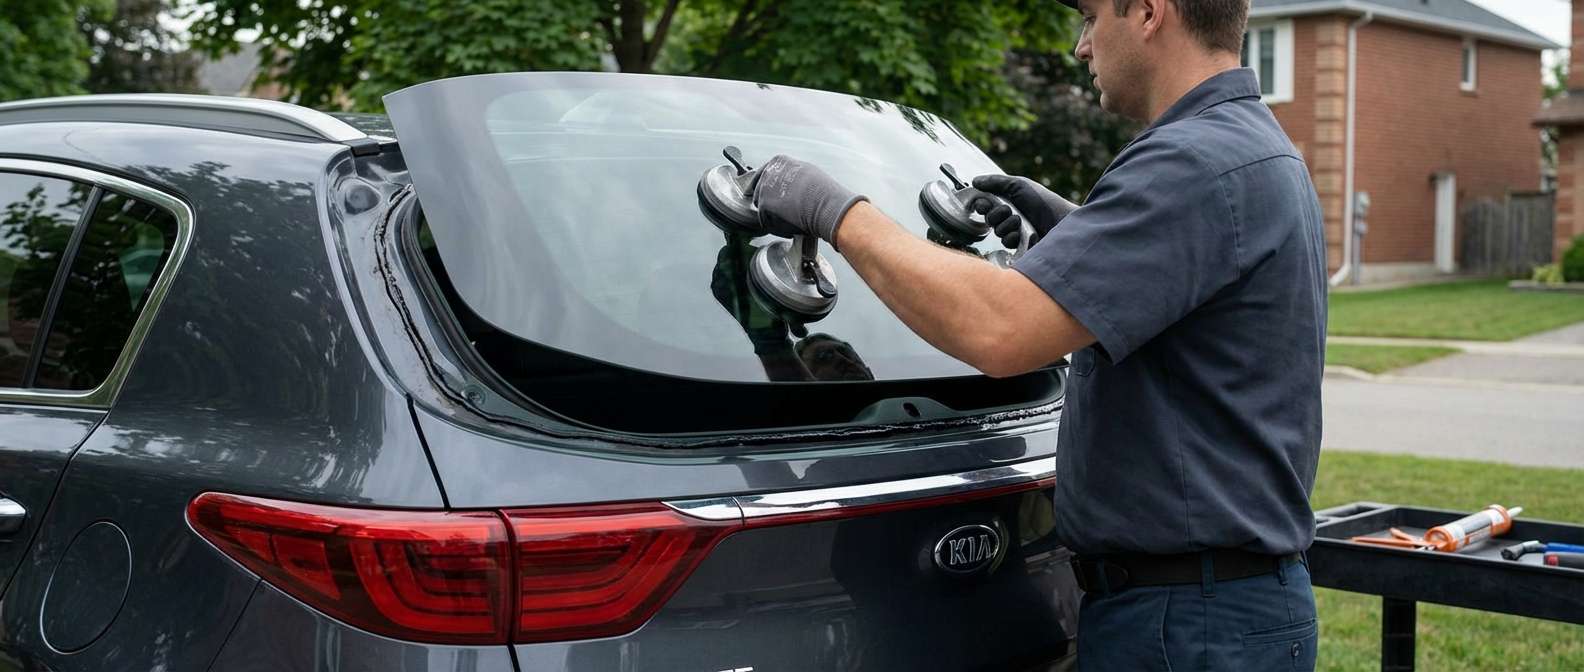
Matching the Rear Glass Options on Your Sportage
Determining the exact replacement back glass for your liftgate comes down to your factory tint level and trim package. Kia built this crossover with a completely fixed rear window, but the glass came from the factory in two distinct variations across the production run. The primary distinction is whether your liftgate carries dark privacy glass or a standard light solar tint.
If you drive an LX model, your rear hatch typically came equipped with the lighter, green-tinted solar glass (corresponding to factory reference 87110-D9000). On the EX, S, Nightfall Edition, or the SX Turbo, Kia installed dark factory privacy glass with an approximate 20 to 25 percent visible light transmission level, matching dealer part 87110-D9010. You do not need to worry about complex glass variations involving embedded antenna grids or ADAS camera brackets back here; your radio reception runs through the exterior roof-mounted shark fin above the hatch, and the rearview backup camera sits below the glass frame inside the tailgate handle garnish.
QL Platform Glass Architecture and Liftgate Components
The back glass on this fourth-generation QL Sportage is a single-layer curved tempered panel masked with a wide ceramic frit border. Because it is tempered, heavy impact or sudden localized thermal stress from the heating grid in sub-zero winter temperatures causes the entire panel to crumble into small pebbles rather than crack like a laminated front windshield. When this happens, replacement requires ordering glass designed specifically for the rear wiper spindle hole pre-cut through the lower section of the pane.
Every replacement aftermarket back window I supply carries a one-year warranty against any material defects, and I stand behind the structural seal and water-tightness of my installation work for as long as you own the vehicle. The glass sits recessed beneath the overhanging roof spoiler that integrates the high-mounted center stop lamp and the rear washer fluid jet. Down the outer sides, gloss or matte black vertical side garnish panels run parallel to the liftgate pillars, framing the perimeter of the urethane bond alongside lower alignment spacers (OEM 86114-2L000) that maintain the factory-correct height.
Post-Replacement Inspection Checklist
Once I have finished installing the new rear window and reassembled your interior liftgate trim panels, you should inspect the finished tailgate to make sure all integrated functions and trim pieces perform correctly.
- Rear wiper operation: Turn on the rear wiper stalk to verify the wiper arm sweeps smoothly across the glass without catching on the central rubber pass-through grommet or binding on the glass cutout.
- Washer spray angle: Trigger the rear washer fluid to ensure the spray nozzle nestled inside the upper roof spoiler sprays directly onto the glass rather than overshooting the roof or trickling down behind the trim.
- Electric defroster grid: Switch on the rear defroster inside the cabin; confirm that the soldered wiring leads (reference 87115-D2000) heat every grid line across the glass evenly without tripping the interior timer circuit.
- Side garnish alignment: Check that the exterior vertical black trim pillars alongside the glass sit flush with the surrounding metal tailgate edge and leave an even gap on both sides of the glass border.
- Interior hatch trim: Ensure the lower plastic tailgate liner and upper inner garnish frames have snapped fully back into position without loose clips or rattles when closing the hatch.





