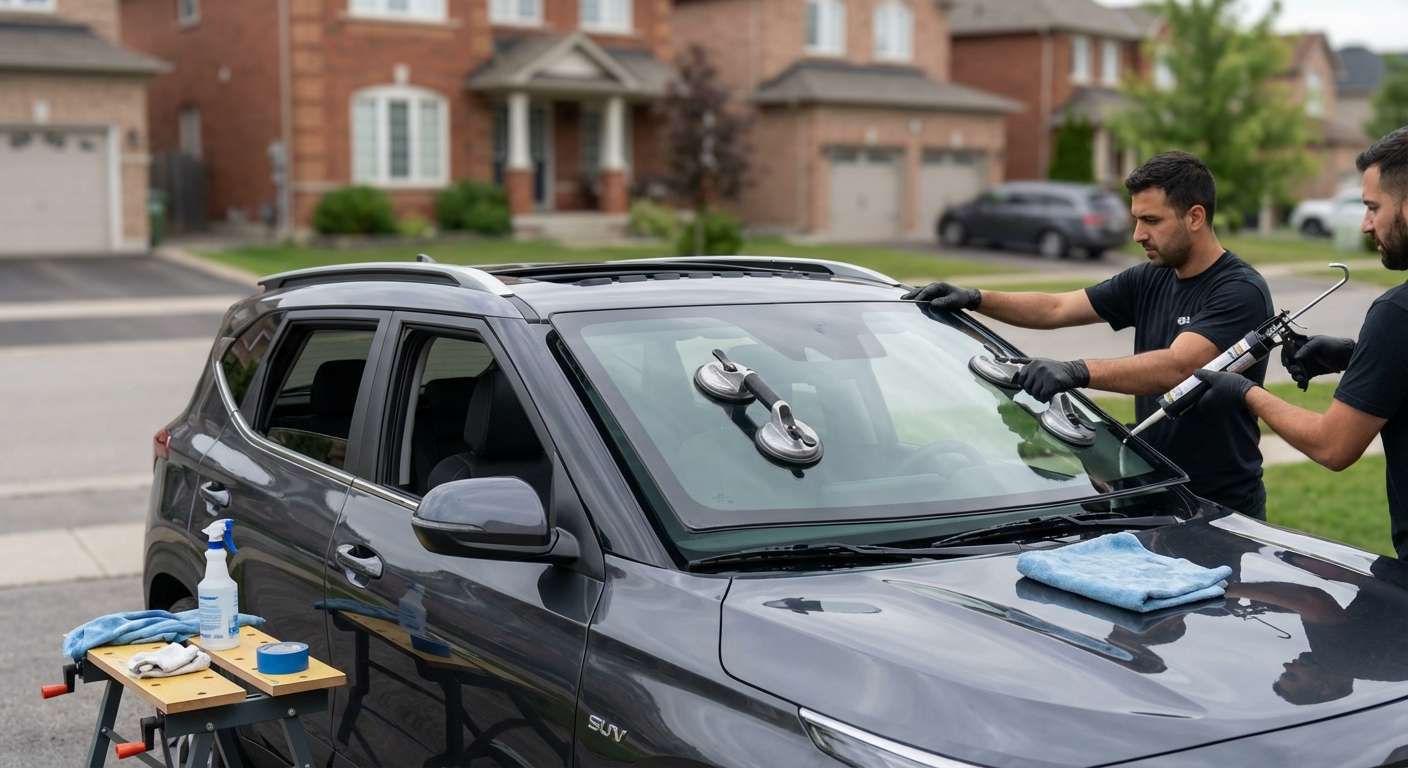
Inspecting the Kia Seltos Sunroof Panel Before Mounting
When unboxing the replacement glass for your Seltos, the first detail I examine is the factory-bonded perimeter rubber encapsulation moulding. Unlike a windshield that relies on liquid urethane beads on a pinchweld, this horizontal tilt-and-slide unit depends entirely on the condition of its pre-attached perimeter seal to compress uniformly against the sheet metal roof cutout. If that rubber has any nicks, compression sets, or manufacturing separation from the glass edge, water will bypass the seal and overwhelm the internal drainage gutters. The panel itself is a single sheet of dark-tinted, heat-absorbing tempered safety glass that mirrors the OE dealer unit (part number 81630-Q5000), leaving out any acoustic interlayers, heating traces, or antenna wires because Kia keeps those systems routed elsewhere.
I also inspect the underside mounting brackets bonded to the lateral edges of the glass. These metal brackets receive the Torx fasteners that tie directly into the left-hand (81617-M6000) and right-hand (81618-M6000) drip links on the guide rails. Because I run a strictly mobile operation where I travel directly to your driveway or office parking spot across Toronto and the GTA, I make certain these bonded brackets are completely straight before unscrewing the damaged panel on your vehicle. Any slight warpage in the bracket stamping from transit will cause the glass to bind inside the roof cassette.
Post-Installation Alignment and Mechanical Verifications
Once the glass is secured to the slide mechanism, precise mechanical height adjustments are mandatory before testing the motor:
- Flushness and Reveal Tolerances: The leading edge of the glass should sit approximately 1 mm lower than the front roof panel to deflect highway airflow over the gap, while the trailing edge must sit flush or roughly 1 mm higher than the rear roof skin to prevent turbulent wind noise.
- Deflector Operation: As the panel retracts rearward, verify that the front mesh pop-up wind deflector rises smoothly on its pivot arms without binding or cracking against the leading edge of the new glass frame.
- Cloth Sunshade Clearance: Slide the interior manual sliding cloth shade (assembly code 81666) back and forth by hand to confirm it does not snag against the Torx screw heads or bracket covers along the lower track edges.
- Motor Anti-Pinch Operation: Run the single forward electric motor through a full tilt, slide, and close cycle to confirm the track travel is level. If the glass binds, the pinch protection will automatically reverse the panel.
- Trough and Drain Clearing: Because shattered tempered glass from a broken sunroof cascades into the cassette channels, the four corner drain lines routed through the A-pillars and C-pillars must be flushed so run-off exits cleanly into the wheel arches.
Do base Kia Seltos trims share this same glass?
No. Base trims like the Seltos LX and entry S models were built with a solid steel roof. This tilt-and-slide glass panel is exclusive to the EX, SX, and SX Turbo packages that received the factory-equipped single-pane power sunroof option.
Can this replacement panel fix interior water dripping on my headliner?
Only if the leak was caused by torn encapsulation rubber or physical glass fracture. If the glass itself is unbroken, water leaking onto the headliner fabric is almost always caused by loose or clogged A-pillar drain tubes rather than the glass panel itself.
Is this a full panoramic glass roof?
No, the North American Seltos features a traditional, single-pane horizontal tilt-and-slide unit over the front row seats, rather than the extended, multi-section panoramic glass roofs found on larger Kia crossovers.





