Solving Rio Sunroof Leaks, Wind Noise, and Creaks
Most drivers dealing with a compromised sunroof on the Rio are hunting down the source of damp headliners around the front map lights or an irritating chatter over rough pavement. The factory assembly uses an encapsulated perimeter rubber seal molded directly around the tempered solar-tinted glass pane, sitting flush within the stamped roof skin without any external plastic surround moulding. Over time, road grit works its way into that perimeter gasket, causing it to grab against the painted aperture edge and create a persistent creaking noise above your ears.
Water intrusion is the other frequent issue on these cars. The sunroof frame relies on a hidden perimeter catchment channel connected to four drainage tubes running down through the A-pillars and rear C-pillars. If road debris bypasses the outer rubber lip, it settles in those corner troughs. When the front lines clog, overflow drips straight past the headliner fabric onto the A-pillar plastic trims, often misdiagnosed as a leaking windshield corner rather than an overwhelmed sunroof drainage tray.
Mechanical Setup of the Tilt-and-Slide Glass Panel
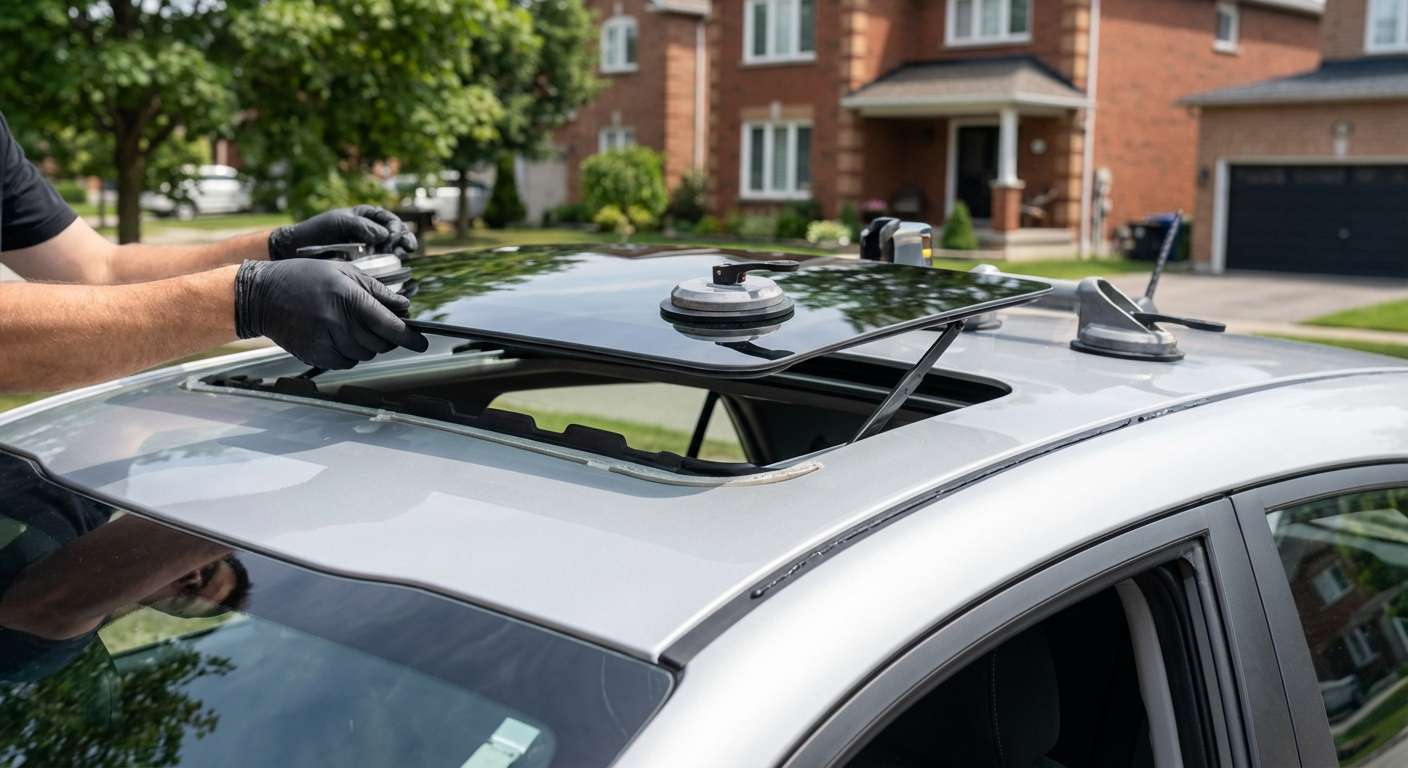
Unlike panoramic roofs seen on larger crossovers, this subcompact platform relies on a compact single-pane assembly. The glass panel features pre-bonded side metal mounting brackets secured directly to the track carriages with Torx screws behind flexible interior accordion side boots. When swapping out a shattered panel, I supply high-grade aftermarket replacement glass sourced from trusted manufacturers like Fuyao, XYG, and Pilkington rather than buying marked-up dealer stock.
Because the panel carries no embedded antennas, rain sensors, or camera brackets, mechanical alignment dictates the entire quality of the replacement. The electric drive motor, tucked adjacent to the overhead console switch pack, features an integrated pinch-protection system. If the glass binds against the roof aperture due to slight height discrepancies, the anti-pinch logic automatically reverses the motor. Furthermore, whenever the battery is disconnected during repairs, the motor forgets its end-stops, requiring an initialization sequence—holding the tilt switch forward until the glass stutters and completes a full open-close cycle—to reactivate the automatic one-touch operation.
Post-Replacement Inspection Points
Once a replacement glass panel is seated and secured into the Rio's roof tracks, inspect the mechanical and physical tolerances before driving:
- Glass height indexing: The leading edge of the glass should rest slightly below (roughly 1 mm) the steel roofline to prevent wind noise, while the trailing edge should sit flush to slightly above the roof plane to smooth trailing airflow.
- Perimeter seal contact: Verify that the molded edge seal compresses evenly along all four sides of the roof cutout without bunching, buckling, or pinching at the rear corners.
- Deflector deployment: Slide the roof fully open and confirm that the forward spring-loaded wind deflector flips up smoothly without snagging against the bottom of the glass.
- Cloth sunshade operation: Check that the manual opaque interior sunshade slides freely within its dedicated headliner channel without catching on the side bracket hardware.
- Drainage flow: Pour a controlled amount of water into the exposed perimeter tray with the roof retracted to verify clean exit drainage behind the front wheel wells and rear quarter panels.
- Anti-pinch and one-touch logic: Test the overhead switch to ensure the motor closes with a single press and reverses if it encounters light resistance.





