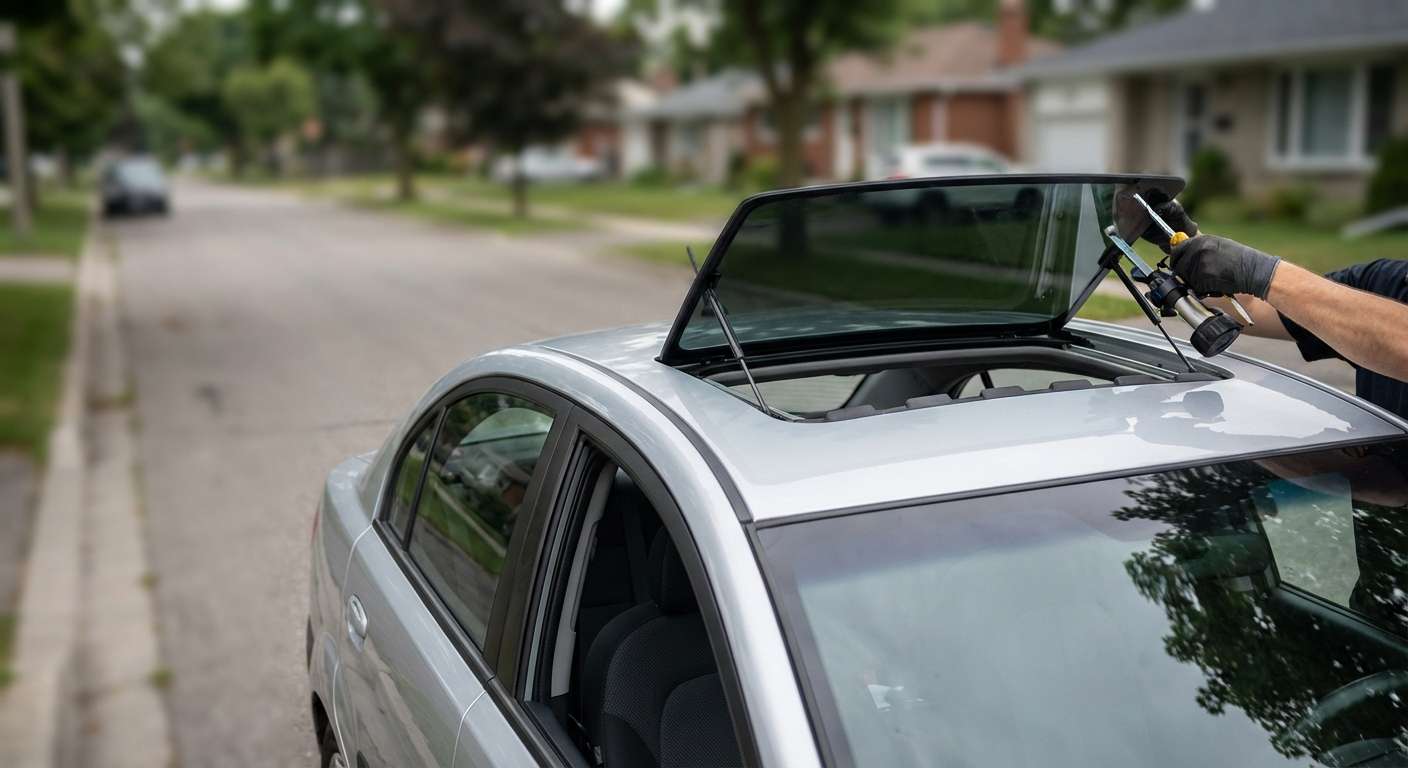
Vulnerabilities of the Rio Moonroof Glass and Track Frame
When impact damage shatters the dark-tinted tempered glass on this roof, the breakage rarely happens in isolation. The factory glass panel assembly, indexed under OEM part number 81610-1G000, sits directly above an internal tilt-and-slide mechanism designed to tuck backward into the ceiling. Because the tempered panel breaks into thousands of blunt granular chunks upon impact from road gravel or falling debris, those dense fragments immediately drop past the edges of the cloth-covered sliding sunshade and land directly in the lower cassette pan. Left unaddressed, these glass shards wedge into the side guide rails, jam the mechanical drive cables, and damage the motorized track assembly—originally cataloged under full assembly numbers 81600-1G010LX or 81600-1G010RU depending on whether the car had a beige or grey interior package.
Unlike fixed quarter glass or windshields, replacing this panel requires managing mechanical alignment tolerances. The glass panel mounts to the internal drive links via side brackets bonded directly to the glass frame. If an impact bends these steel tabs or fractures the encapsulated perimeter weatherstrip molding that rings the glass edges, wind buffeting and cabin water ingress will follow quickly. When sourcing replacement glass panels, I exclusively install quality aftermarket units manufactured by trusted brands such as FYG, Pilkington, PGW, or XYG, which mirror the factory edge curvature and perimeter rubber tolerances precisely.
Addressing Cabin Water and Wind Issues on JB Sedans and Rio5 Models
Water pooling on the front seats or soaking into the molded headliner of the JB series Rio sedan or the Rio5 five-door hatchback is commonly blamed on a shattered panel, but the seal design plays a central role. The moonroof was predominantly fitted on upper trim levels like the Rio SX or cars ordered with the factory Power Package. The rubber perimeter weatherstrip built onto the edge of the glass panel is not designed to be completely airtight; its purpose is to deflect direct runoff while four hidden cassette drain hoses—routing through the front A-pillars and rear C-pillars—shed whatever moisture bypasses the outer edge.
When the glass breaks or the factory encapsulation rots, heavy downpours overwhelm these internal channels. Debris from shattered tempered fragments can also wash straight down into the cassette drain troughs, clogging the hose barbs. Replacing the panel solves only half the failure if the mounting brackets are misaligned against the roof opening flange, causing high-speed cabin whistle and allowing sheet water to breach the perimeter seal faster than the internal cassette can drain it away.
What to Inspect Once the New Glass Panel Is Bolted In
Because this vehicle does not rely on glued-in urethane beads for the roof panel, mechanical fitment determines whether the cabin stays dry and quiet. Once the replacement panel is secured, examine these specific points:
- Flush roof alignment: Check that the outer glass edge sits entirely level with the stamped steel roof skin—it should rest roughly one millimeter below the leading roof edge and one millimeter above the trailing edge to deflect highway airflow cleanly.
- Perimeter rubber contact: Confirm that the molded rubber seal makes continuous, uniform contact against the body aperture flange all the way around with no pinched or sagging sections.
- Tilt and slide movement: Verify that the panel rises into the vent position without straining and slides back smoothly between the roof panel and headliner without clicking or jumping teeth on the drive tracks.
- Sunshade clearance: Ensure the manual sliding sunshade glides forward and back on its tracks without catching on the lower edge of the replacement glass brackets.
- Interior side trim clips: Confirm that the plastic interior side covers flanking the glass hardware are clipped firmly back over the bracket adjustment screws to prevent interior rattles.





