Matching the Acoustic Layer and Solar Coating Before Fitting
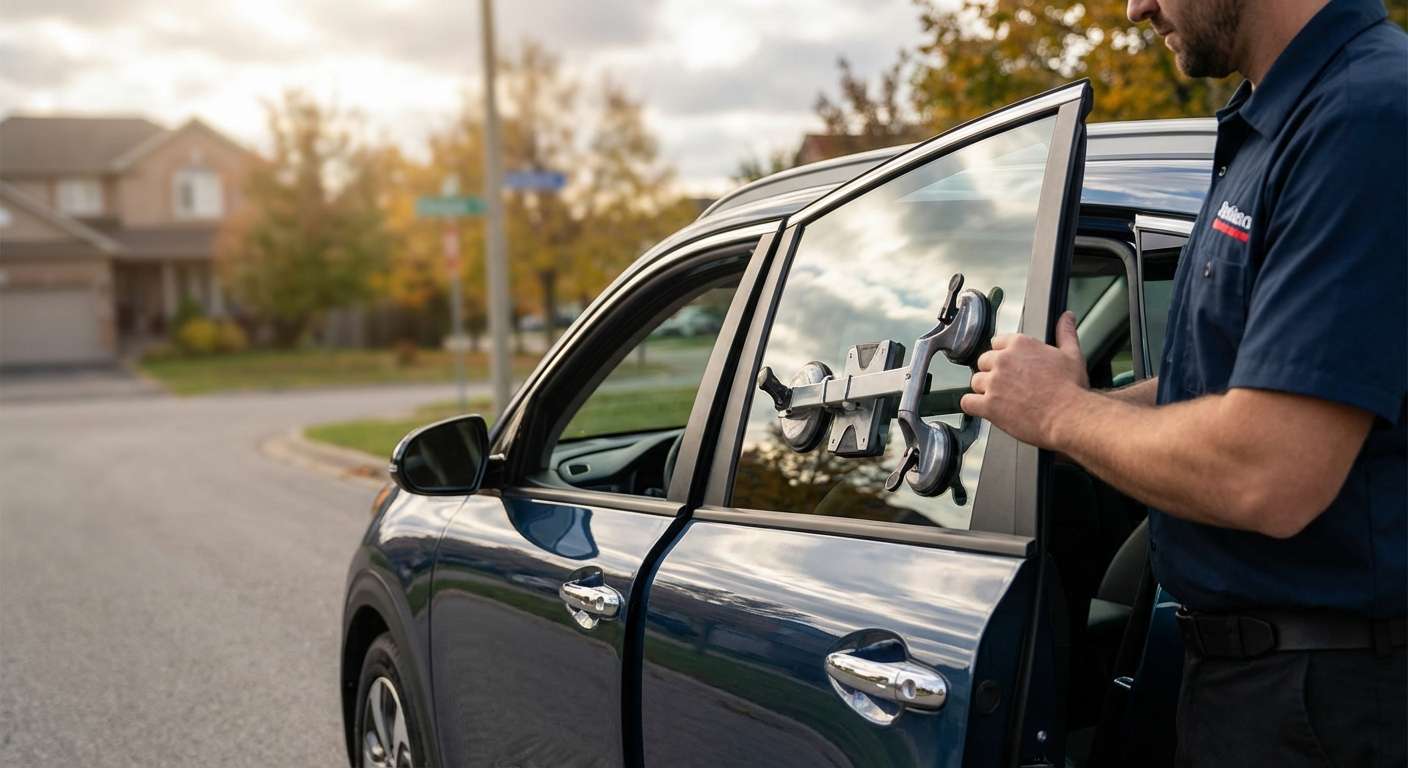
When unboxing replacement door glass for this crossover, the first detail I inspect is the edge profile to confirm whether the panel is solid tempered glass or an acoustic laminated composite. On upper trims such as the SX, SX Touring, and the Niro EV models built on the SG2 platform, Kia equips the front doors with dual-pane acoustic glass engineered to quiet cabin turbulence and tire hum. Installing a standard tempered panel on a vehicle built for acoustic glass noticeably increases wind noise along the A-pillar. Factory panels correspond to OEM part numbers 82410-AT020 for the front left driver side and 82420-AT020 for the front passenger side, both carrying an integrated solar-control interlayer that matches the subtle green heat-rejecting hue of the original windshield.
I also inspect the bonded composite mounting brackets pre-set along the bottom edge of the glass before sliding it into the door shell. These bottom clips must match the precise pin spacing of the Niro's cable-and-drum window regulator tracks mounted to the inner steel carrier panel. If a mounting clip is skewed even two millimeters out of square from the factory tooling spec, the panel will tilt forward during upward travel, putting uneven pressure on the regulator guides. If you are dealing with broken glass after a break-in, I can usually be at your driveway roughly an hour after you book so the exposed interior does not sit open to weather.
Seating the Glass in the SG2 Door Run Channels and Waist Sweeps
Because the Niro uses a traditional framed door design rather than a frameless setup, the glass relies entirely on the molded rubber run channels pressed into the upper door frame and the inner and outer beltline weatherstrips. Once the glass rests on the regulator lift points, I verify that the vertical edges have slipped fully into the felt-lined rubber guides. If the rear vertical edge catches against the rubber fold instead of resting inside the track groove, the glass binds halfway up the frame, causing the regulator motor to strain or pull the glass askew.
The interior door card and the inner moisture barrier shield the door cavity, and clearing every shard of broken glass from the bottom channel before dropping the new pane in is essential. Any leftover fragments sitting inside the lower rubber stoppers prevent the glass from bottoming out correctly when rolled all the way down, which risks scratching the replacement glass or popping the cable off the drum.
Testing Pinch-Protection Logic and Window Regulator Travel
After the mechanical hardware is secured, I check the auto-reverse safety circuit built into the driver door switch gear. The Niro features an automatic up-and-down function governed by an internal pinch-protection sensor. When a new glass panel is fitted, the regulator control module must learn the exact resistance profile of the rubber run channel. If the glass binds against dry rubber seals, the module misinterprets the friction as a trapped object and immediately reverses travel, dropping the glass down several inches.
I cycle the window through five complete travel sequences, testing both the manual switch detent and the full auto-up stroke. The glass must slide smoothly past the outer belt sweep without dragging the rubber down into the door cavity, and it must seat firmly inside the top header weatherstrip without the motor clicking repeatedly. Listening closely during upward travel also confirms that the bottom mounting clips are not flexing against the regulator cradle, guaranteeing a rattle-free seal at highway speeds.





