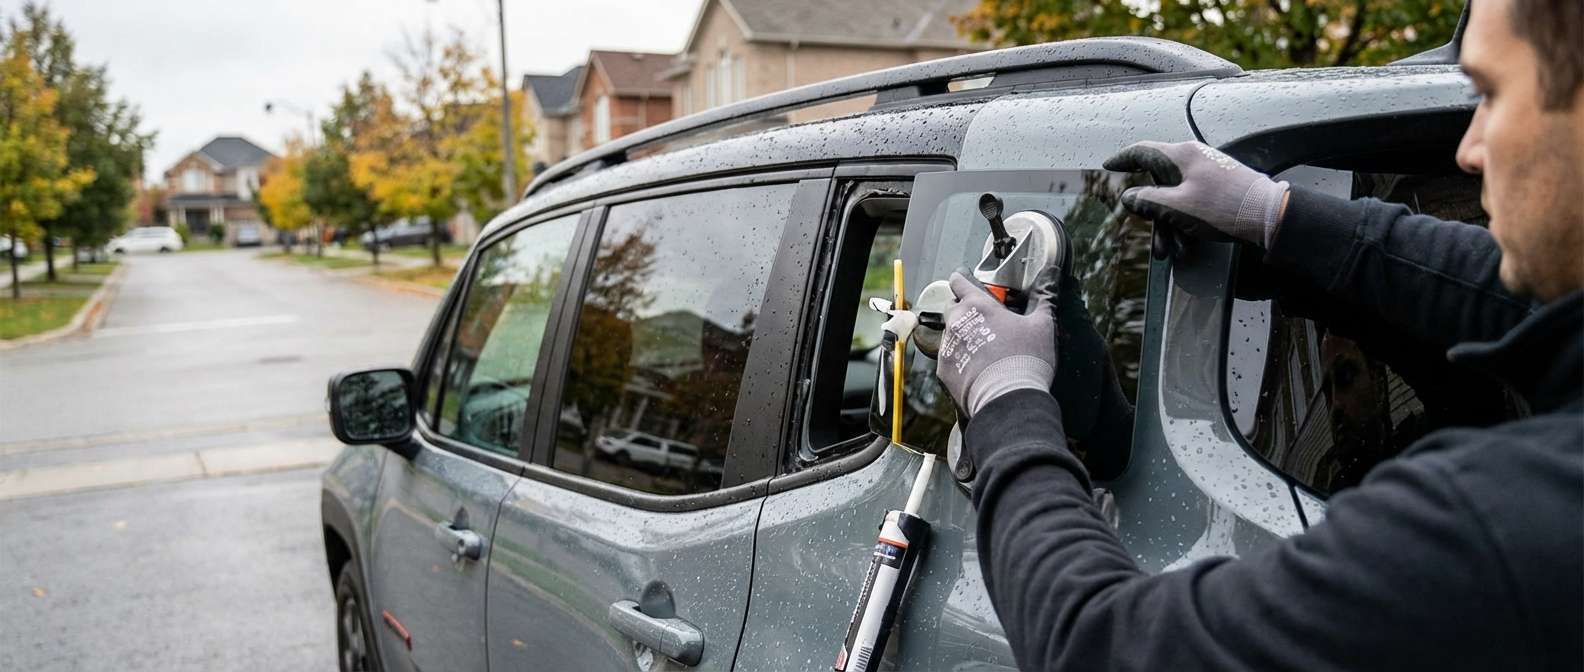
Pre-Fit Checks for the Renegade Encapsulated Quarter Vent
Before fitting a front door vent into a Renegade door frame, I closely verify the integrated perimeter rubber molding. On this model, the stationary vent is fully framed and permanently encapsulated in its rubber surround rather than sitting on bare glass edges. I examine the lower forward corner where the molding contours past the exterior side rearview mirror base, looking for any flash distortion or uneven rubber thickness. Because this triangular pane contains no defroster grids, light sensors, or radio antennas, the physical inspection centers on the rubber profile and the vertical rear edge that slots against the metal division bar.
I also verify that the replacement panel carries the correct standard solar-green tint matching the rest of the front cabin glazing across trims like the Latitude, Sport, and Trailhawk. For every job on this door, I supply quality aftermarket glass sourced from manufacturers like PGW, FYG, XYG, or Pilkington, ensuring the molded edge matches the factory channel footprint. The table below outlines the factory part revisions and locations for this specific door pane.
| Position | Latest Mopar Reference | Superseded Numbers |
|---|---|---|
| Front Left (Driver Side) | 68642222AA | 68361373AA, 68256318AA |
| Front Right (Passenger Side) | 68642032AA | 68361345AA, 68256317AA |
Division Bar Geometry and Window Travel Verification
The central structural hurdle on this door is the vertical metal division bar that separates the fixed vent from the main roll-down window. This division bar serves two purposes: it anchors the rear edge of the vent rubber and acts as the front guide channel for the descending door glass. Once the vent is seated, I immediately test the alignment of that channel before refitting the door card and speaker assembly.
If the lower division bar bracket is bolted down even two millimeters out of parallel, the main window will bind inside the felt run channel on its upward stroke. When the Renegade window regulator senses that resistance, the anti-pinch safety mechanism trips, immediately sending the movable glass back down. I run the roll-down window through multiple cycles to ensure the edge glides smoothly past the division bar without dragging the channel felt or triggering an unwanted auto-reverse.
Eliminating Seal Puckering and Highway Air Leaks
FCA published technical service bulletin MC-10247471-9999 to resolve complaints about wind noise, whistles, and deformed window channel seals on these front doors. A major cause of that cabin draft originates directly at the junction where the vent glass encapsulation meets the horizontal outer belt weatherstrip and the A-pillar corner.
- Outer Belt Weatherstrip Seating: I check that the horizontal beltline molding sits completely flat against the base of the vent encapsulation without puckering upward near the side mirror housing.
- Division Post Junction: I verify that the vertical glass-run lip does not pinch or fold inward against the movable glass, which creates a gap for highway air infiltration.
- Mirror Base Compression: I inspect the seal gap where the exterior mirror triangular mount meets the forward edge of the vent to ensure there is continuous compression against the sheet metal frame.
A final visual inspection along the exterior door frame confirms the glass sits flush within the steel recess. Any misalignment at the division post alters how air breaks over the front pillar, so ensuring the rubber lays flat prevents the whistling issues common to these Small Wide platform doors.





