Dry-Rotted Rubber and Cargo Leaks on Grand Cherokee Side Windows
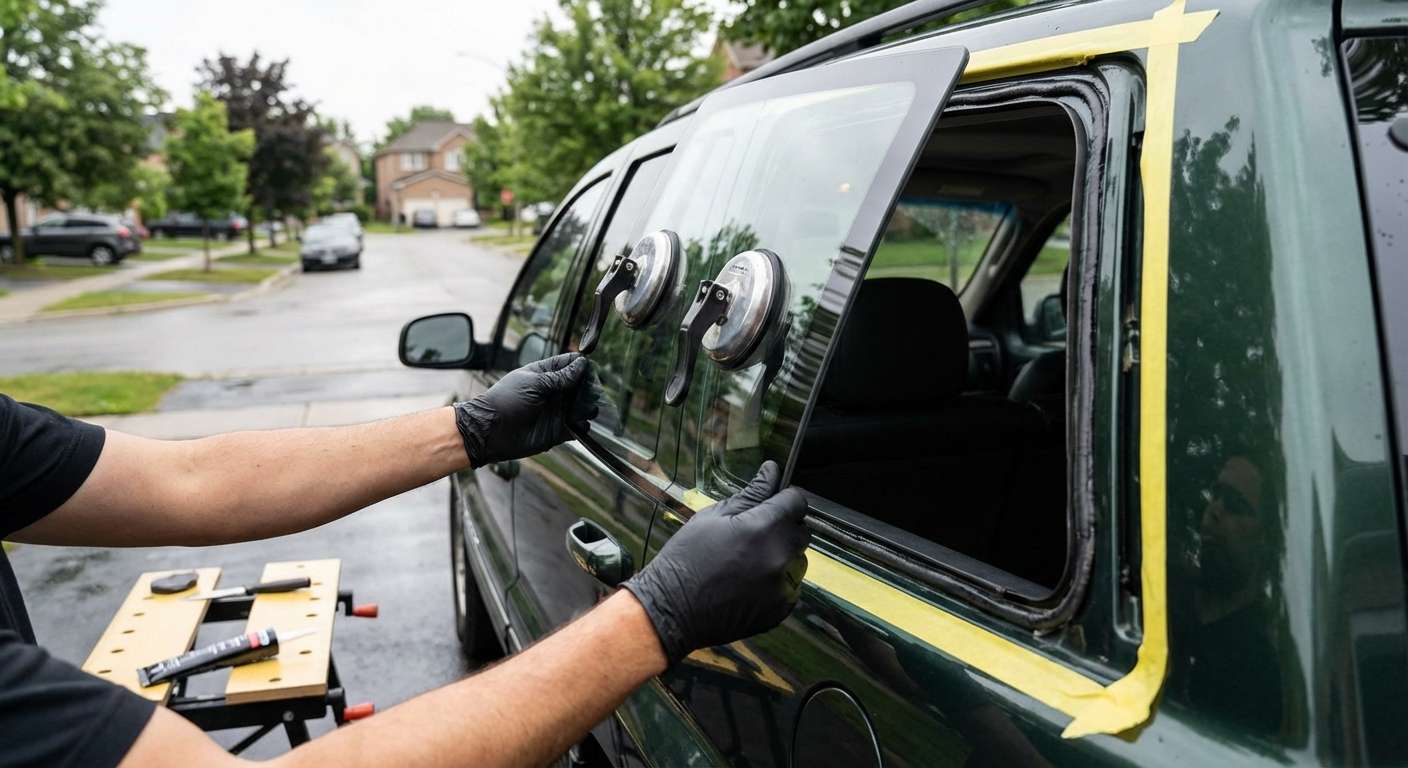
Deterioration of the factory perimeter rubber molding is the main reason drivers seek out new rear side glass for this vehicle. On Jeep forums, owners frequently post photos of the black rubber surrounding the rear quarter window dry-rotting, cracking into chunks, or shrinking away from the steel unibody. Because this outer surround is encapsulated directly onto the tempered glass at the factory, you cannot order or snap in a fresh outer rubber seal by itself; the complete stationary glass unit has to be replaced to restore that clean exterior line.
Water pooling beneath the rear carpet or filling the spare tire well is another issue that brings owners to this glass. While tail lamp housing grommets and worn liftgate weatherstripping are the usual suspects on this body, the polyurethane bonding beneath an original quarter pane can let go after decades of vibration. When water bypasses the aged seal between the C-pillar and D-pillar, it runs down behind the internal plastic cargo trim panels and settles unseen under the trunk floorboard.
Factory Tint Differences: Laredo versus Limited and Overland
Matching the replacement glass to the rest of the vehicle requires identifying your factory glass tint level. The rear side glass does not feature radio antennas, defrost elements, or embedded wiring on North American builds, because the antenna mast sits up front on the passenger fender. The only critical visual distinction is the light transmission of the glass itself.
| Glass Variant | Factory Finish | Standard Trim Level Fitment |
|---|---|---|
| Solar-Control Green | Clear glass with standard light green heat-rejecting tint | Base Laredo models without optional luxury packages |
| Sunscreen Privacy | Deep dark tint matched to rear passenger doors and liftgate | Limited, Overland, and Laredo models equipped with privacy packages |
I operate entirely on a mobile basis, bringing the replacement glass and tools straight to your home or workplace across Toronto and the GTA to carry out the work on-site. Every aftermarket unit I fit comes with the encapsulated perimeter molding pre-attached and the black ceramic frit band baked onto the interior perimeter to shield the adhesive from sun damage.
Quarter Glass vs. Door Regulator Failures
WJ owners spend plenty of time talking about dropping windows, but it is important to distinguish the rear quarter area from the doors. The front and rear passenger doors rely on cable-driven regulators with plastic spiral blocks that snap notoriously often, dropping the door glass into the door shell. The quarter window, by contrast, is completely stationary. It sits bonded directly to the welded unibody aperture between the rear passenger door frame and the rear liftgate corner, with zero moving parts, motors, or internal tracks.
Post-Installation Inspection Checklist
Once I have fitted your replacement aftermarket quarter glass, take a couple of minutes to examine the rear corner before driving:
- Encapsulated Molding Alignment: Verify that the integrated outer rubber border sits flat against the vehicle sheet metal without buckling or standing proud at the sharp rear corner near the D-pillar.
- Tint Match: Look through the cargo area to confirm the new panel matches the depth of the opposite quarter window and the rear door drop glass.
- Interior Cargo Trims: Ensure the large plastic cargo sidewall panels and upper headliner edge have been securely clicked back into their retaining clips with no loose gaps along the interior window frame.
- Glass Reveal Gaps: Check that the gap between the glass perimeter and the painted unibody is uniform along the top roofline and the lower quarter panel seam.





