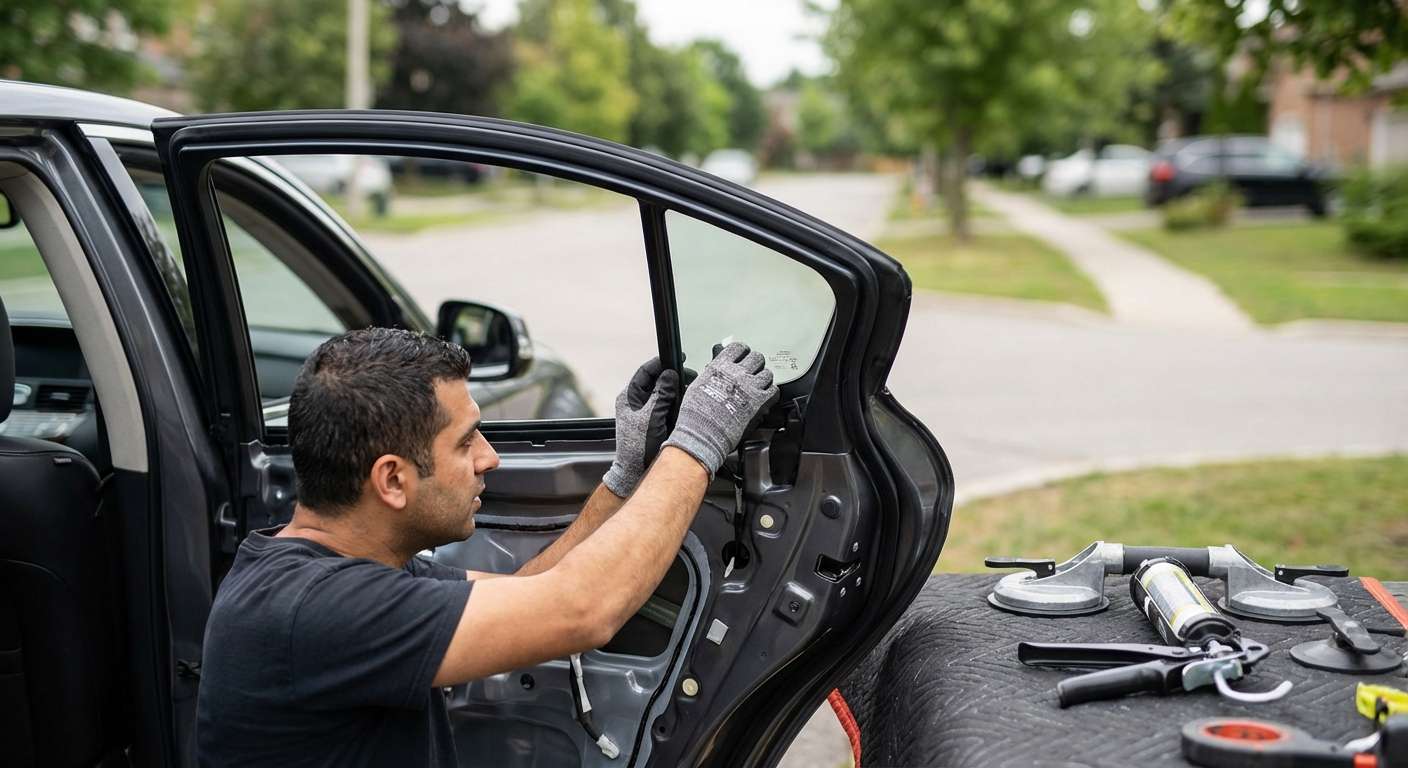
Expert Vent Glass Replacement for the 2011-2013 Infiniti M37 and M56
The 2011-2013 Infiniti M37 and M56—masterful blends of aggressive performance, sweeping body lines, and whisper-quiet luxury interiors—were engineered to provide a sanctuary on the road. When a rogue piece of highway debris, a harsh weather event, or an unfortunate break-in shatters your rear door vent glass, that acoustic sanctuary is instantly compromised. Not only does a broken vent window expose your premium leather interior to the harsh elements, but it also creates a significant security vulnerability. At AlexWindshield, we understand the exacting standards required to restore your luxury sedan to its original factory condition. Our specialized technicians combine deep automotive expertise with advanced auto glass technology to deliver a seamless, structurally sound repair.
Why the Infiniti M-Series Vent Glass Requires Master-Level Expertise
The vent glass on the 2011-2013 Infiniti M37 and M56 is the stationary, triangular piece of glass located at the rear edge of the back doors. Unlike standard roll-up windows, the vent glass on this specific generation of Infiniti is intricately integrated into the rear door's architecture. It is separated from the main movable glass by a sophisticated division bar and is securely bonded and bolted into a delicate metal channel using industrial-grade urethane. Attempting to replace this glass without the proper technical knowledge can lead to damaged weatherstripping, scratched paint, chronic water leaks, and unbearable wind noise at highway speeds.
As a senior SEO specialist and Master Technician, I have designed our repair protocols to ensure that every Infiniti M37 / M56 vent glass replacement meets or exceeds original equipment manufacturer (OEM) standards. We don't just replace the glass; we restore the structural integrity, security, and acoustic dampening of your vehicle.
Comprehensive Mobile Auto Glass Service Across the GTA
Driving a luxury vehicle with a shattered window to a repair shop is not only stressful but can also be dangerous due to flying glass shards and impaired visibility. That is why AlexWindshield proudly offers premium mobile auto glass replacement services directly to your home, office, or emergency location across the Greater Toronto Area (GTA). Whether you are navigating the busy corridors of Highway 400 in Vaughan, parked at a corporate plaza in Markham, or resting at your residence in Richmond Hill, our fully equipped mobile service fleet brings the auto glass shop directly to you. We eliminate the hassle, ensuring your Infiniti is secured and road-ready without disrupting your schedule.
Our Master Technician's Step-by-Step Replacement Process (A to Z)
At AlexWindshield, we adhere to a strict, multi-point protocol for vent glass replacement. Every step is executed with precision, utilizing high-end tools and superior materials. Here is exactly what happens when our Master Technicians arrive to service your 2011-2013 Infiniti M37 or M56.
Phase 1: Comprehensive Preparation and Interior Protection
Before any tools are brought near your vehicle, we meticulously prepare the workspace to protect your Infiniti's luxurious interior and flawless exterior.
- Paint and Body Protection: We apply highly durable, automotive-grade protective tape around the exterior door frame to prevent any accidental scratches during the extraction of the old glass.
- Interior Shielding: Heavy-duty drop cloths and protective covers are draped over the rear leather seats, center console, and floor mats to catch any stray debris.
- Safety Gear: Our technicians equip themselves with Kevlar gloves and safety glasses to safely handle the razor-sharp shards of the shattered vent glass.
Phase 2: Meticulous Door Panel and Trim Removal
Because the vent glass is anchored deep within the door frame, accessing the mounting points requires the careful disassembly of the interior door components.
- Hardware Extraction: We use specialized, non-marring nylon pry tools to carefully unclip the premium interior door panel, ensuring no damage to the wood trim or leather upholstery.
- Electrical Disconnection: The wiring harnesses for the power windows, door locks, and ambient lighting are delicately disconnected.
- Vapor Barrier and Division Bar: We carefully peel back the moisture-sealing vapor barrier. Next, the 10mm bolts holding the vertical division bar (the track separating the vent glass from the roll-up window) are loosened and removed, allowing us to tilt the track and access the vent glass frame.
Phase 3: Exhaustive Glass Shard Extraction
When a tempered vent glass shatters, thousands of tiny, sharp glass cubes fall directly down into the interior cavity of the door shell. Failing to remove these shards will result in an aggravating rattling noise every time you close your door or drive over a bump.
- Door Cavity Vacuuming: We deploy a high-powered, industrial shop vacuum featuring specialized micro-attachments to reach deep into the bottom of the metal door shell, extracting every single piece of broken glass.
- Track Clearing: The rubber run-channel weatherstripping is meticulously blown out with compressed air and vacuumed to ensure no micro-shards scratch the main roll-up window later on.
- Interior Detailing: We thoroughly vacuum the rear seats, the carpets, and all surrounding interior crevices to guarantee your vehicle is entirely free of hazardous glass fragments.
Phase 4: Removal of the Old Glass and Urethane
With the area safely accessed and cleaned, we focus on the removal of the damaged vent glass frame and the old bonding material.
- Adhesive Cutting: Using a specialized cold knife and precision urethane cut-out tools, we carefully slice through the factory polyurethane adhesive holding the remnants of the vent glass to the vehicle's pinch weld.
- Frame Extraction: The broken glass assembly is safely maneuvered out of the door frame, taking care not to pinch or tear the surrounding rubber molding.
- Trimming the Old Bead: The remaining old adhesive on the vehicle's metal frame is trimmed down to a thin, uniform base of 1-2 millimeters, creating the perfect foundation for the new adhesive bond.
Phase 5: Surface Cleaning and Primer Application
The secret to a permanent, leak-proof installation lies in the chemical preparation of the bonding surfaces. This phase is critical to prevent future rust and ensure the structural integrity of the new glass.
- Decontamination: The metal pinch weld and the black ceramic band (frit) of the new OEM-quality vent glass are rigorously cleaned with a specialized, lint-free alcohol solution to remove dirt, grease, and fingerprints.
- Glass Primer: A high-performance glass prep and primer is applied to the edges of the new vent glass, activating the surface at a molecular level to accept the adhesive.
- Body Primer Application: If any minor scratches occurred on the metal frame during the removal phase, we apply an anti-corrosive black body primer. This completely seals the bare metal, preventing moisture penetration and guaranteeing zero rust formation inside your door frame.
Phase 6: Precision Installation Using High-Quality Adhesive
With the surfaces perfectly prepped, we move to the critical bonding stage, utilizing industry-leading materials.
- Urethane Application: We apply a continuous, V-shaped bead of premium, fast-curing polyurethane adhesive around the perimeter of the vent glass mounting frame. This OEM-grade adhesive boasts a rapid drive-away time and incredible tensile strength.
- Setting the Glass: The new Infiniti M37 / M56 vent glass is carefully guided into the door frame. We apply firm, even pressure to compress the urethane bead, ensuring a flawless, airtight, and watertight seal.
- Alignment: The glass is temporarily secured with specialized retention tape to hold it perfectly in place while the chemical curing process begins.
Phase 7: Reassembly and Final Quality Inspection
Once the glass is bonded, we reverse the disassembly process to restore the door to its factory condition.
- Component Reinstallation: The vertical division bar is bolted back into its precise factory torque specifications. The rubber weatherstripping is seated smoothly around the glass edges.
- Panel Reassembly: The moisture vapor barrier is resealed, electrical harnesses are reconnected, and the luxury interior door panel is carefully snapped and bolted back into place.
- Functionality Testing: We test the main roll-up window multiple times to ensure it glides smoothly within the newly secured tracks without any binding or friction. We also test the electronic door locks and interior handles.
- Final Polish: The newly installed vent glass, along with the surrounding windows, is cleaned with a streak-free, professional-grade glass cleaner.
Unmatched Quality and Peace of Mind in the GTA
When you trust your luxury vehicle to us, you are choosing a company that values craftsmanship and safety above all else. Whether you need an emergency repair in the bustling commercial districts of Markham, a scheduled appointment in a quiet Richmond Hill neighborhood, or rapid service near the industrial hubs of Vaughan, our mobile units are strategically positioned across the GTA to respond swiftly.
We source only the highest quality aftermarket and OEM glass, ensuring that the tint, acoustic properties, and fitment perfectly match your 2011-2013 Infiniti M37 or M56. Because we do not cut corners on our adhesive chemistry or our step-by-step installation protocols, we can stand firmly behind every job we complete.
Choose AlexWindshield: Your Trusted Auto Glass Experts
A shattered vent glass doesn't have to ruin your week. By choosing a specialized Master Technician, you are guaranteeing that your vehicle is treated with the utmost respect and technical precision. Don't leave your luxury interior exposed to the harsh Canadian weather or potential theft for another day.
AlexWindshield is recognized as the trusted expert for mobile auto glass services across the Greater Toronto Area. We back our meticulous workmanship with an industry-leading Lifetime Warranty against air leaks, water leaks, and manufacturer defects. If you demand flawless execution, unparalleled convenience, and absolute peace of mind, contact us today to book your Infiniti M37 / M56 vent glass replacement and get back on the road with confidence.





