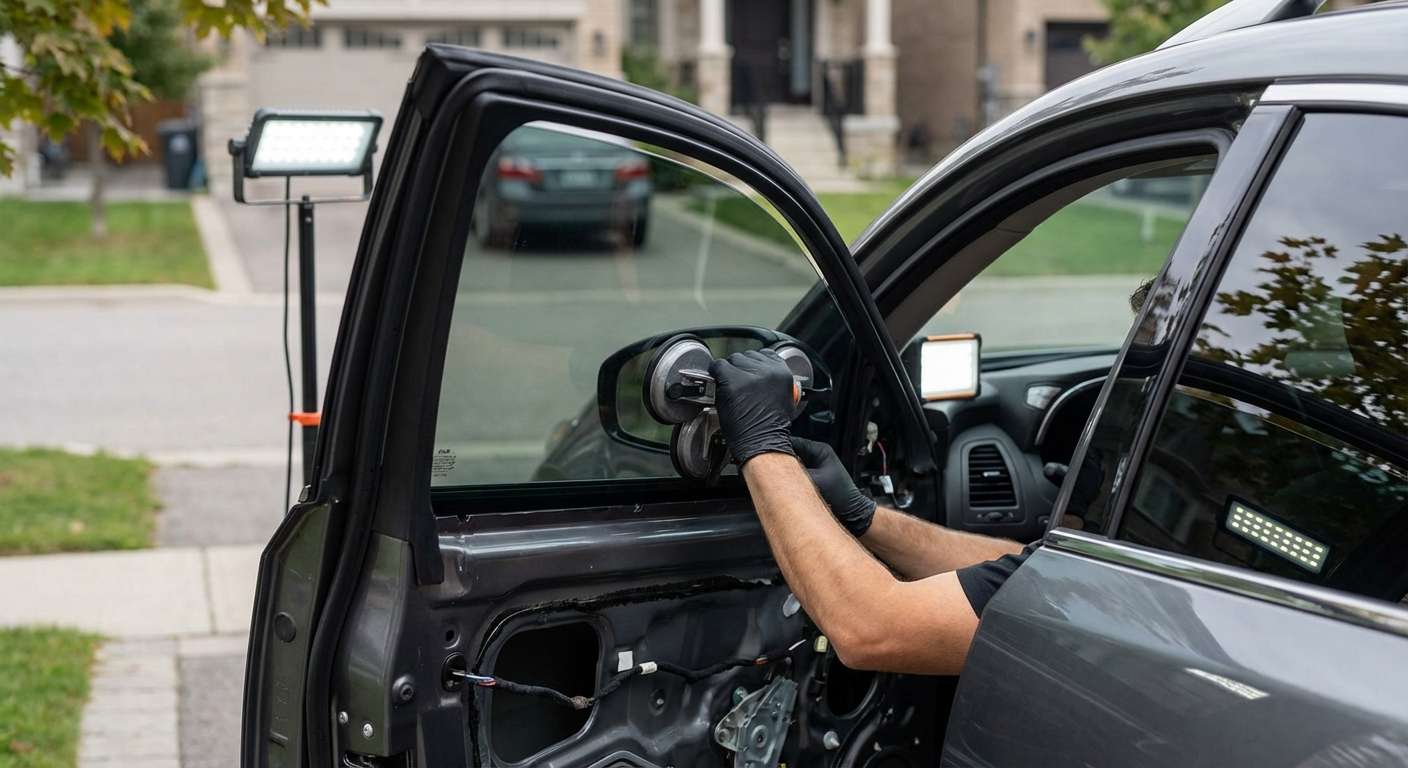
Replacing Tempered Side Glass on the S51 Platform
When side window glass shatters on these crossover utility vehicles, the cleanup and mechanical layout require attention to several distinct hardware details. Unlike some luxury competitors that adopted double-pane acoustic laminates, Nissan designed this vehicle with standard single-pane tempered safety glass all around. The front doors receive factory green-tinted solar control glass rated at roughly 70 percent light transmittance, matching original parts 80301-1CA0A for the driver side and 80300-1CA0A on the right. In contrast, the rear doors feature deep privacy glass under part references 82301-1CA0A and 82300-1CA0A. When replacing broken side windows, I install exclusively aftermarket glass sourced from proven manufacturers such as Pilkington, PGW, FYG, or XYG, ensuring the cut and bottom bracket mounting holes match the factory steel channels.
Unlike the frameless windows found on Infiniti G-series coupes, this door design uses a fully framed, stamped-steel door shell with a heavy-duty EPDM glass run channel rubber seal. The rubber channel—designated under part numbers 80331-1CA0B for the left and 80330-1CA0B for the right—must be meticulously cleaned of pulverized safety glass. If any tempered glass granules remain pinched inside the felt-lined rubber, the friction prevents smooth glass movement and damages the replacement panel instantly.
Accessing the Window Carrier and Cable-Style Regulator
Gaining access to the mounting hardware involves stripping past the decorative interior door finisher to reach an integrated metal carrier plate. The door structure does not use an open inner skin with a plastic vapor barrier; instead, Nissan fitted a full modular inner base plate that supports both the power window motor and the cable-operated regulator. The door glass drops down between the outer belt moulding and the inner weatherstrip, resting on two bottom carrier clips secured by dedicated retaining bolts, historically cataloged under OEM number 01125-03241 and updated to 01125-0023U.
During replacement, the inner module plate must be carefully loosened and aligned so the lower glass clips seat flush against the regulator tracks. A common failure on these models involves water bypassing cracked or hardened exterior belt mouldings, which drips directly into the master power window switch or corrodes the motor harness. Inspecting the drainage path along the lower door pinchwelds and clearing debris from the bottom weep holes ensures the fresh glass and internal electronics stay protected from standing moisture.
Resolving Anti-Pinch Reversal and Motor Travel Limits
The front and rear doors incorporate a one-touch automatic raise and lower function equipped with an integrated anti-pinch safety mechanism. A frequent frustration reported on the FX35, FX37, and FX50 is a window that travels all the way to the top frame, strikes the upper weatherstrip, and immediately drops down four to six inches. This happens because the anti-pinch sensor interprets excessive friction in the EPDM track or a lost electronic home limit as an obstruction, instantly triggering the reversal safety cycle.
Once new glass is bolted to the regulator carrier, a manual travel reset must be executed to synchronize the motor pulse sensor with the physical glass travel. This reset is accomplished either by cycling the door switch into its manual hold positions or pressing the small reset button located directly on the motor casing behind the access plugs on the carrier module. Setting the stroke limits properly eliminates phantom reversals and ensures a tight, silent seal against the upper window frame at highway speeds.





