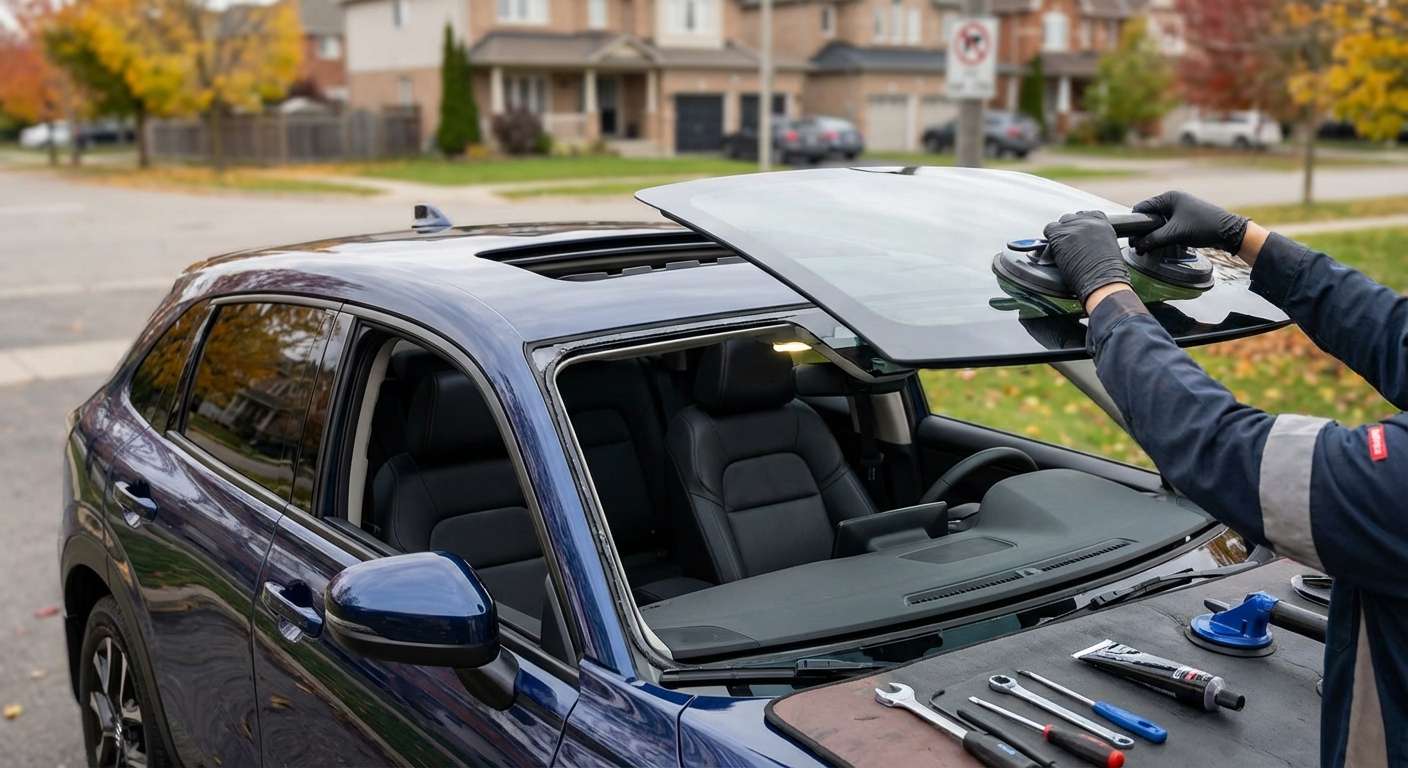
Pre-Installation Checks on the HR-V EX-L Moonroof Panel
When unboxing a replacement panel for this roof, my focus goes immediately to the encapsulated rubber perimeter seal and the side mounting brackets. Unlike the solid steel roofs on the LX and Sport trims, the EX-L utilizes a single-pane tilt-and-slide assembly that matches the footprint of the CR-V glass (OEM reference 70200-TLA-A03, which succeeded the earlier -A01 and -A02 versions). Before loosening any hardware on the car, I verify that the rubber moulding profile sits completely uniform along all four corners. If that factory edge lip is warped, compressed, or pulled away from the tempered substrate during transit, wind will slip directly into the cabin right above the front map light console.
I also inspect the four lateral Torx screw anchoring brackets bonded to the underside of the panel. These stamped metal brackets carry the entire load on the aluminum guide tracks. If a bracket has sustained an impact in shipping, the glass will bind inside the roof cavity instead of sliding cleanly between the outer roof skin and the molded interior headliner. I ensure the tempered glass carries an even, defect-free solar tint across its entire face so the cabin stays shaded when the manual cloth sunshade is pulled open.
| Component / Feature | HR-V EX-L Configuration | Inspection Priority |
|---|---|---|
| Glass Structure | Tempered solar privacy glass | Check for edge chips or packaging stress fractures |
| Edge Gasket | Perimeter rubber seal | Verify uniform seal height and absence of pinching |
| Mounting Points | Side bracket links (Torx) | Ensure threads and alignment tabs are true |
| Track Interaction | Pop-up wind deflector clearing | Inspect leading-edge glass lip for deflector contact |
Mechanical Alignment and Drain Clearance
Once the glass panel is set into the cassette mechanism, dialling in the flushness against the surrounding sheet metal dictates whether the car stays silent at highway speeds. The HR-V roof stamping leaves minimal margin: the front edge of the glass should sit roughly one millimeter below the roofline to keep oncoming airflow from grabbing the leading seal, while the trailing edge must rest one millimeter above the roof plane to shed rainwater smoothly toward the rear. I back every pane I fit with a one-year warranty on the glass alongside my lifetime guarantee on the workmanship, so getting this mechanical height dialed in via the side Torx slots is non-negotiable.
Before testing the power tilt function from the overhead switchgear, I always confirm that the cassette basin is clear of debris. Some owners mistake wet headliners for glass seal failures when the real culprit is a blocked A-pillar water tube. Even when the outer perimeter gasket is seating firmly, weep water naturally bypasses the outer edge by design and drops into the aluminum guide channel; if the front corner drain ports are restricted, that water will overflow the track and soak into the side curtain airbag channels.
Post-Fitment Operation and Seal Seating
With the physical glass secured, I evaluate the interaction between the moving pane and the interior appointments. You want to look for three specific indicators that the replacement is sitting true on its tracks:
- Wind Deflector Engagement: As the panel tilts closed from the vent position or slides forward from the roof pocket, it must depress the spring-loaded front pop-up air deflector evenly without catching the leading edge of the glass frame.
- Headliner Clearance: The interior sliding sunshade must glide freely underneath the glass without dragging against the lower bracket fasteners or pulling against the overhead console housing.
- Motor Pinch-Force Travel: Cycling the roof through its full tilt and slide sequence verifies that the drive cables do not bind. If the panel is tilted slightly crooked in the frame, the anti-pinch sensor in the motor will mistake track resistance for an obstruction and automatically reverse the glass.
Occasionally, an owner will confuse a shattered sunroof with the back-glass issue highlighted in Honda TSB 24-012. That bulletin specifically addresses rear hatch glass where defroster lines short out against misplaced urethane sealer. The sunroof glass carries no electrical elements or heating grids. When this tempered roof glass fails, it is almost exclusively down to a high-velocity stone strike or an improperly aligned panel that endured constant torsional stress against the roof frame.





