No Factory Sunroof Ever Left the Plant for 2010–2013 Models
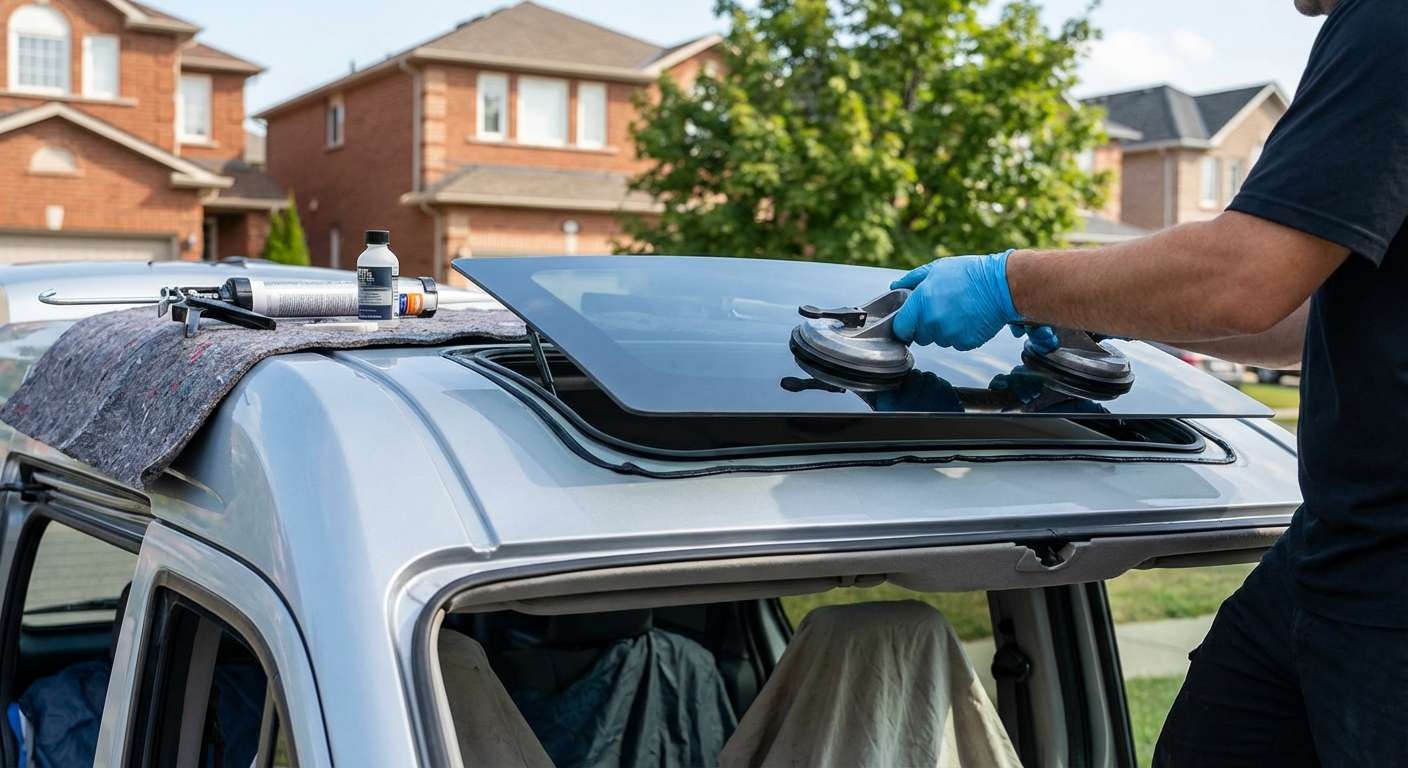
If you have broken or leaking roof glass on a 2010 to 2013 model, you are dealing with a non-factory retrofit. Ford never manufactured, catalogued, or offered an OEM moonroof, sunroof, or fixed panoramic glass on this van across any North American trim level, whether an entry-level XL cargo, an XLT passenger wagon, or an XLT Premium. Because Ford never built one, there is no Motorcraft dealer part number, no factory glass assembly drawing, and no standard National Auto Glass Specifications (NAGS) code for this van's roof.
Every single transparent roof panel found on these early vans came from an aftermarket kit—usually a manual pop-up hatch or an external top-sliding spoiler installed by an upfitter or previous owner. This distinction is critical because high-profile factory recalls involving flyaway glass and adhesive failures—such as NHTSA campaigns 20V-294 and 24V-294—apply solely to the panoramic Vista Roof fitted to second-gen 2014–2019 models, not this earlier run.
| Component Element | 2010–2013 North American Spec | Aftermarket Retrofit Reality |
|---|---|---|
| NAGS Glass Identifier | None assigned to vehicle platform | Dictated by aftermarket frame manufacturer |
| Factory Trims (XL, XLT, Premium) | Solid ribbed sheet metal only | Custom hole cut through skin and stiffeners |
| Electronics in Roof Glass | None (no sensors, grids, or antennas) | Self-contained manual latch or 12V motor |
| Factory Structural Recalls | Zero roof glass recalls on file | Not covered under Ford campaign 20V-294 |
What to Verify Before Ordering Replacement Glass
Because I cannot pull a standard Ford glass listing for this van, identifying the replacement panel requires inspecting the hardware physically stamped into the surviving frame. When I travel directly to your driveway or workplace anywhere across Toronto and the GTA to assess the van, identifying the original unit builder is the essential first step.
- Manufacturer Bug and DOT Stamp: Look at the lower corner of the glass pane or along the underside edge of the aluminum clamping ring. You need the DOT number, manufacturer branding (often Webasto, C.R. Laurence, or SFC), and the specific model series stamp.
- Opening Frame Dimensions: Measure the cut-out dimensions from underneath rather than measuring the glass contour from above. Typical universal units run in standardized external footprints, but corner radii vary drastically between manufacturers.
- Hinge and Latch Anchorage: Check whether the broken glass utilized forward-mounted composite tongue hinges or bonded metal pivot plates, as well as the center rotary latch or scissor-arm mounts. These must match the frame profile precisely; an incorrect hinge offset will prevent the glass from compressing its perimeter bulb seal.
- Absence of Vehicle Electronics: You do not need to hunt for rain-sensor brackets, defroster terminals, or embedded radio aerials; none of these existed in the roof layout of this run.
Structural Checks After the Glass Is Set into the Frame
Once a matching replacement pane is seated in the carrier frame, the unique sheet metal of this commercial van requires targeted inspection. Major aftermarket glass builders explicitly marked this van as non-recommended for retrofit installations because the outer roof features longitudinal stamped steel corrugations rather than a flat sheet, while the interior features a deep parcel shelf directly above the front seats.
- Corrugation Channel Compression: Inspect the outer perimeter seal where the frame crosses over the vehicle's raised roof ribs. The seal must stay uniformly compressed over both the flat peaks and the stamped valleys without dips or puckering that let standing rainwater pool against the glass frame.
- Parcel Shelf Clearance: From inside the cab, confirm that manual latches, handles, or motor covers clear the molded plastic edges of the overhead storage bin. Misaligned glass that forces the lower clamp frame downward will distort the overhead shelf and cause the inner trim to rub against the glass mechanism.
- Uniform Seal Contact: Close the glass latch completely and test the perimeter with a thin plastic gauge or feeler strip. Drag must be consistent around all four sides; if the glass sits loose at the rear corners, wind deflection over the squared front cab will pull the glass upward at highway speeds.





