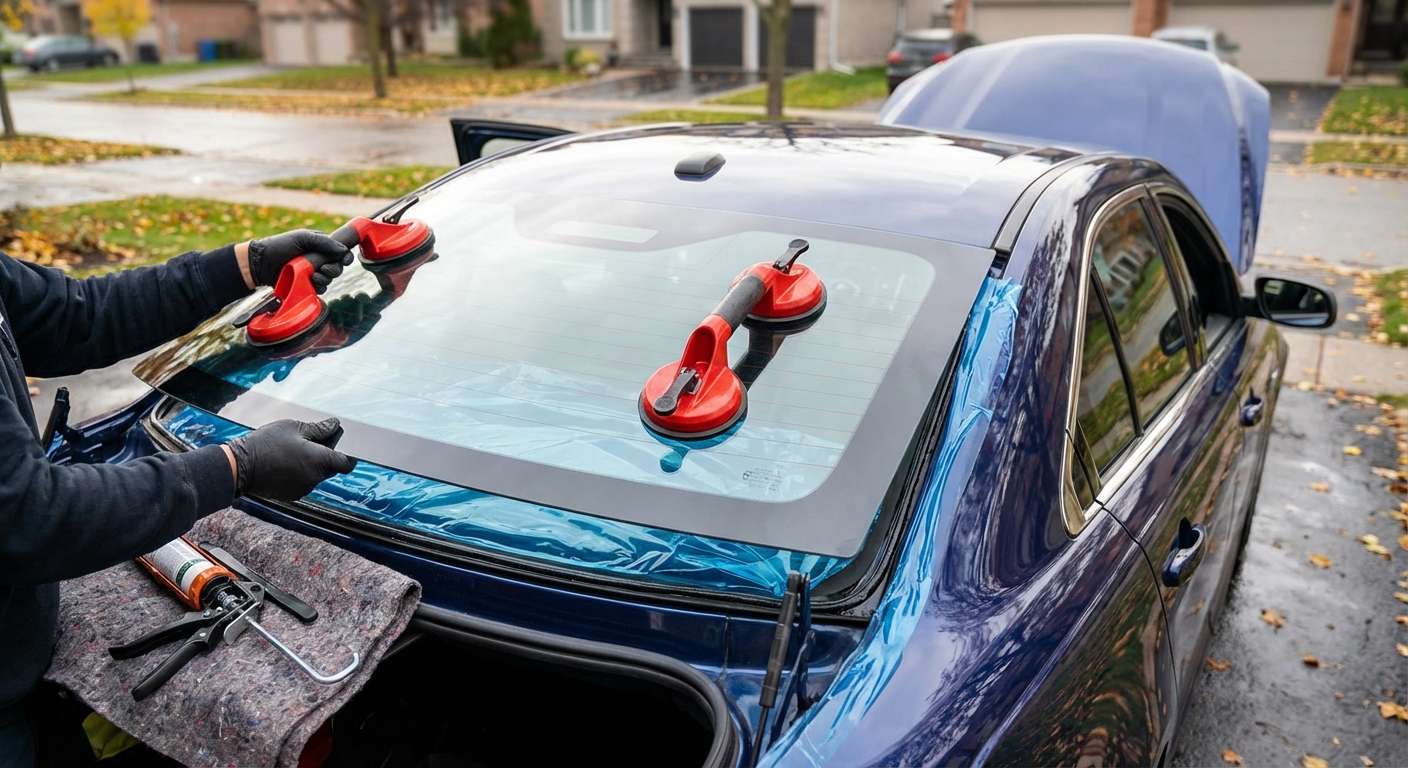
Taurus Rear Window Heating Grid and Solder Tab Failures
Most service requests I see for this back window trace back to the electric defroster circuit rather than outright stone breakage. On Taurus forums, drivers frequently report that their rear defogger stops clearing winter frost entirely. In many cases, the brittle factory solder tabs peel away from the ceramic busbars on the inner surface of the tempered glass. Once those terminals shear off the glass surface, re-soldering them without damaging the surrounding heating traces is notoriously difficult, making a full back glass replacement the only durable fix.
If your grid shows no continuity even before replacing the backlite, it is worth checking the engine compartment junction box. On 2013–2019 models, a dead defroster often links back to blown high-amp circuit protection (specifically Fuse #26 rated at 40A, or the smaller Fuse #93 5A circuit) or a stuck Relay #11. Another recurring headache involves DIY window tint removal: scraping old purple film off this backlite almost invariably shears the micro-thin defroster lines printed on the inside face, instantly killing the heating elements across the entire pane.
Differences Between Platform Runs and Factory Parts
Replacing the back glass on this sedan requires knowing the exact split in production, as Ford transitioned body styles significantly across this span. The 2008–2009 models share the earlier D3 platform layout derived from the Five Hundred sedan, while the 2010–2019 sedans feature a redesigned shell with a much more steeply raked rear window profile. You cannot interchange glass between these two eras.
| Model Years | Ford OEM Part Reference | Glass Characteristics |
|---|---|---|
| 2008–2009 | 5G1Z-5442006-AA | Fully tempered, solar green tint, integrated defroster grid |
| 2010–2012 | AG1Z-5442006-A | Flush perimeter reveal, defroster grid, high-angle rake |
| 2012–2019 | CG1Z-5442006-B | Superseded revision, stationary tempered glass, defroster |
Across all trim levels—including the base SE, SEL, Limited, twin-turbo SHO, and the Police Interceptor Sedan—the glass itself is solid tempered safety glass. Ford used acoustic lamination for the windshield and front side windows on upper trims, but the stationary back glass remains standard single-pane tempered glass with solar heat management. Because the rear window has no exterior rubber surround moulding or metal trim, it relies on lower positioning stops to maintain uniform perimeter gaps against the roof and C-pillar sheet metal.
Interior Package Tray Clearance and Sunshades
Working around the rear glass on this car demands extra attention to the rear package tray. The center high-mounted stop lamp sits directly at the base of the rear window on the interior shelf. Taurus owners regularly deal with broken wiring harness clips or loose contact terminals inside this third brake light assembly. When I travel directly to your driveway or workplace parking spot anywhere across Toronto and the GTA to replace this rear glass, I take care to keep the package tray clear so these plastic clips remain intact.
On Taurus Limited and SHO trims, this shelf often houses an optional power-retractable sunshade. The motor mechanism sits just millimeters beneath the bottom edge of the glass pinchweld. If debris falls into the sunshade housing during a break-in or glass failure, the delicate track will bind, leading to motor gear stripping the next time the dash switch is pressed.
Post-Replacement Inspection Points for Taurus Owners
- Turn on the rear defroster switch on the climate control panel and verify that the grid draws current without blowing Fuse #26 in the front engine bay box.
- Step on the brake pedal to confirm the center high-mounted stop lamp illuminates cleanly against the lower edge of the new glass without rattling inside the parcel shelf.
- If your car is an SHO or Limited with the power rear sunshade, raise and lower the shade completely to verify that the fabric clears the inner glass face without catching on any interior perimeter trim.
- Inspect the fabric-covered C-pillar interior trim panels and the rear headliner edge to ensure they sit flush against the glass borders without gap distortion.
- Check the flush exterior reveal around the top and side borders of the glass to ensure spacing against the roofline is perfectly centered.





