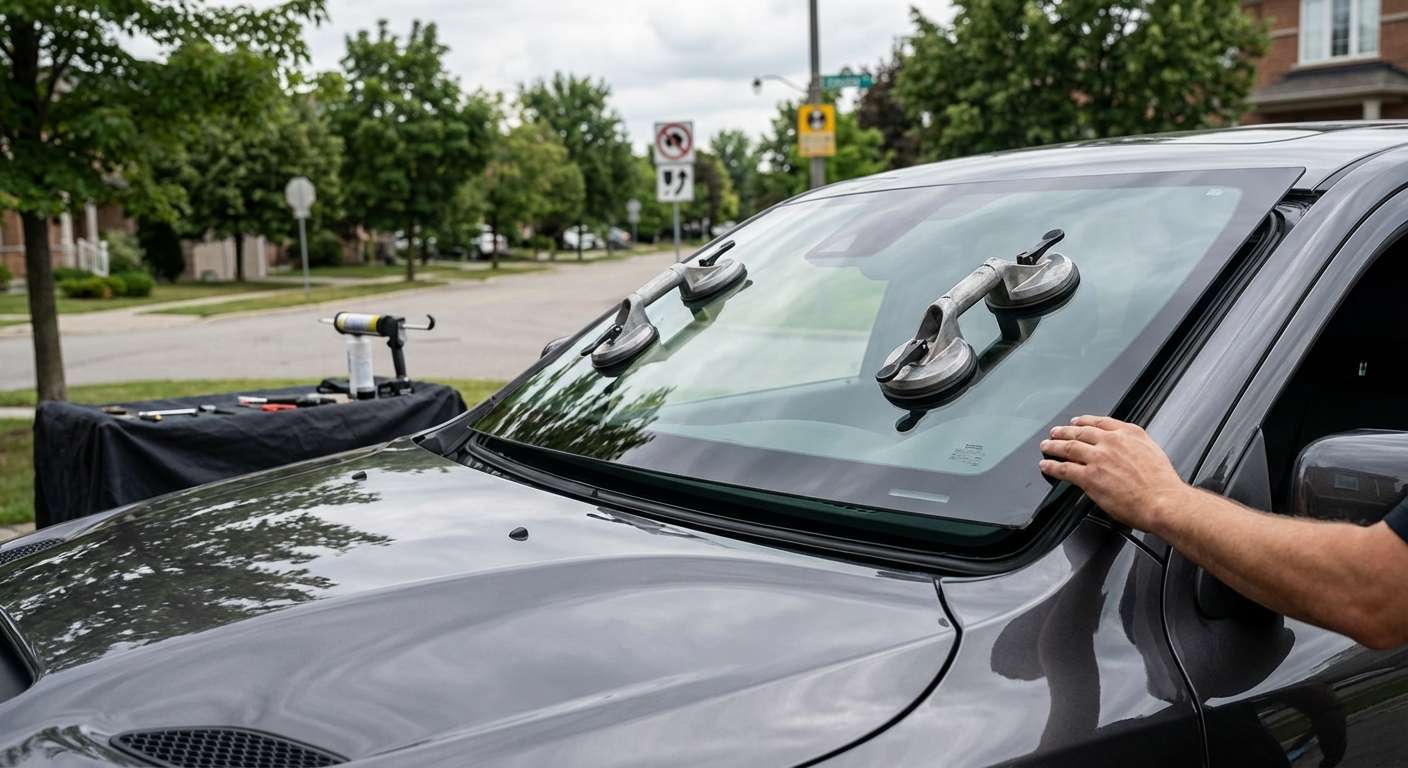
Pre-Installation Checks for Dodge Durango Forward-Facing Hardware
Matching the replacement glass to your exact driver-assist setup is the most critical step on this vehicle before any adhesive work begins. Depending on whether your truck is an entry-level SXT, a mid-tier GT or R/T, or a high-output SRT 392 or SRT Hellcat, the upper windscreen area changes completely. Mopar part number 55112833AE (alongside supersessions like 55112833AD and 68295715AA) serves baseline builds that lack automated wiping and pre-crash monitoring entirely. If your trim includes humidity detection and auto wipers without forward-collision radar systems, it requires part 55112842AE, which replaces earlier iterations such as 55112842AD and 68295716AA. When I inspect the crate for a Durango fitted with Full-Speed Forward Collision Warning Plus, I verify that the glass features the factory-bonded trapezoidal camera bracket corresponding to part 55112845AE, or part 68762476AA on select updated production runs.
I verify that the integrated acoustic interlayer is clearly marked on the new laminate edge bug before staging the pane. The upright angle of the glass over the WD platform makes this truck prone to catching gravel squarely at speed, and preserving cabin quietness against the exhaust note of the Hemi requires this dedicated sound-deadening vinyl layer. When sourcing replacement units from aftermarket glass manufacturers like Pilkington, PGW, FYG, or XYG, I verify that the optical clarity through the camera aperture matches original tolerances so the pre-collision eye is not blinded by glass distortion. I also inspect the embedded frit band to confirm the ceramic dot matrix fully shields the condensation and rain sensor cluster from external heat saturation.
Fitting the Cowl Grille and Checking Perimeter Seals
Once the replacement glass is seated on the steel pinchweld, attention shifts immediately to the interface along the base of the vehicle. The Durango relies on a two-piece plastic cowl grille cover that shields the tandem wiper transmission assembly and seals off the cabin air intake box. I check that the lower edge of the new glass seats cleanly into the retaining lip without distorting the cowl clips, ensuring water shedding away from the windshield does not bypass the plastic tray into the fresh air ducting.
The tandem wiper arms must be reset to their precise resting positions directly above the cowl line. If the splines on the dual-arm intermittent assembly are misaligned even slightly, the driver-side blade can slap against the unibody A-pillar moulding at highway speeds, or sweep short of clearing the camera viewpoint in heavy downpours. I operate the wiper system through intermittent and high sweeps to ensure the rubber park position sits flat in the aerodynamic pocket beneath the hood line.
Post-Installation Inspection of Interior Glass Mounts
Inside the cabin, the upper console trim and mirror assembly require careful verification against the new windshield bracketry. The combined optical rain sensor and humidity monitor must sit flush against the glass using fresh optical gel; any air bubbles trapped between the sensor face and the bracket will cause phantom wiper cycles on dry days. I physically verify that the rear-view mirror twist-lock base is rigid on the factory-bonded button so road vibration from the drivetrain does not blur the mirror.
The forward collision camera housing snaps directly into the glass-bonded bracket beneath the upper header. I confirm that the wiring harnesses for the pre-crash camera and auto-dimming mirror are secured within their designated plastic routing channels and cannot chafe against the acoustic laminate. Ensuring the camera module is locked solidly into its tabs prevents subtle vibrations that can trigger false brake warnings or blind the forward-looking crash mitigation system.





