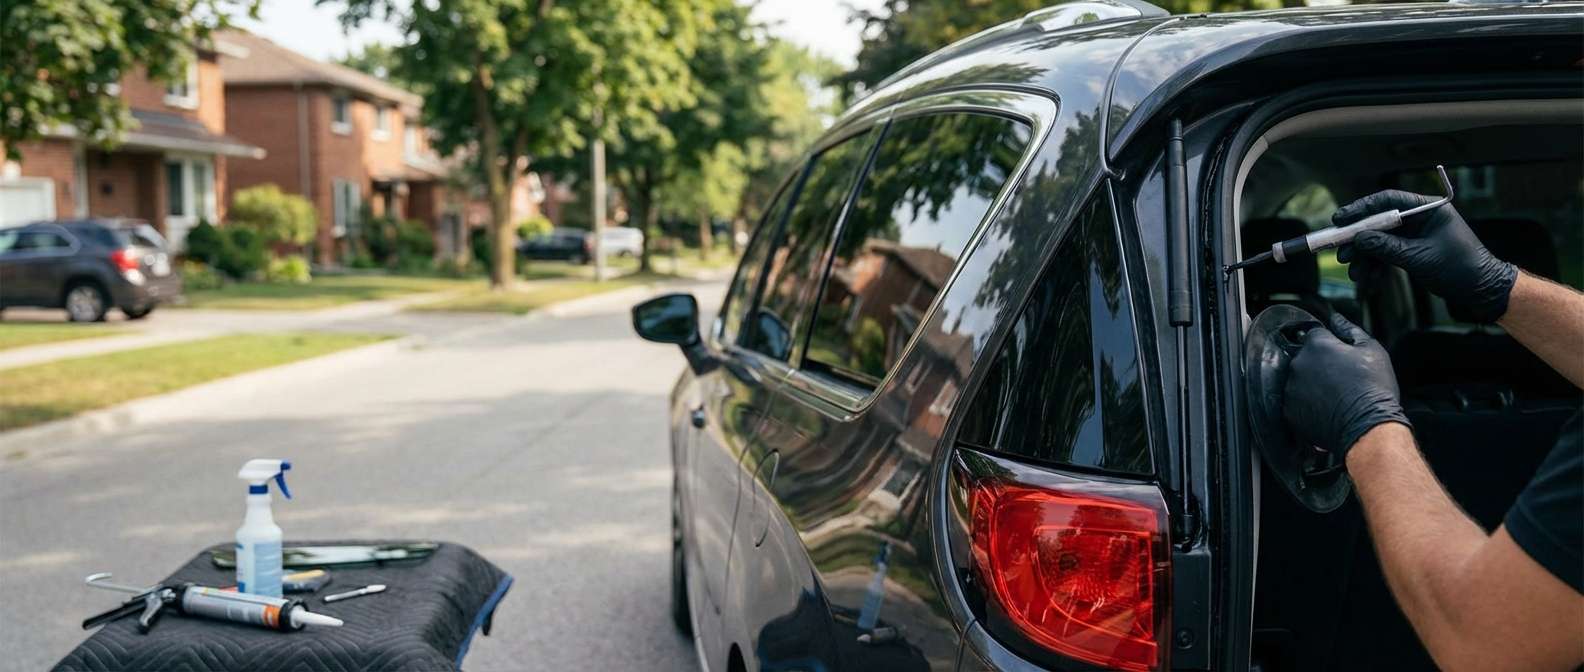
Inspecting Replacement Pacifica Quarter Glass Prior to Fitment
Before any replacement panel touches the unibody, I scrutinize the embedded features against what came out of the Pacifica. The passenger side relies on NAGS part number DQ12695 (often suffixed as DQ12695YP for factory dark solar privacy tint), while the driver side takes DQ12696 or DQ12696YP. The most critical variation between individual aftermarket panels involves the integrated radio diversity antenna grid. Some Pacifica builds embed this antenna trace directly into the side quarter window, while others omit it entirely depending on the audio tier installed at the factory. If your minivan uses the side glass for radio reception, installing a bare pane leaves an orphaned antenna amplifier pigtail behind the D-pillar interior garnish and degrades your signal.
I also verify that the replacement panel has the correct factory solar privacy tint depth to match the opposite side and the sliding door glass. Because the Pacifica uses stationary quarter glass, there are no vent hinges or power window regulator tracks to inspect. The fine vertical or horizontal grid lines seen on certain Pacifica quarter windows are solely diversity antenna elements, not electric defrosters or heated grids. Mopar references these assemblies under numbers like 68332882AA for the right side and 68332883AA for the left, and confirming that the aftermarket glass mirrors these exact antenna configurations prevents headaches once the interior panels go back together.
Exterior Reveal Moldings and Surrounding Body Clearances
The lower daylight opening reveal molding running beneath the Pacifica quarter glass requires precise handling. This belt-line trim (often corresponding to Mopar numbers such as 68497496AB or 68669808AA) varies across models, finished in bright chrome on standard passenger vans or gloss black on vans equipped with the S Appearance package. Chrysler utilizes internal retaining clips and delicate foam weatherstrips along this piece that warp or shear if disturbed, which makes reusing the original lower trim virtually impossible without leaving distorted gaps. I typically have an accurate replacement pane on site within an hour of your call, ready to pair with fresh trim hardware so the exterior looks factory-straight.
Once the glass is set, I check the exterior alignment along the perimeter gaps. The front edge must sit perfectly flush with the sliding door track guide along the C-pillar so wind noise does not funnel into the cabin when cruising at highway speeds. At the rear, the trailing edge must maintain an even gap against the rear D-pillar where it meets the liftgate shut-face. Misalignment here not only looks uneven against the sliding door track, but it can also pinch the lower reveal trim out of true.
Post-Installation Checks for Interior Panels and Moisture Seals
After the glass is installed, my focus shifts inside the cabin around the third-row seating area. The lower third-row wheelhouse trim panels and upper pillar closeout covers fit tightly against the inner perimeter of the glass. I check that the curtain air bag modules remain fully clear of any adhesive contact and that the antenna amplifier lead connects securely without strain. Reinstalling these interior moldings requires proper clip alignment so the panels seat flat without creaking over road bumps.
Water intrusion checks are the final and most critical step. Pacifica forums document instances where small gaps beneath the upper exterior chrome trim allow rainwater to seep down into the third-row floor pan and the rear cargo tub. I test the perimeter thoroughly to ensure the structural bond between the glass and the pinch weld creates an unbroken, watertight seal from the C-pillar sliding door pocket all the way back to the liftgate jamb.





