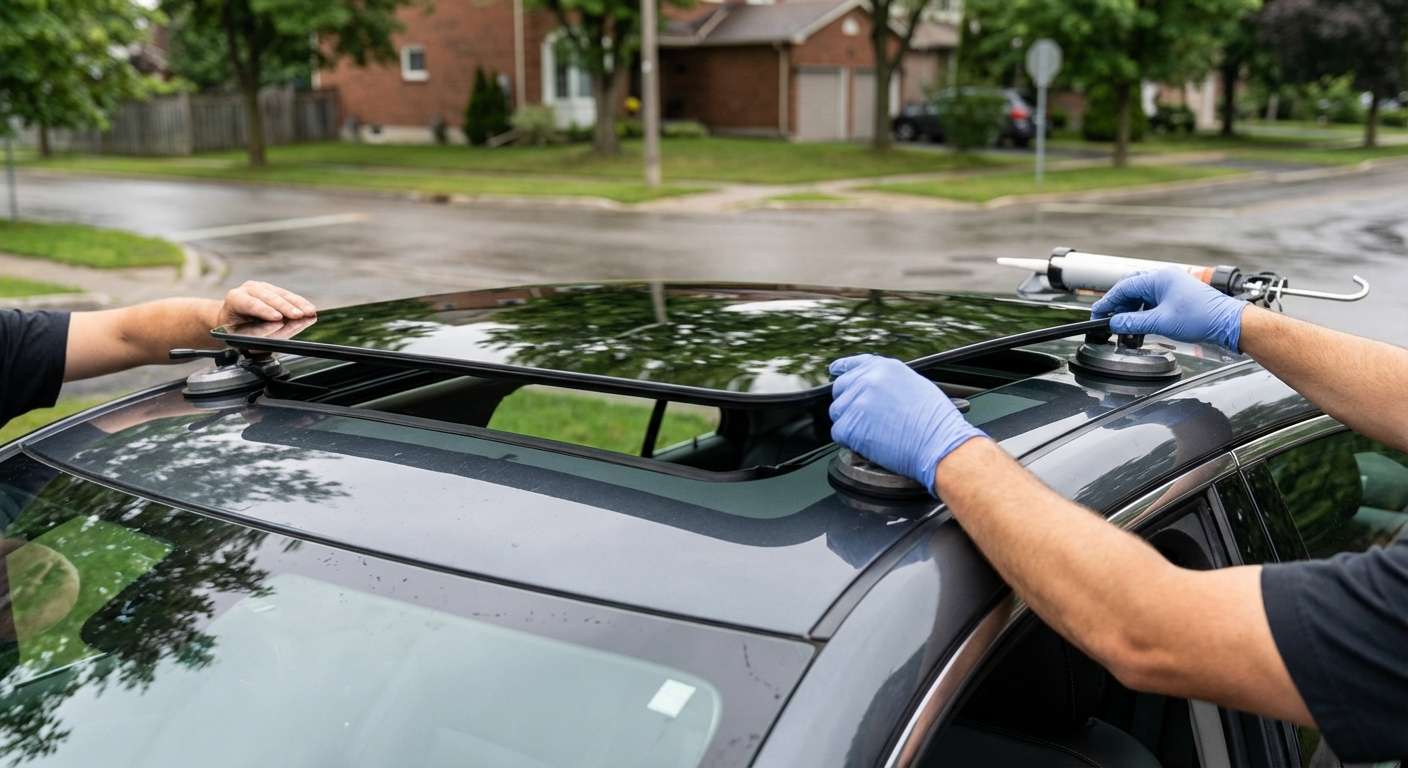
Identifying the Correct Factory Glass for Your Malibu Roof
Checking your vehicle's factory build codes is the cleanest way to confirm your roof configuration, as Chevrolet cataloged this factory power tilt-and-slide glass panel under Regular Production Option (RPO) code CF5. You can locate this code on the Service Parts Identification label inside the glove compartment or beneath the trunk floor liner. The glass panel corresponds to NAGS benchmark SR11054 YPN across the LT and LTZ trims, carrying over to the fleet-focused 2016 Malibu Limited before the redesigned body style took over. Unlike windshields on this car, the movable roof insert is identical whether your Malibu left the Fairfax or Detroit-Hamtramck plant with the 2.5L atmospheric four-cylinder or the 2.0L turbo.
When assessing a cracked or shattered panel, look closely at the encapsulation perimeter. The tempered safety unit uses an integrated rubber weatherstrip molded directly along the glass edge rather than a loose push-on channel, sealing against the painted roof opening when closed. It contains no embedded radio antennas, heating grid circuits, or internal sensors. Beneath the panel sits an independent, manually drawn cloth sunshade riding on interior rails; the glass frame features an integrated mechanical hook that automatically catches this shade and pulls it rearward whenever you toggle past the tilt vent position into a full rearward slide.
Mounting Hardware, Linkage Gaiters, and Alignment
Access to the panel fasteners requires unclipping the flexible accordion-style rubber side bellows that shield the lifting guides from cabin view. Behind each rubber gaiter, the glass bracket secures directly to the mechanical track runners using two Torx screws on each side. When I mount a replacement aftermarket glass panel, I stand behind the structural fit with lifetime protection on my workmanship, while the replacement glass panel itself is covered against manufacturer defects for one year. Setting the Torx hardware requires precise height adjustment so the leading edge sits slightly below the forward roof seam to eliminate wind whistle, while the trailing edge sits flush or marginally above the roofline to direct rainwater into the drainage channels rather than over the seals.
Ahead of the movable glass sits a spring-tensioned synthetic mesh pop-up deflector fastened to the front cassette rim. If the glass shattered during highway driving, this deflector often catches airborne fragments in its fabric webbing and must be cleared to allow the track guide shoes to travel freely forward. Any broken tempered fragments that fall past the side bellows will lodge directly in the track grease, binding the plastic sliders and overloading the drive cables.
Drainage Blockages, Control Module Risks, and Track Electricals
Water collecting along the headliner or pooling under the carpet on this car points to problems in the perimeter catch tray rather than a sudden flaw in the glass seal itself. Four flexible rubber hoses route water away from the cassette corners: two run through the windshield A-pillars into the lower cowl, and two route through the rear C-pillars. The front hoses are particularly prone to algae blockages or popping free at their upper hose barbs. When water overflows the front tray corners, it travels down the interior trim directly toward the passenger kick panel, threatening to corrode the internal terminals of the Body Control Module and fuse junction block.
Electrical issues often mimic physical mechanical failure on these roofs. A motor that refuses to budge typically traces back to a blown 30-amp J-case cartridge fuse seated inside the underhood electrical center near the driver strut tower. If the switch remains unresponsive after battery work or fuse renewal, the roof computer module has dropped its position memory; running the overhead control through its continuous manual tilt-and-hold sequence resets the end-stop logic without requiring physical adjustment of the glass brackets.





