Malibu Sedan Sunroof Hardware versus the Maxx Skylight
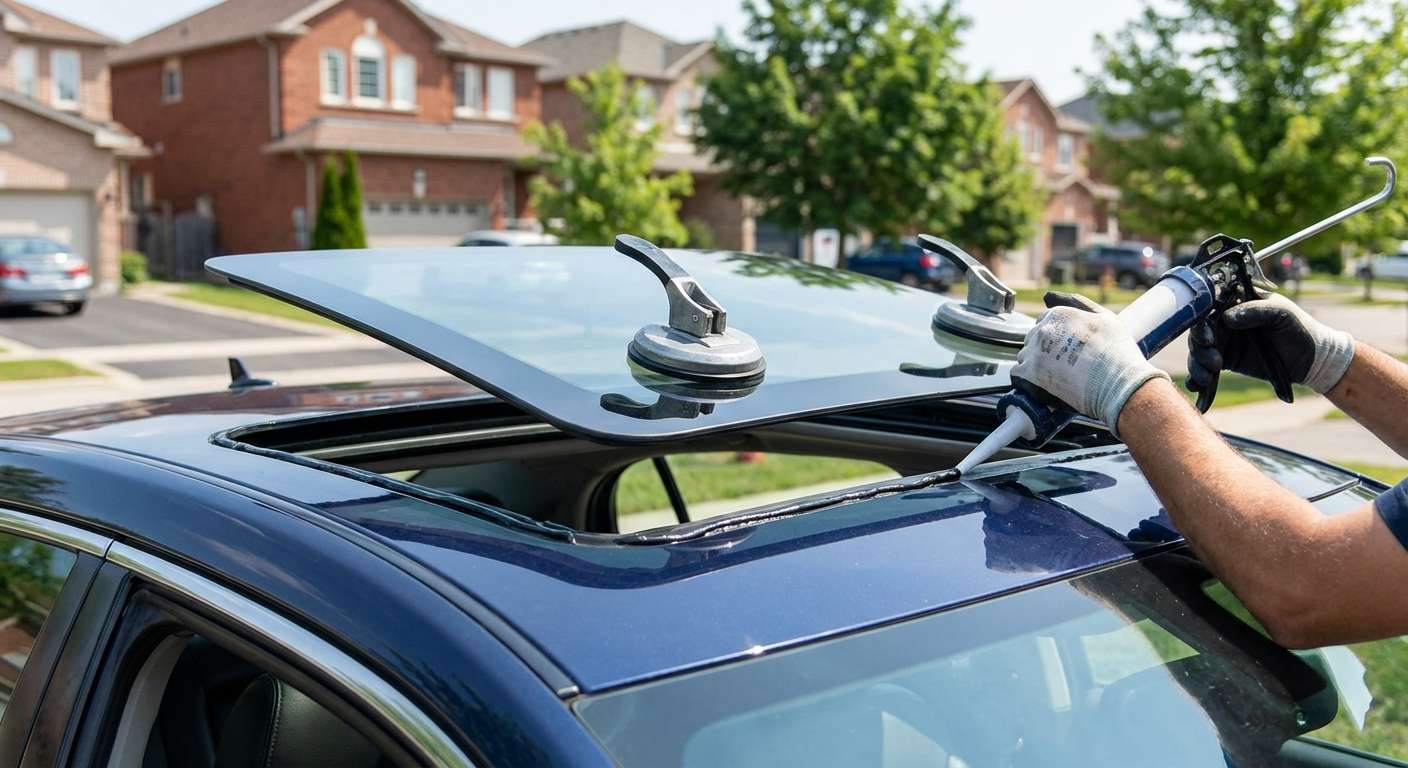
Replacing the sunroof glass on this vehicle requires paying close attention to the body style, because the standard sedan and the extended hatchback treat overhead glass very differently. The front operational sunroof glass panel uses NAGS part number DR10861YP (matching GM part number 15893307, which superseded 22686570). This tempered panel features factory Solar-Ray dark tint, measures roughly 32 to 33 inches long by 21.5 inches wide, and comes without embedded accessories like defroster grids, rain sensors, or antenna wiring. It is mounted directly to track guide brackets with Torx fasteners rather than glued to the roof with urethane.
Things change if you drive the 2004–2007 Malibu Maxx. The Maxx extended hatchback comes standard with a fixed rear dual-skylight glass panel positioned over the rear passenger seats, equipped with twin retractable roller sunshades. That fixed rear skylight does not open or tilt. When a Maxx is ordered with the power sunroof option, it carries two distinct roof glasses: the front tilt-and-slide operational panel (DR10861YP) and the separate fixed rear skylight. Base fleet sedans often arrived without factory glass at all; many received dealer-installed aftermarket cutouts that use odd switch layouts and non-standard cut dimensions, so confirming you have the GM factory track before sourcing glass is essential.
Motor Synchronization, Weatherstrips, and Drain Routing
The operational front glass relies on dual drive cables powered by an electric motor (GM part number 15862418) fastened inside the front edge of the cassette under the headliner. A manual cloth-trimmed sliding sunshade—matched to either neutral or titanium interior schemes—sits right below the glass. When I source replacement panels for this vehicle, I work strictly with aftermarket units from reputable manufacturers such as Pilkington, PGW, FYG, and XYG to ensure exact contouring against the roof opening.
Water intrusion on this model almost always traces back to two areas: the perimeter weatherstrip seal (GM part number 15893292) and the four corner drain hoses. The encapsulated rubber seal around the glass edge is meant to deflect heavy run-off, but it is not completely watertight. Water that seeps past the seal drops into the internal cassette tray and exits via four corner drain tubes that route down the A-pillars and C-pillars. If the perimeter seal has flattened over time, or if debris blocks the drain tubes, water overflows the tray and runs straight into the headliner and front footwells.
Post-Replacement Inspection Checklist
After a replacement panel is secured into the track brackets, take a few minutes to examine the mechanical operation and the physical alignment against the roof skin:
- Panel Flushness: Check that the outer rubber perimeter seal sits flush or slightly below the front roof skin edge, and flush or slightly proud at the rear trailing edge to prevent wind buffeting at highway speeds.
- Seal Contact: Verify that the perimeter weatherstrip makes uniform, unbroken contact all the way around the painted roof cutout.
- Travel and Venting: Cycle the switch to confirm smooth travel into the full tilt-up vent position and full rearward slide without binding or clicking in the drive cables.
- Interior Sunshade Movement: Slide the manual interior sunshade forward and back by hand to ensure it glides freely without snagging on the bracket hardware or fabric lining.
- Drain Function: Inspect the front drain tray corners to ensure clear pathways down the pillar tubes so incidental runoff drains away from the cabin.





