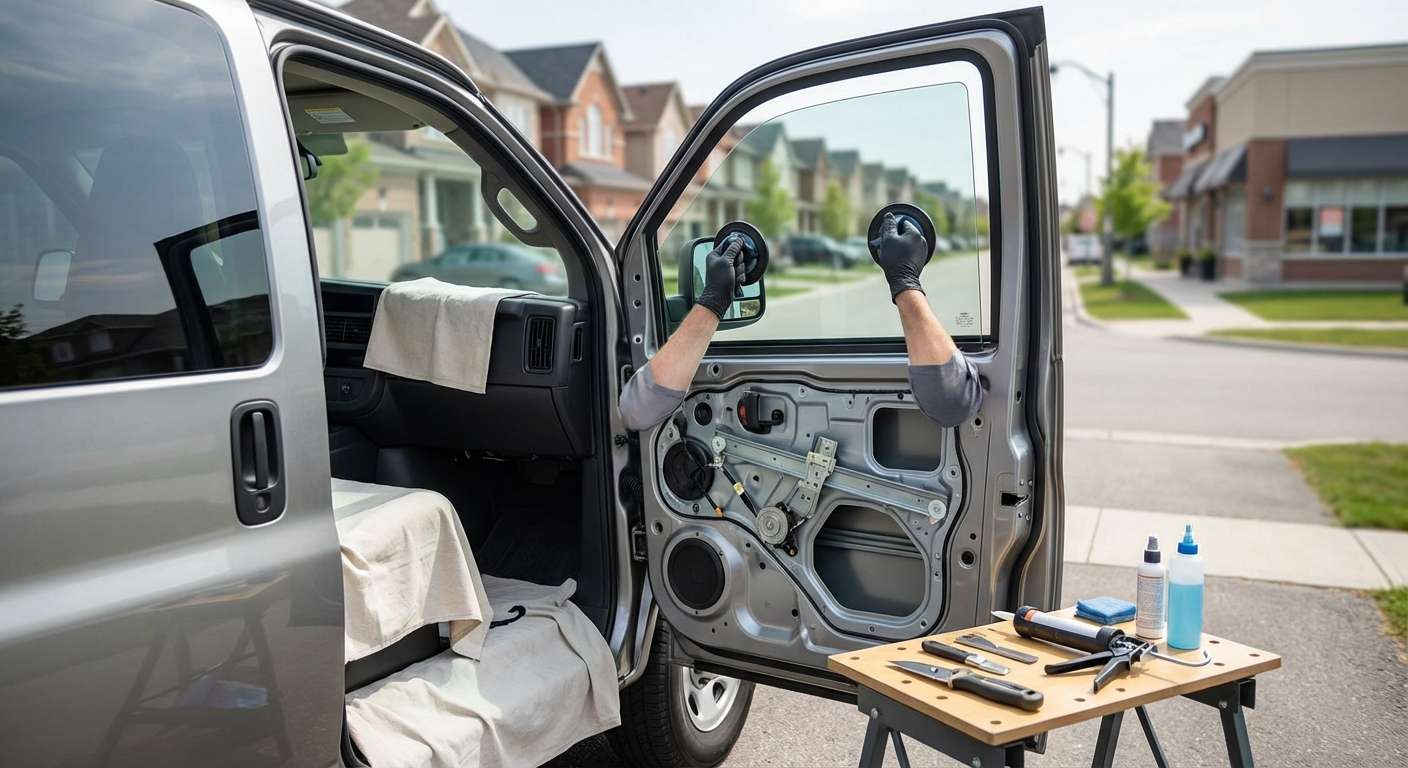
Checking Fitment and Geometry on Chevrolet Express Side Glass
Every front door on a Chevrolet Express uses flat, tempered green-solar glass mounted inside a rigid steel frame. Because this exact door layout carries across the 1500, 2500, 3500, and 4500 cutaway configurations—as well as the GMC Savana—the glass shape itself hasn't changed. Even so, replacement panels need close inspection before they ever touch the door shell. I verify that the lower clamping points line up precisely with GM design standards (such as replacement part numbers 84458570 on the left front and 84635349 on the right front) to make sure the glass sits level across the bottom sash brackets.
Unlike modern passenger cars, the front door glass on this van carries no rain sensors, heated wiper grids, acoustic laminate films, or embedded antennas. It is an unadorned, durable sheet of tempered safety glass designed to absorb heavy commercial use. Before setting the glass into the door cavity, I run a hand along the bottom edge to confirm the clamping pads are clean and free of burrs that could crack tempered glass under tension, and I check the factory solar tint hue to confirm it matches the rear stationary cargo or pop-out vent windows behind the cab.
Run Channel Drag and Regulator Load on the GMT610 Shell
The steel door structure on the Express relies on a thick, full-perimeter rubber window run channel (OEM 85619358) that tracks down the inner frame and along the vertical division bar. In work vans that see constant dust, grit, or road salt, these channels pinch and bind as the rubber ages. If the replacement glass binds during travel, the motor on power-equipped models strains, while manual crank regulators will feel stiff and can strip their internal gears.
Cable-driven regulators in these doors are notorious for snapping or jumping tracks when an old channel offers too much friction. I ensure every door glass I fit operates smoothly through its entire travel path, backing the replacement glass with a one-year warranty while guaranteeing my installation workmanship for as long as you own the van. If the outer beltline sweep is packed with road grit, it must be cleared so the new tempered surface doesn't collect vertical rub scratches the first time it rolls down past the outer sheet metal.
Post-Replacement Inspection Checklist
Once your new door glass is bolted in and the inner door trim and handle bezels are reassembled, run through these functional checks before putting the van back into daily service:
- Full Travel Clearance: Cycle the glass entirely up and down twice. The pane should glide into the top door header without tilting forward or fighting the vertical division bar channel.
- Upper Header Seating: With the window rolled up tight, inspect the upper frame seal from outside. The top glass edge must tuck deep into the rubber pocket to stop highway wind roar and rainwater leaks.
- Beltline Sweep Contact: Look along the lower exterior edge where the glass meets the outer door skin. The rubber sweep must press evenly against the glass surface from front to back without curling inward.
- Switch and Crank Operation: If the van has power windows, the switch should raise and lower the pane without sluggish motor hums. On manual doors, the crank handle should spin smoothly without binding spots.
- Rattle Check on Door Closure: Close the front door firmly with the glass half-dropped. There should be no internal metal-on-glass clatter inside the lower cavity, confirming the sash mounting bolts are firmly torqued.





