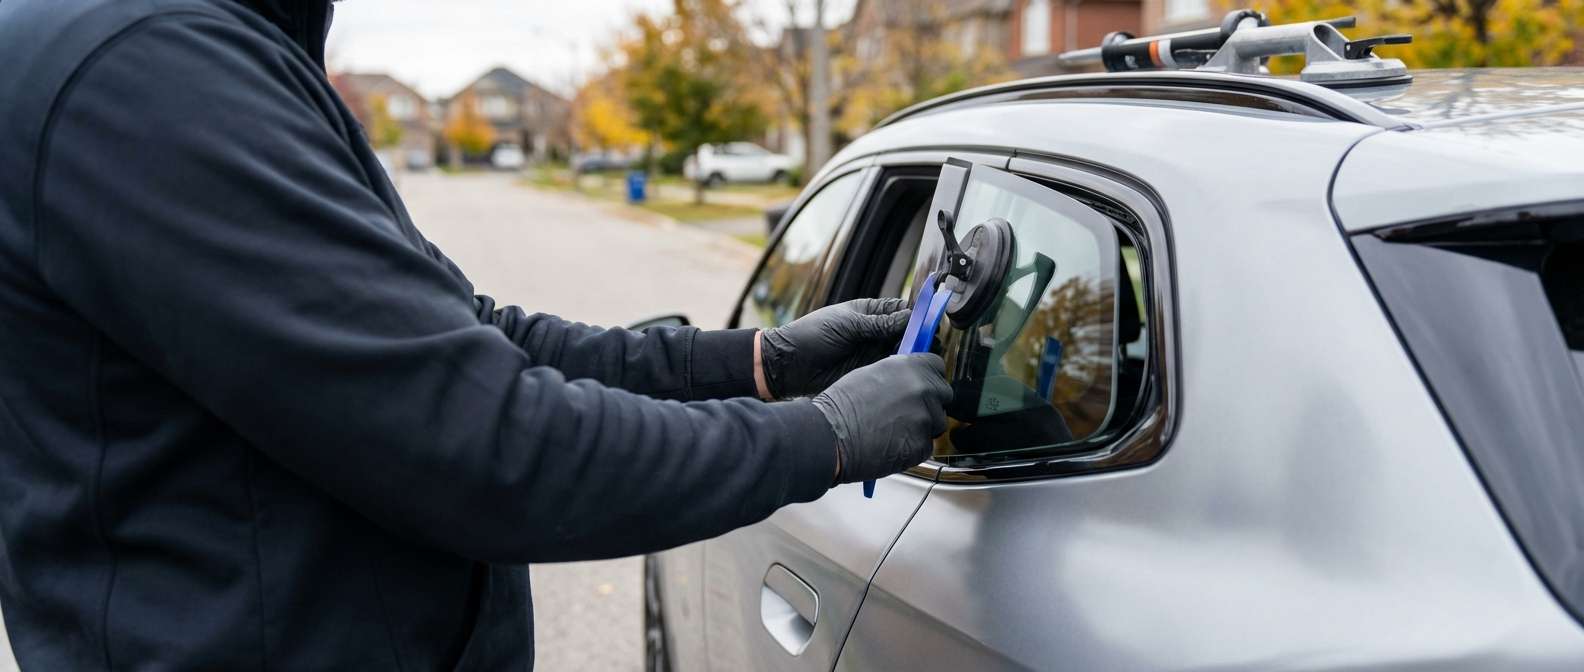
The 2023-2027 BMW X1 (U11): Restoring the Integrity of Your Luxury SAV
The third-generation BMW X1 (U11) represents a bold leap forward in the compact luxury Sports Activity Vehicle (SAV) segment. With its monolithic surface treatment, upright kidney grille, and sophisticated curved display interior, this vehicle is designed to turn heads. However, the sleek profile of your BMW relies heavily on the continuity of its glass surfaces. When the rear vent glass—the stationary triangular pane located on the rear door frame—is shattered due to an attempted break-in, road debris, or accidental impact, it does more than just look unsightly. It compromises the vehicle's weatherproofing, security, and acoustic isolation.
At AlexWindshield, we understand that a taped-up window on a vehicle of this caliber is unacceptable. You require an immediate, factory-spec resolution that respects the complex engineering of the U11 chassis. As the premier auto glass specialists in the Greater Toronto Area (GTA), we provide a specialized vent glass replacement service that restores your BMW to its showroom condition, ensuring that the "Sheer Driving Pleasure" remains uninterrupted.
Specialized Vent Glass Replacement Services Across the GTA
Driving a luxury vehicle like the 2023-2027 BMW X1 requires a maintenance partner who understands the nuances of German engineering. Standard auto glass shops often overlook the intricacies of side glass replacement, treating it as a simple "pop-in" job. However, the vent glass on the U11 model is integrated tightly with the window run channel and the exterior trim. Improper installation can lead to wind whistles at highway speeds or water leaks that damage the interior door electronics.
We are proud to offer our mobile services throughout the Greater Toronto Area. Whether you are parked at your home office in Vaughan, shopping in Richmond Hill, or at a corporate site in Markham, our mobile units come fully equipped to perform this complex repair on-site. We bring the shop to you, eliminating the need for you to drive a compromised vehicle through city traffic.
The AlexWindshield Master Technician Process: A Step-by-Step Guide
As Master Technicians, we do not simply swap glass; we perform a surgical procedure on your vehicle. The replacement of a vent glass on a BMW X1 (U11) involves navigating side airbags, ambient lighting wiring, and premium leather finishes. Below is the detailed, A-to-Z process we strictly follow to ensure safety and quality.
Phase 1: Vehicle Assessment and Interior Protection
Before any tools touch your car, we perform a pre-inspection of the door's functionality. We check the power window switches, the door lock actuator, and the exterior handle operation to ensure no underlying mechanism was damaged during the breakage.
- Surface Protection: We apply high-grade protective tape to the exterior paint surrounding the window frame to prevent scratches from glass shards or tools.
- Interior Shielding: The BMW X1 interior, often finished in Veganza or Vernasca leather, is covered with heavy-duty protective mats. We specifically cover the seats, the center console, and the floor mats to prevent fine glass dust from embedding into the upholstery.
Phase 2: Comprehensive Broken Glass Management
Vent glass is tempered; when it breaks, it explodes into thousands of pebble-like cubes. These shards don't just fall on the seat; they migrate into the door cavity, the window tracks, and the air vents.
- Initial Vacuuming: Using a high-powered industrial vacuum, we remove all visible glass from the seats, floor, and door pockets.
- Detailed Crevice Cleaning: We use compressed air and specialized brush attachments to dislodge glass hidden between the seat cushions and the center console.
- Safety Priority: Our goal is to ensure you never find a piece of glass weeks later. We treat the cleanup as seriously as the installation itself.
Phase 3: Surgical Disassembly and Door Panel Removal
To access the mounting points for the vent glass on the BMW X1 2023-2027, the interior door panel (door card) must be removed. This requires specific knowledge of BMW clip locations to avoid breaking plastic tabs.
- Hardware Removal: We locate and remove the hidden Torx screws secured behind the interior door handle escutcheon and the armrest trim.
- Clip Disengagement: Using non-marring polymer pry tools, we carefully pop the retention clips around the perimeter of the door panel. This prevents damage to the soft-touch plastic and metal trim.
- Electronic Disconnect: As we lift the panel away, we carefully disconnect the wiring harnesses for the Harmon Kardon speakers (if equipped), ambient light strips, and window control switches.
- Vapor Barrier Treatment: We carefully peel back the vapor barrier (moisture shield) to access the inner door shell without tearing the adhesive sealant.
Phase 4: Internal Debris Removal and Preparation
This is the step amateurs skip. Once the door panel is off, we have access to the bottom of the door shell.
- Cavity Vacuuming: We insert a flexible vacuum hose into the bottom of the door frame to suck up the piles of broken glass that fell inside the door. Failure to do this results in an annoying "rattle" every time you close the door or drive over a bump.
- Run Channel Cleaning: We clean the rubber window run channels where the main door glass slides. Even a single grain of tempered glass here can scratch your main window when it rolls down.
- Frame Preparation: The mounting frame for the vent glass is cleaned with a specialized solvent to remove old adhesive residues, dirt, and grease, ensuring a perfect bond for the new part.
Phase 5: Vent Glass Installation
With the area prepped, we proceed to install the new BMW OEM-specification vent glass.
- Primer Application: If the vent glass is a bonded type (common in modern chassis designs to increase rigidity), we apply a specialized automotive glass primer to any bare metal on the pinch weld to prevent rust and promote adhesion.
- Adhesive Application: We apply a bead of high-modulus, non-conductive urethane adhesive. This adhesive is critical as it must cure to the same strength as the factory installation to maintain the structural integrity of the roof pillar.
- Positioning: The new glass is carefully inserted into the guide rail. We must manipulate the main window guide (the pillar separating the main glass from the vent glass) to ensure the vent glass seats perfectly into the weatherstripping.
- Torque Verification: Once seated, we tighten the securing bolts on the separation bar to BMW's torque specifications.
Phase 6: Reassembly and Quality Control
The final phase involves putting the vehicle back together with precision.
- Panel Reinstallation: We reconnect all electronic harnesses and test the door lock and window switch before fully seating the panel. The door panel is then snapped back into place, ensuring every clip engages with a satisfying "click."
- Screw Replacement: All Torx screws are reinstalled and covered with their respective cosmetic caps.
- Final Clean: We perform a final polish of the new glass and the interior door panel to remove any fingerprints.
- Functionality Test: We roll the main window up and down several times to ensure the new vent glass installation has not impeded the regulator's movement.
Why OEM Quality Matters for Your BMW U11
For a vehicle as sophisticated as the 2023-2027 BMW X1, glass is not just a transparent shield; it is a component of the vehicle's passive safety system and acoustic engineering. At AlexWindshield, we prioritize the use of OEM (Original Equipment Manufacturer) or OEE (Original Equipment Equivalent) glass.
Cheap, aftermarket glass often suffers from optical distortion, incorrect tint matching (which will clash with your factory privacy glass), and poor dimensional tolerance that leads to water leaks. By using high-quality glass, we ensure that the thermal insulation properties and the noise-cancellation characteristics of your luxury cabin remain intact.
Local Expertise: Serving Vaughan, Richmond Hill, and Markham
We have tailored our operations to serve the specific needs of the GTA community. We know that our clients in Vaughan, Richmond Hill, and Markham lead busy lives and value efficiency.
Richmond Hill & Markham: We frequently service vehicles in corporate parking lots and residential driveways in these areas. Our mobile vans are essentially workshops on wheels, equipped with generators and all necessary tools to perform the job autonomously.
Vaughan: As a hub for many of our clients, we offer rapid response times to this area. We understand the local climate conditions; our urethane adhesives are selected based on temperature and humidity to ensure a safe drive-away time, even during Canadian winters.
Trust AlexWindshield for Your BMW Glass Needs
A broken vent glass on your BMW X1 (U11) is a disruption, but the repair process shouldn't be. By choosing AlexWindshield, you are choosing a team that respects the engineering of your vehicle. We combine the convenience of mobile service with the technical rigor of a dealership workshop.
We stand behind our craftsmanship with a Lifetime Warranty on our workmanship. This covers you against wind noise, water leaks, and loose moldings for as long as you own the vehicle. Don't compromise on safety or aesthetics.
Contact AlexWindshield today to schedule your Vent Glass Replacement. Experience the precision, care, and expertise that makes us the GTA's trusted auto glass authority.





