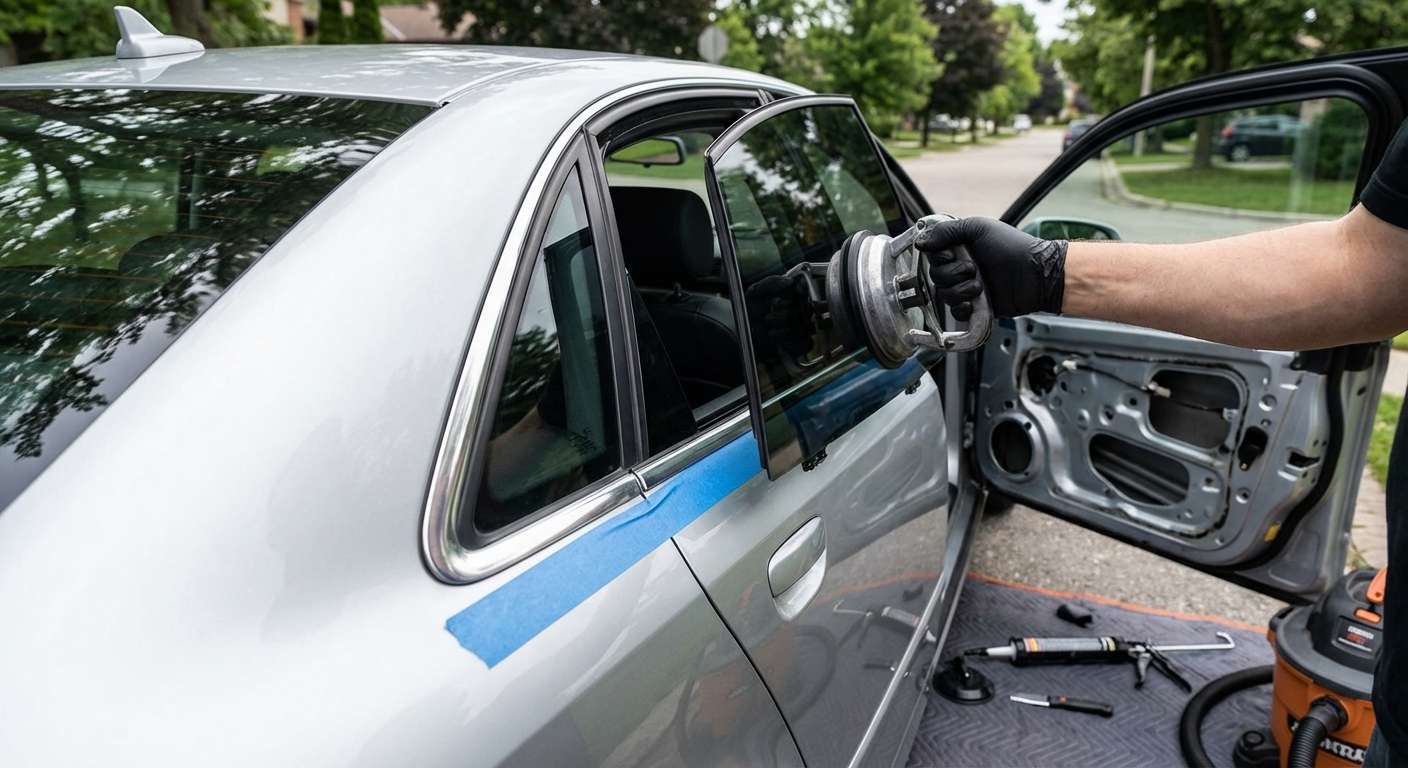
Sedan Door Vent Glass vs. Avant Body Quarter Glass
Replacing the side rear quarter glass on this vehicle depends entirely on whether you drive the four-door sedan or the Avant wagon. On the sedan, the rear quarter window is actually a small triangular vent pane set directly inside the rear door sash, positioned behind a vertical division bar and sealed by the lower reveal moulding (base reference 8E5853345 for the left side and 8E5853346 for the right side). The Avant uses a completely different, larger stationary window set directly into the vehicle body between the C-pillar and D-pillar.
Before sourcing or setting the glass, I verify the exact body configuration and exterior finish. The sedan door vent glass corresponds to dealer references 8E5845299 (left) and 8E5845300 (right). Both body styles use green-tinted heat-insulating solar control safety glass, but the exterior perimeter trim varies across build packages. Depending on your vehicle's factory styling, the encapsulated edge moulding comes in either a matte black finish or a polished bright aluminum strip. Sourcing an aftermarket replacement with mismatched trim creates an immediate eyesore against the front door's window surround.
Antenna Grids and Hardware Checks Prior to Installation
If you have an Avant, the quarter glass is an active electrical component rather than just a piece of tinted glass. The rear side windows on the wagon feature integrated diversity antenna grids printed directly onto the glass surface for AM/FM radio and navigation reception. When unboxing an aftermarket replacement pane for an Avant, I inspect the printed trace lines for breaks and ensure the electrical connection clips match the vehicle's internal antenna amplifier leads. Physical stress or corrosion at these contact points is a well-known failure point that wipes out radio reception.
For the sedan, there are no antenna grids or defroster lines on the small door vent pane, but the mechanical fit within the door sash is critical. Replacing it involves releasing the interior door panel and shifting the vertical window guide frame. I back my replacement work with a lifetime guarantee on the workmanship alongside a one-year warranty on the replacement glass pane itself, which is vital on these doors because an improperly seated division channel will pinch the moving regulator glass or let highway air whistle past the frame.
On wagon models, releasing the surrounding interior trim requires handling the spring steel trim clips (part 4A0867276A) that secure the upper C-pillar and D-pillar covers. These clips easily bend out of shape or pull free from the plastic trim substrate, so checking their tension before reassembling the interior prevents cabin rattles over rough roads.
Post-Replacement Inspection Checklist
Once the replacement glass is installed and the trim is back together, take a few minutes to check these model-specific areas before driving:
- Sedan division bar alignment: Roll the main rear door window fully up and down to confirm it travels smoothly inside the vertical division bar channel without binding, dragging, or catching against the newly seated vent glass seal.
- Avant radio reception: Tune across both AM and FM bands to verify the antenna amplifier harness was correctly clipped onto the new quarter window grid and is pulling in strong station signals.
- Exterior perimeter trim line: Check that the rubber encapsulation and the exterior moulding—whether matte black or bright aluminum—sits completely flush with the surrounding door frame or body sheet metal without wavy gaps.
- Interior pillar panel fit: Press firmly along the inner C-pillar and D-pillar trims on the wagon to ensure all spring steel clips fully engaged into the metal frame without leaving loose edges.
- Cabin seal integrity: Listen along the rear door sash or quarter aperture at highway speeds to confirm there is no wind hiss caused by a twisted division guide seal or misaligned perimeter rubber.





