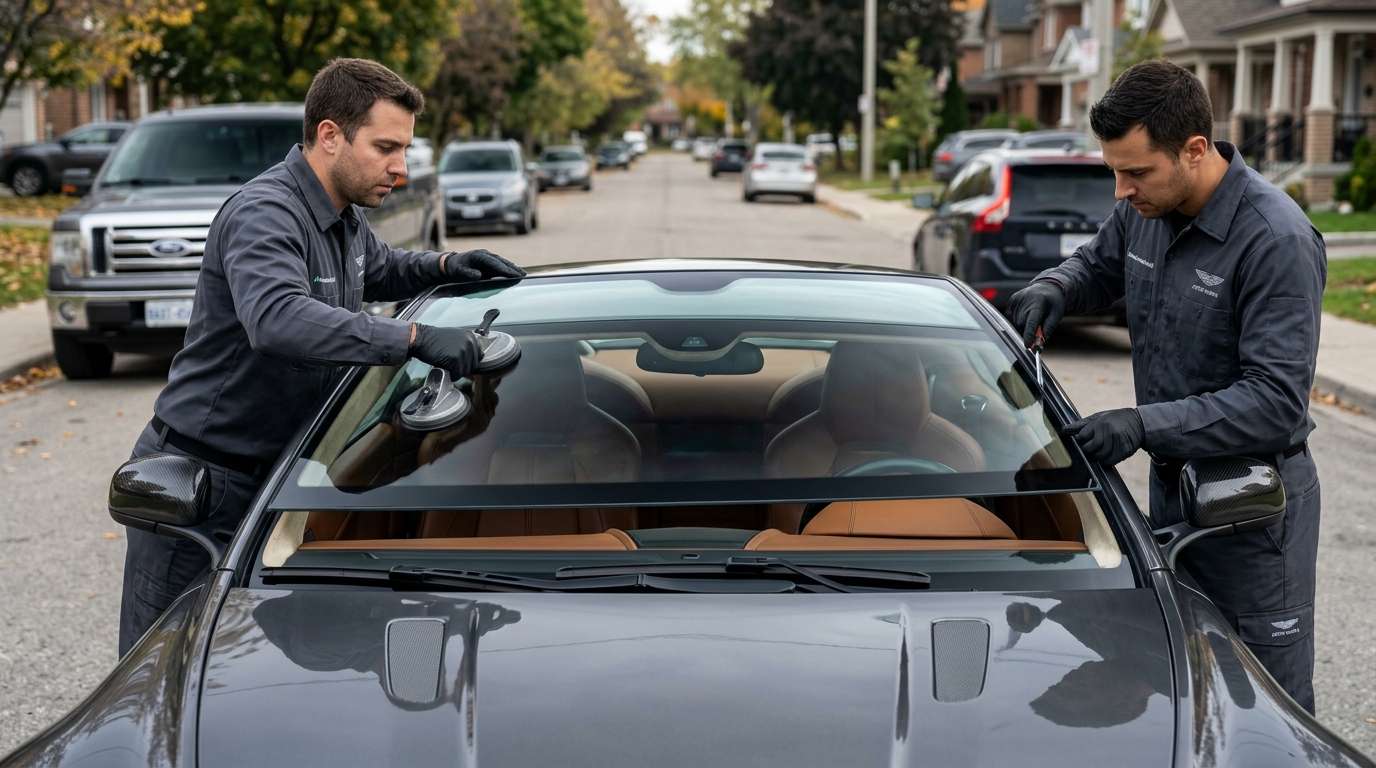
Swan-Wing Clearance and Delicate A-Pillars
The distinctive swan-wing doors lift out and upward at a 12-degree angle, swinging dangerously close to the outer windshield perimeter. When setting replacement glass into the bonded aperture, the lateral position must be centered down to the millimeter. If the pane sits even slightly off-center or proud of the flange, the frameless door glass and interior rubber seals will scrub against the edge whenever the door sweeps upward.
Flanking the windshield are slender exterior A-pillar finisher mouldings that clip directly over the perimeter channel. These painted aluminium trim pieces bend under minimal leverage, and the internal retaining clips snap easily if forced. Removing the composite lower wiper cowl panel requires just as much patience to reach the glass edge without marring the finish around the dual wiper pivot shafts, which feature integrated fluid delivery nozzles built directly onto the wiper arms.
On Roadster models, the top boundary demands extra attention around the header rail trim. While Coupe and Roadster bodies share identical windshield curvature and profiles, the convertible relies on a dedicated header rail casting that houses the heavy soft-top latching receivers directly against the upper bond-line.
VH Architecture and Windshield Glass Variants
Because the front glass serves as a primary shear member stiffening the extruded aluminium VH platform, maintaining structural rigidity is vital. Replacing this windshield involves navigating several distinct factory equipment configurations originally cataloged under parts 6G33-76-10657, 8G33-76-10657, and later superseded by EG43-76-11408 (NAGS prefix reference FW02714).
| Glass Specification | Hardware and Embedded Features |
|---|---|
| Standard Acoustic Solar | Green solar tint, dual-ply acoustic PVB dampening core, top shade band |
| Antenna Integrated | Embedded AM/FM aerial traces etched directly into the glass laminate |
| Heated Front Screen | Full-face micro-filament defroster grid with split left/right electrical harnesses |
| Rain-Sensing Variant | Factory optical bracket positioned for direct silicone prism interface |
The optional heated windshield relies on an ultra-fine tungsten mesh embedded within the acoustic laminate, powered by separate left and right busbar circuits routed beneath the lower cowl. If an installer pinches or pulls these delicate ribbon leads during glass positioning, half the defroster system drops out immediately. Whenever I seat this glass, I back my workmanship with a lifetime guarantee and cover the replacement glass itself for a full year against defects.
Another frequent issue involves the optical rain sensor assembly mounted behind the rearview mirror. Aftermarket installations frequently develop air pockets in the replacement silicone gel pad, refracting light away from the internal diodes and triggering phantom sweeps or dead wiper controls.
Post-Installation Inspection for Vantage Owners
- Swan-Wing Door Clearance: Open both doors fully through their upward arc to confirm the door glass clears the A-pillar mouldings without contacting the weatherstripping.
- A-Pillar Trim Seating: Examine the flush alignment of the side pillar finishers; any raised edge or loose clip will create turbulent buffeting and loud cabin whistling at highway speeds.
- Micro-Wire Defroster Function: If equipped with the heated windscreen option, activate the defroster switch and confirm that both driver and passenger sides warm evenly across the entire surface.
- Rain Sensor Lens Clarity: Look closely through the exterior bracket window to verify the silicone pad is clear of air bubbles, haze, or separation pockets over the optics.
- Wiper Arm and Cowl Alignment: Ensure the composite lower cowl panel rests flat against the bottom edge of the glass and that the arm-mounted washer jets spray unobstructed.
- Radio Reception: For variants with glass-integrated antenna traces, cycle through AM and FM bands to verify strong signal reception with the ignition running.





