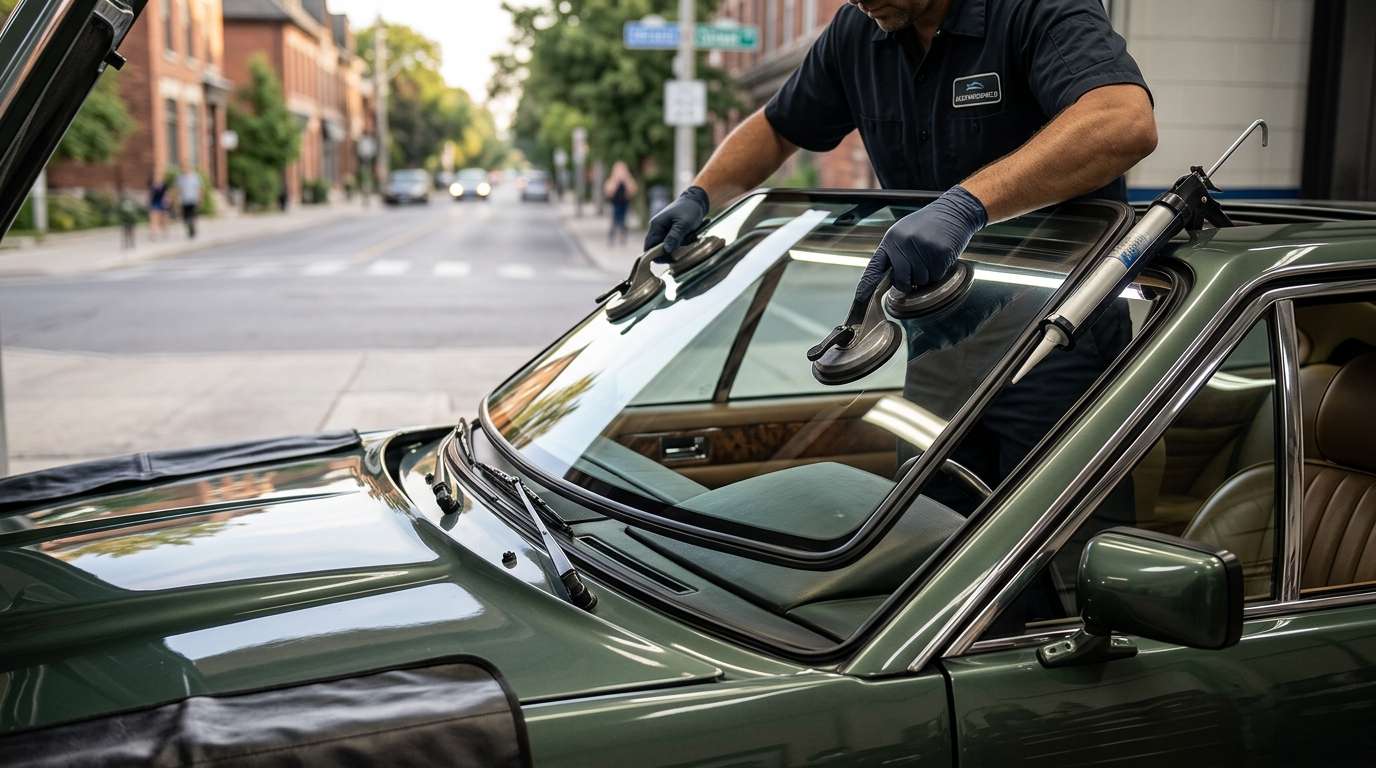
Wedge Saloon Glass Dimensions and Series Differences
Working on the Aston Martin Lagonda requires immediate identification of the body style, because William Towns' sharp wedge profile completely redefined the front glazing. The first seven cars built between 1974 and 1975—the Series 1 models—used an upright windscreen shared directly with the conventional AM V8 saloon. From 1976 onward, covering the Series 2 through Series 4, the car received the massive, radically raked glass that defined its futuristic silhouette. At roughly 91.8 cm high by 165.8 cm wide (36.1 inches by 65.3 inches), this windscreen is one of the largest expanses of laminated safety glass fitted to any low-volume road car of the twentieth century.
Because these wedge saloons were entirely hand-built with aluminum outer panels shaped over a steel skeleton, window apertures show slight variances from one hand-finished car to the next. The windshield is cataloged under NAGS part number FW00412 and matches factory reference 069-078-0010. Reproduction units sourced through classic specialists typically cross-reference numbers such as Pilkington Classics 76-25614 or MrFiat GS-ASM-001. The glass itself remains free of modern complexities: you will not find embedded defroster grids, internal radio aerial wires, bracketry for driver-assist cameras, or rain sensors. However, because of the extreme angle of incidence, low-grade aftermarket glass will produce significant optical warping across the driver's sightline, making high-quality optical reproduction essential.
Gasket Mountings, Aluminum Trim, and Cabin Electronics
Unlike modern vehicles that use direct-glazed urethane bonds to secure the glass, this windshield sits in an authentic rubber channel gasket locked into place with slotted aluminum finisher mouldings. The surrounding aluminum bodywork requires precise handling during any glass renewal so the soft coachwork retains its original profile. When an owner schedules a service with me, I typically pull up to their garage about an hour after booking to inspect the surrounding perimeter and assess the state of the aged rubber.
Securing a tight mechanical seal is critical on this specific car because of what sits directly beneath the scuttle. Water migrating past an aged or poorly seated gasket drips down the bulkhead and lands straight into the vehicle's intricate, fragile electrical core. Series 2 cars are infamous for their delicate LED switchgear and touch-sensitive electronic dashboard, while later Series 3 cars utilize cathode-ray tube (CRT) display screens. A leaking windshield gasket does not just dampen the under-dash felt; it risks immediate electrical shorts in instrumentation that is exceptionally difficult to repair or replace.
Post-Installation Inspection Checklist
Once your new laminated glass is installed into the wedge body, verify these model-specific points before returning the car to service:
- Inspect the exterior slotted aluminum retaining finisher mouldings to confirm they sit flush in the rubber gasket groove without bowed sections along the hand-formed roofline.
- Check the perimeter of the interior bulkhead and dashboard edge with a high-intensity light to verify the inner rubber channel lip has pulled completely over the metal aperture pinch.
- Operate the heavy-duty pantograph-style single center wiper arm across the full sweep of the expansive screen to make sure the blade maintains even surface contact across the severely raked glass without binding on the lower moulding.
- Sight through the glass from the driver's seat toward a straight horizontal line to check for optical distortion or lensing aberrations, which become heavily exaggerated at this extreme rake angle.
- Ensure the cowl-mounted washer jets remain clear of the lower gasket lip and spray cleanly onto the sweeping arc of the center pantograph mechanism.





