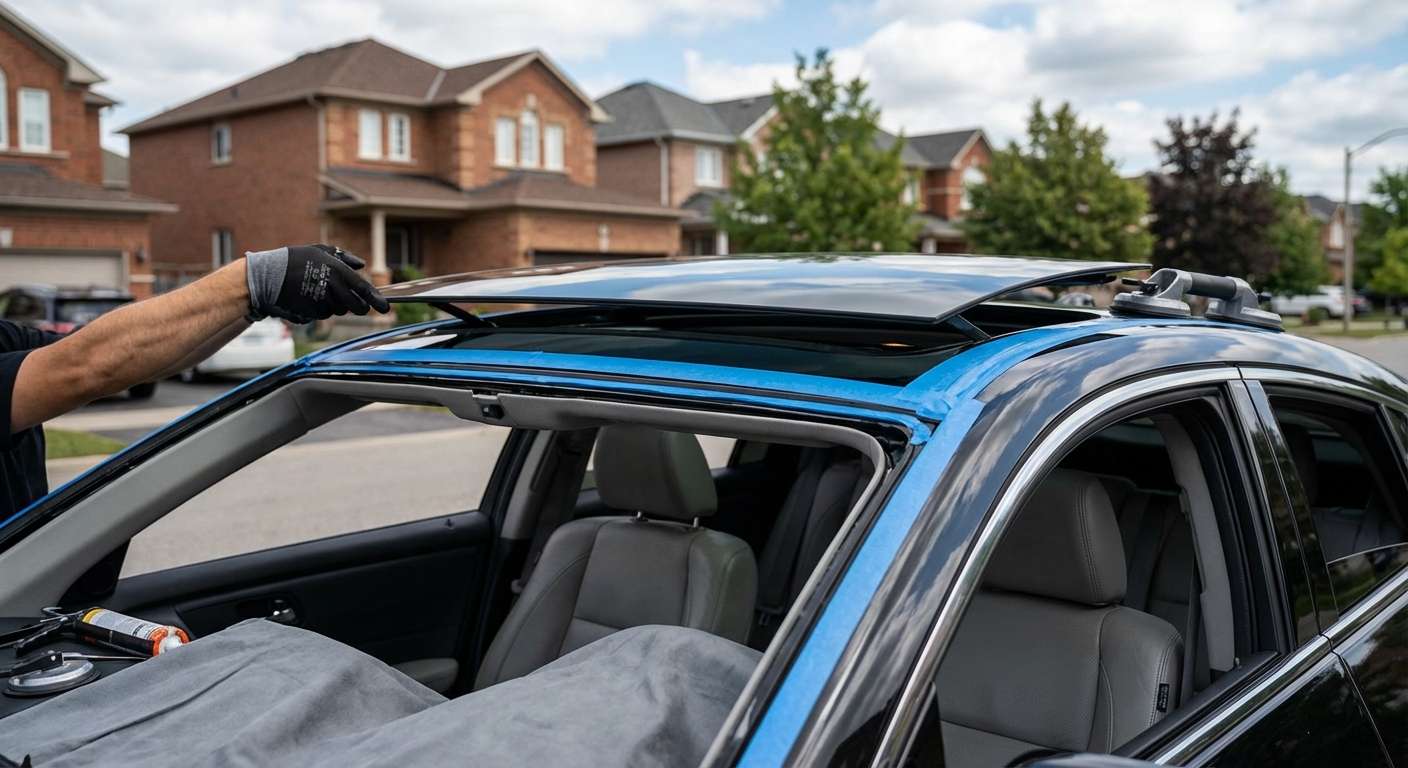
Understanding the Three-Piece Panoramic Glass Setup
When stone chips or structural stress shatter the overhead glass on this crossover, identifying which section needs replacement is the first hurdle. Acura engineered this vehicle with a continuous, all-glass roof line across every trim—whether you drive the Base, Technology Package, or Advance Package. Rather than a conventional single moonroof, the system splits into three individual panels of 4.0 mm dark-tinted tempered safety glass that span the entire cabin.
The middle segment is the active tilt-and-slide panel (OEM part 70215-SZN-A02, which superseded 70215-SZN-A01). Flanking it are two stationary pieces: the front fixed roof panel sitting directly behind the windshield cowl (OEM part 70210-SZN-A02) and the rear fixed roof panel that slopes back toward the liftgate (OEM part 70220-SZN-A02). Because this panoramic layout was marketed as the longest in the industry at launch, an impact usually shatters only one specific zone while leaving the adjoining tempered panels intact.
Diagnostic Checklist for Damaged Panels and Dual Shades
Because the panoramic cassette sits low in the roof framing, glass fragments often interfere with the surrounding mechanical parts. When I bring my mobile glass replacement service directly to your driveway or office parking spot anywhere in Toronto or the GTA, I examine the sliding track assembly before securing the new aftermarket glass.
The interior relies on a tandem fabric shade system controlled by overhead switch 35830-SZN-A01. Unlike standard sliding boards, this dual power-retractable shade rolls outward simultaneously to shade the front and rear passengers. If broken glass enters the track rails, these fabric sections can bind, derail from their guide channels, or tear against the frame. The four corner water drains routed through the A-pillars and C-pillars also risk clogging from loose glass granules, which leads to cabin water leaks during heavy rain.
| Roof Component | Function & Hardware Details | Vulnerable Points During Breakage |
|---|---|---|
| Front Fixed Glass | Stationary leading edge panel; UV-absorbent tempered glass | Impact from highway debris kicking up over the windshield frame |
| Center Movable Panel | Motorized tilt/slide section; auto-reverse pinch sensor | Side guide alignment and drive track jamming |
| Rear Fixed Glass | Stationary trailing panel over rear cabin seating | Torsion stress cracking near the tailgate hinge line |
| Retractable Sunshade | Fore-and-aft dual motorized fabric rollers | Fabric jumping the track grooves due to loose tempered beads |
Post-Replacement Inspection Points
Once the replacement panel is installed, verify the fit and ensure all mechanical functions linked to the overhead console operate correctly without noise or restriction:
- Inspect the lateral gloss-black roof ditch mouldings running along the outer edges to confirm they sit flush without buckling from the A-pillar base back to the hatch.
- Cycle the center movable glass through full tilt and slide motions using the overhead switch to confirm the auto-reverse pinch protection engages without catching on track debris.
- Deploy the dual-action sunshades completely to ensure the front and rear roller fabrics glide smoothly along their rails without dragging, wrinkling, or binding.
- Check the exterior glass perimeter seals for uniform spacing against the adjacent fixed glass sections to prevent wind whistle at highway speeds.
- Test the key-off moonroof delay function to ensure the electrical circuit maintains brief accessory power after switching off the ignition.





