Acura RDX Windshield Variations: HUD Wedge vs. Standard Acoustic
If you have had a rock strike low along the wiper line of your RDX, identifying the exact factory equipment in your trim is the first hurdle. Acura splits the glass on this vehicle into two distinct categories: standard acoustic glass (replacing OEM base number 73111-TJB-A02 or the earlier A01) and specialized Head-Up Display glass (replacing OEM 73111-TJB-A12 / A11).
On the Advance Package and A-Spec Advance trims, the windshield houses a 10.5-inch projection zone directly in front of the driver. These trims require an optical wedge-shaped polyvinyl butyral (PVB) acoustic interlayer inside the glass lamination. Because the inner and outer glass plies sit at a micro-tapered angle, the projection from the dash bounces off both surfaces and converges into a single, sharp image. If a replacement piece lacks this exact PVB wedge profile, the driver sees an immediate secondary reflection—a persistent ghosting effect on the speedometer and navigation graphics.
Base trims, Technology, and standard A-Spec models share the non-HUD acoustic green glass. While these variants forgo the optical wedge, all trims retain acoustic damping layers, a frit bracket for the forward-facing AcuraWatch mono camera, an integrated rain sensor disc, and a dedicated condensation and humidity sensor mount tucked behind the rear-view mirror assembly.
Lower Cowl Cracks and the Heated Wiper De-Icer Grid
Many RDX drivers notice stress fractures that seem to sprout from nowhere right at the base of the glass. The bottom perimeter sits in close proximity to the multi-piece plastic cowl grille and the wiper park line. On Canadian and northern cold-weather specifications, this area features an embedded electric wiper de-icer grid baked into the black ceramic frit. Thermal shifts between sub-zero exterior temperatures and high-output defroster heat create significant localized stress along that lower edge, meaning even a microscopic stone nick near the de-icer element quickly turns into an edge crack running horizontal across the glass.
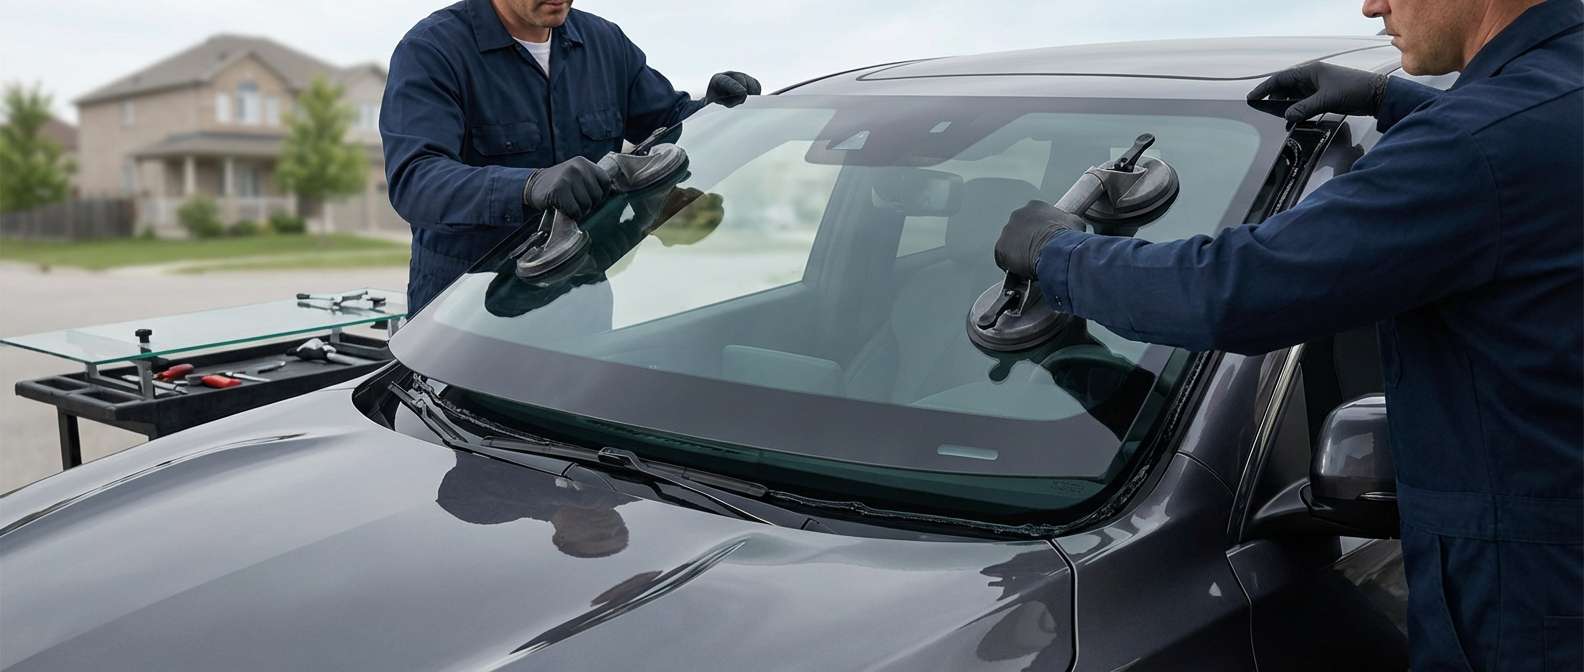
Because I run a strictly mobile operation, I come straight to your home or workplace across Toronto and the GTA to replace your RDX windshield right where the vehicle sits. Replacing this glass requires precise handling of the surrounding hardware: the multi-piece cowl underneath the wiper arms must be released cleanly, and the vehicle-specific snap clips securing the gloss exterior A-pillar garnish mouldings require careful extraction so the side trim seats flush against the framed front door jambs without wind noise afterwards.
Glass Post-Replacement Inspection Checklist
Once the replacement glass is seated and set, walk around the RDX and review these model-specific points:
- HUD Clarity (Advance Trims): Switch on the 10.5-inch display against dark and bright backgrounds to ensure speed and tachometer readouts have crisp edges with zero dual-image ghosting.
- A-Pillar Moulding Seating: Check that the exterior gloss black A-pillar garnishes sit completely flat along both sides of the glass frame without loose edges or damaged clips.
- Cowl Grille Alignment: Ensure the lower plastic cowl panels fit tightly under the bottom glass edge and that the windshield wiper arms are bolted back into their designated park positions.
- Sensor Mount Bubbles: Look through the windshield exterior into the upper bracket cluster to confirm the round gel pad for the rain sensor and the humidity sensor bracket sit flush against the glass without trapped air pockets.
- Roof Header Gap: Verify that the upper glass weatherstrip sits evenly along the seam immediately in front of the panoramic sliding sunroof frame.
- Heated Wiper Grid Operation: Turn on the rear defrost/wiper de-icer switch to verify the heating grid at the bottom frit heats up evenly across both wiper blades.





