A-Spec Acoustic Glass Versus Base Tempered Panels on the ADX
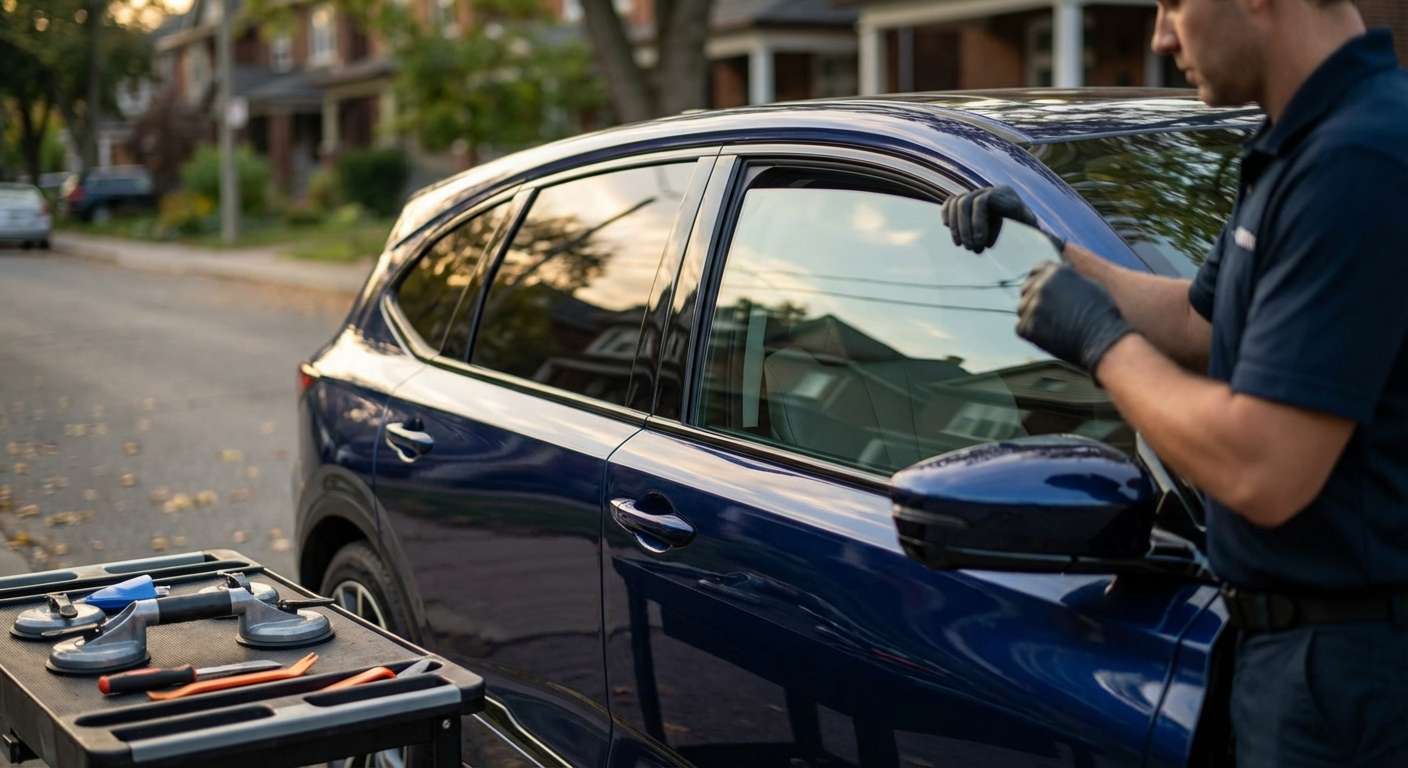
Replacing broken door glass on the Acura ADX requires confirming your exact equipment grade before sourcing the replacement pane. While entry-level trims use standard solar-control tempered drop glass in the front doors, upper grades like the A-Spec with Advance Package utilize sound-insulating acoustic laminated front door glass. Installing a standard tempered panel into an A-Spec cabin results in an immediate increase in wind noise at the B-pillar, while setting laminated glass into a base door frame can pinch the inner run channel if the thickness profile does not align. When I pull the inner door cards to access the cable-driven window regulator, I inspect the lower mounting points that lock into the regulator sash brackets. The factory assembly secures the drop glass to the carrier using flanged bolts under OEM part number 95701-06016-08. If the original fastener threads stripped or the retaining clips cracked during a break-in, matching this exact pitch is critical to keep the window tracking true inside the framed door sash. Rear door windows introduce a different requirement: every ADX grade carries standard deep privacy tint embedded in the tempered rear drop glass. When I source the replacement rear side pane, I verify that the factory tint percentage matches the stationary rear division channel bar glass so the side profile of the vehicle stays uniform. If you need a damaged side window secured quickly, I can usually be at your location about an hour after you get in touch.What to Verify Before the Door Pane Is Fastened
Before the replacement pane is bolted to the internal regulator clamps, several physical dimensions and peripheral components need immediate scrutiny:| Inspection Point | ADX Factory Standard | Risk If Incorrect |
|---|---|---|
| Front Glass Composition | Tempered (Base) or Acoustic Laminated (A-Spec Advance) | Increased highway buffeting or motor strain |
| Bottom Glass Sashes | Dual-tab channel matching 95701-06016-08 bolt holes | Glass tilts forward during auto-up travel |
| Rear Drop Glass Tint | Integrated dark privacy glass (all trims) | Mismatched shade against fixed rear vent glass |
| Moulding Fit | Flush fit against exterior weatherstrip belt moulding | Water leaks onto speaker housings behind vapor barrier |
Post-Installation Checks for ADX Owners
Once the replacement door glass is installed and the door card is fully reassembled, verify that the mechanical and electrical functions operate just as they did from the factory:- Test the auto-up and auto-down power window switch on the driver door console to confirm the regulator motor stops cleanly without hesitation.
- Verify the anti-pinch obstacle detection by testing window resistance; the motor must instantly reverse direction if it encounters resistance near the top frame.
- Examine the window glass seating inside the upper door frame channel when fully closed to make sure no gaps expose the cabin to air leaks.
- Inspect the exterior weatherstrip belt moulding at the base of the glass to ensure it lies completely flat against the outer panel without waviness.
- Check the acoustic balance and road noise along the front side glass at highway speeds, especially on A-Spec trims equipped with factory laminated side glass.
- On rear doors, check the tint match against the small fixed vent window next to the division channel bar under direct daylight.





